In the earlier article, we saw How to create the Azure AD Application and the Blob Storages. Now, let us focus on the Azure Data Factory
As usual, let us see the step by step procedures.
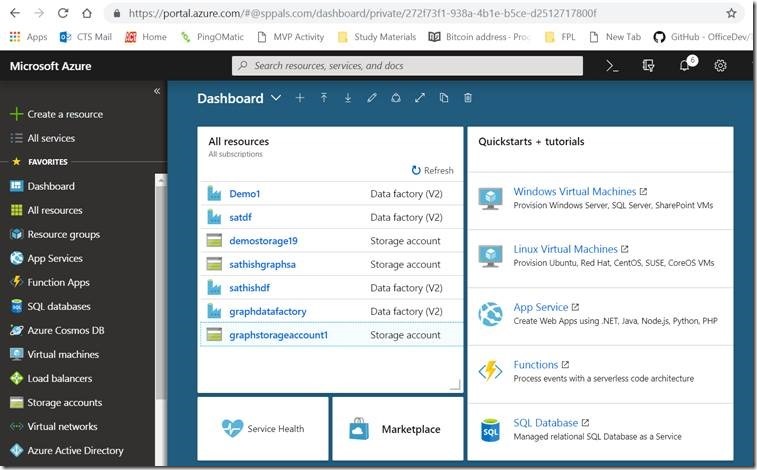
1. Login to the Azure Portal with your Office 365 account.
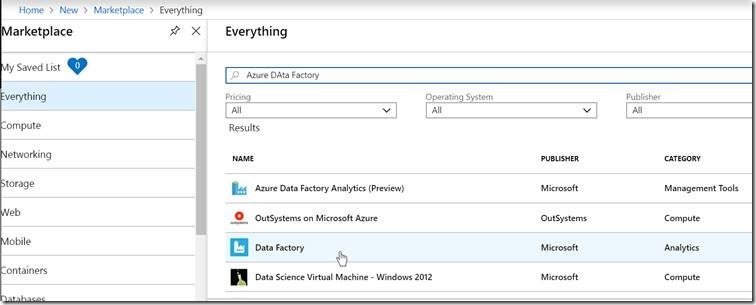
2. Create New Resources “Azure Data Factory”
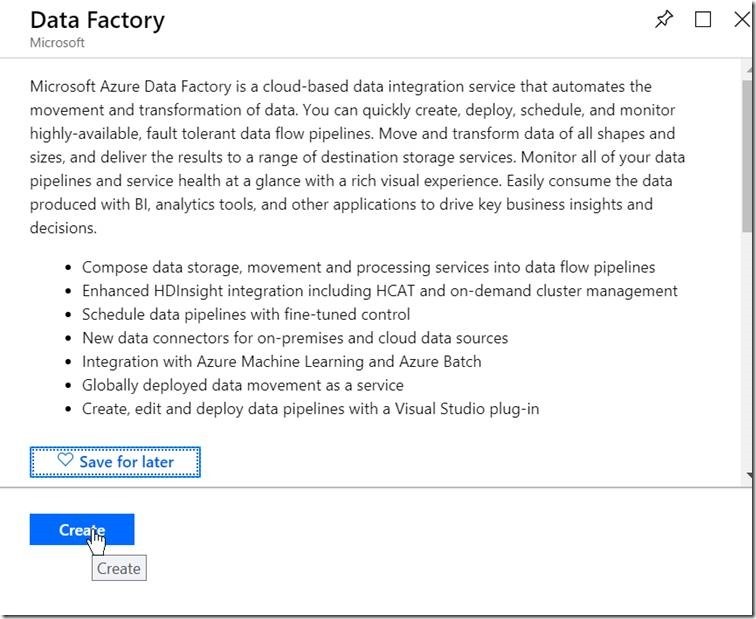
3. Click on Create
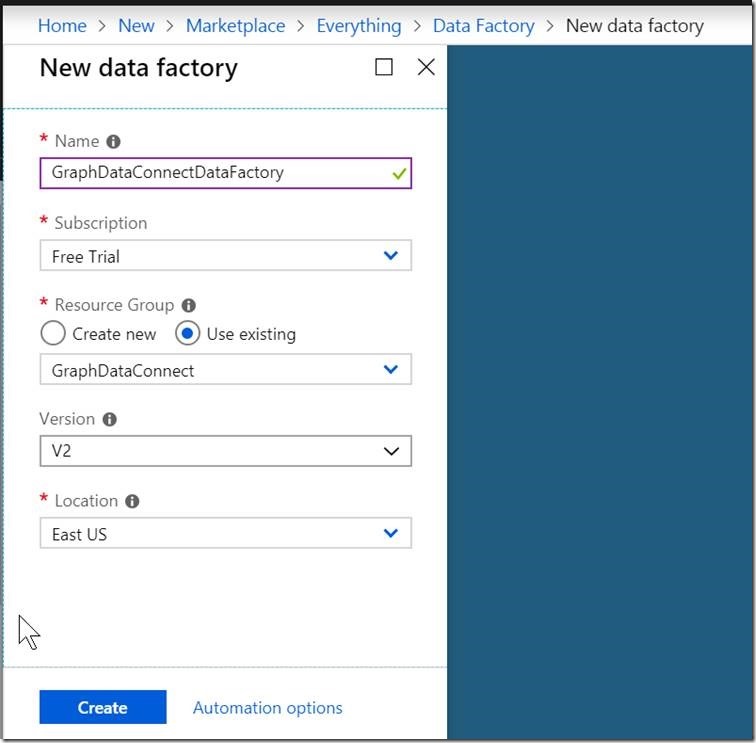
4. Enter the Values and Click on Create.
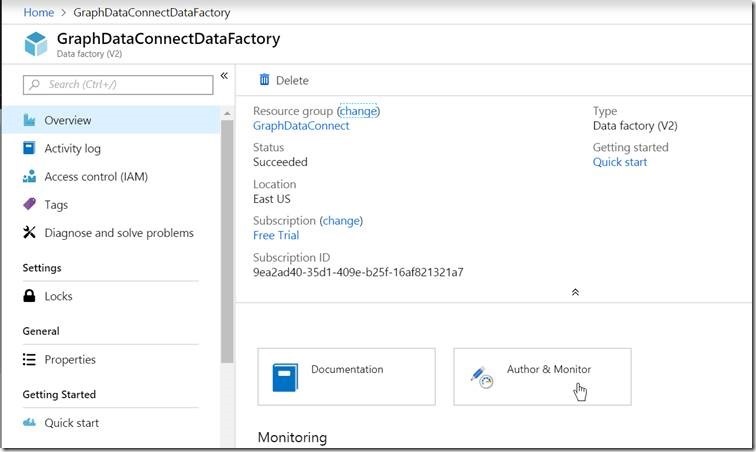
5. Click on Author and Monitor
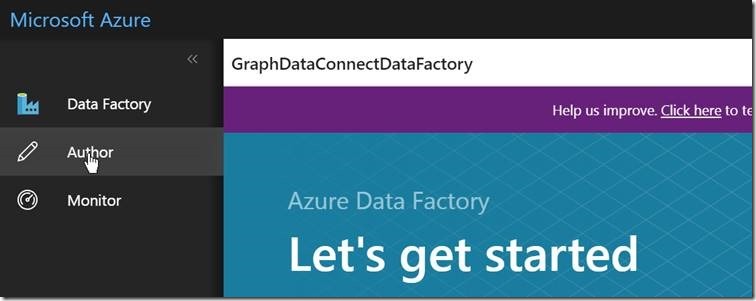
6. Click on Author
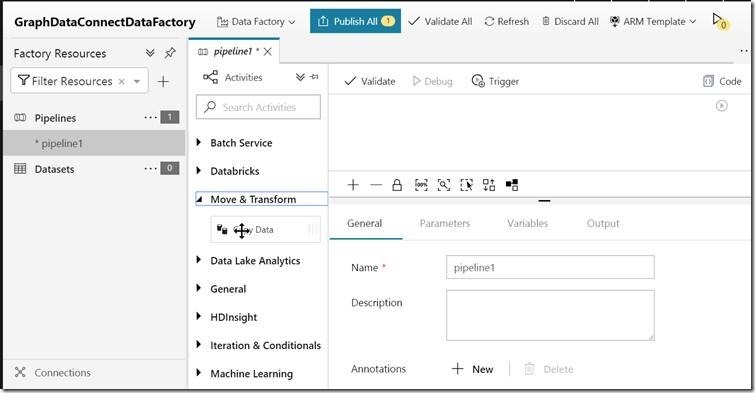
7. Create a New Pipeline
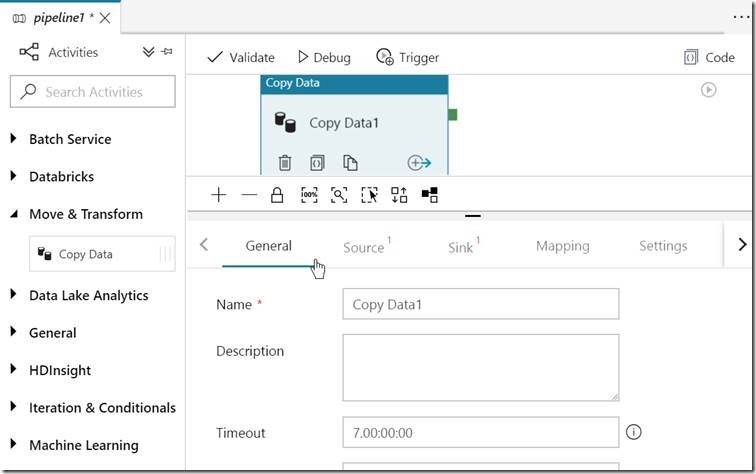
8. Drag and Drop the Copy Data Activity in the Canvas.
9. Now, we need to give the Source and the Sync for this activity pipeline.
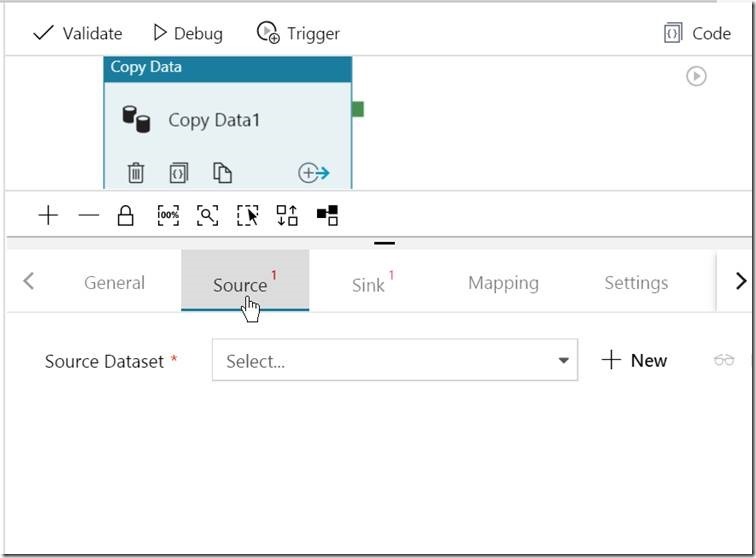
10. Click on the Source Tab.
11. Click on the New Source Dataset.
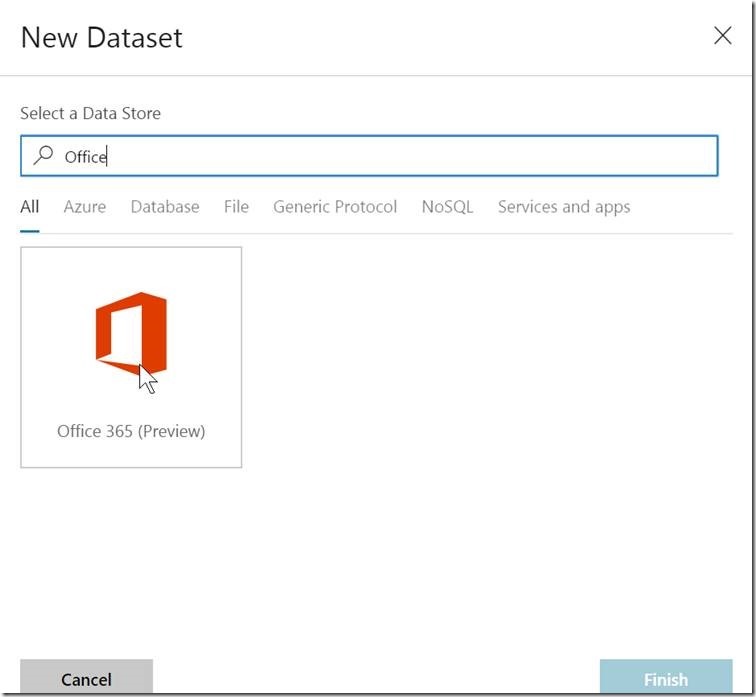
Select the Office 365 Data source.
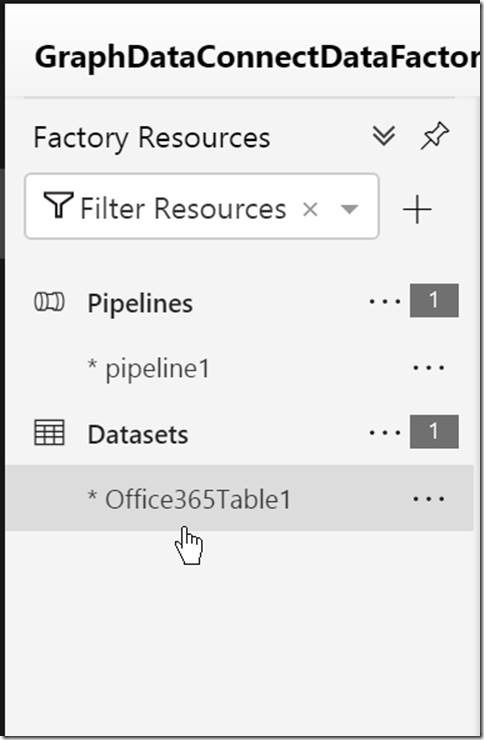
12. Under the Dataset, the newly selected datasource will be listed.
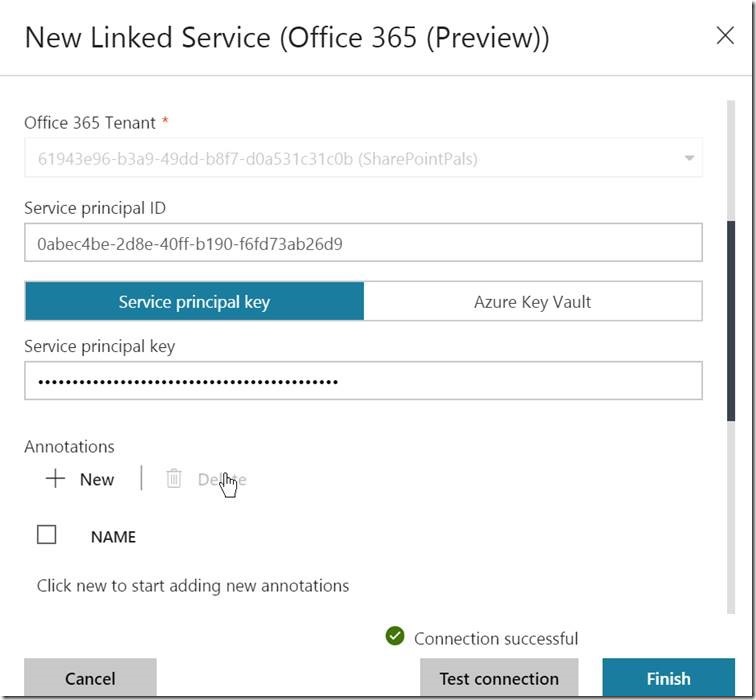
13. Now, establish a connection with the new application which we have created.
14. Enter the Application ID as Service Principal ID and Key as Service Principal key
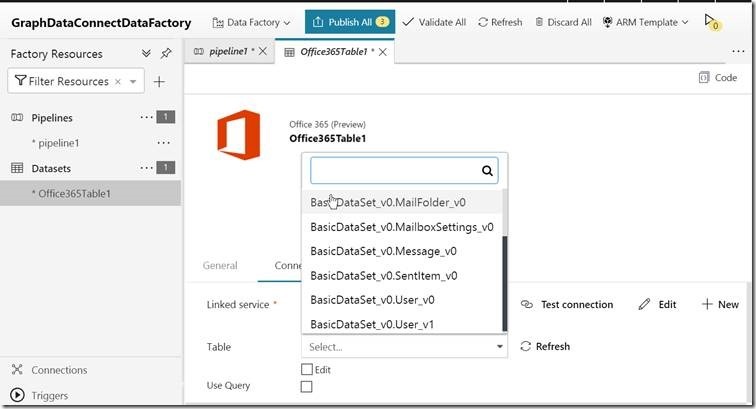
15. In this example, I am going to pull the Users.
16. Yes, Now, we are done with the Source. Let us target the Target. i.e.,nothing but the blob storage which we have already created.
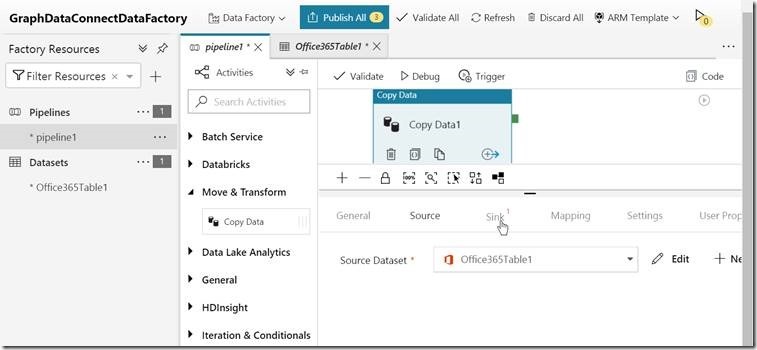
17. Select the Pipeline and Go to the Tab “Sink”
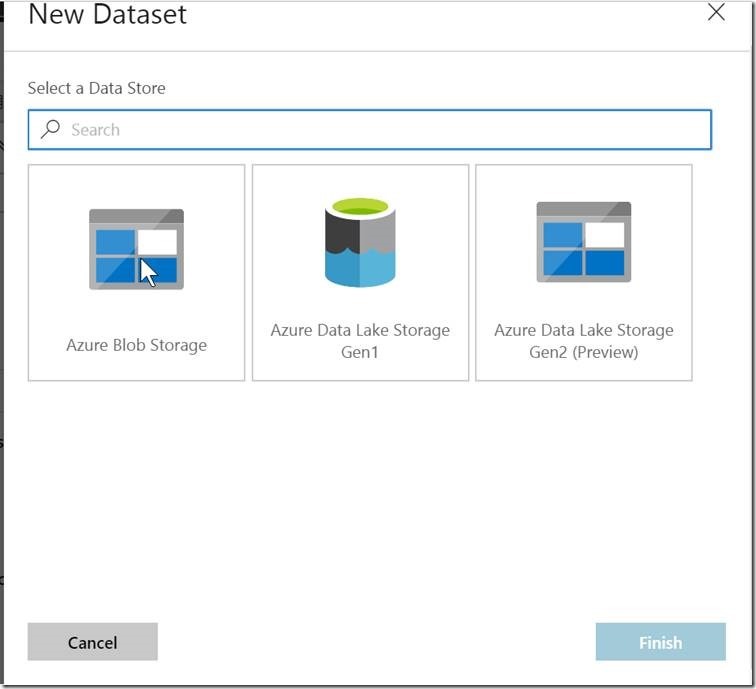
18. Add New Dataset and select the Azure Blob Storage
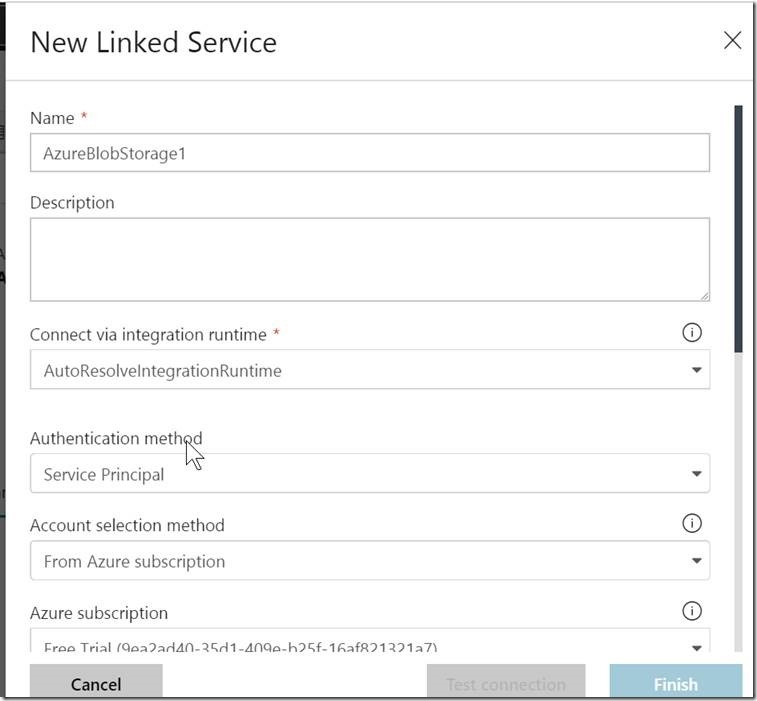
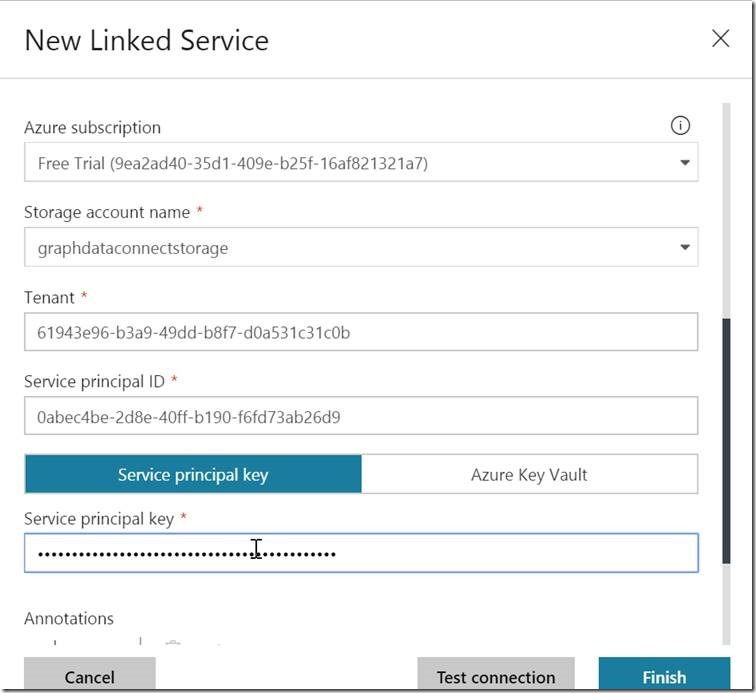
19. Establish a connection for that as well, using the application ID which we have created already.
20. The Linked Service details are as follows.
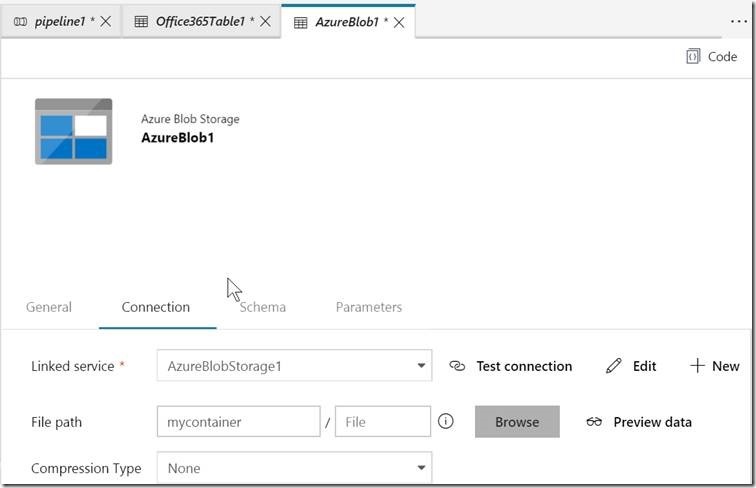
21. Select the Container which we have created.
22. With this, we are done with the pipeline, source and target data sources.
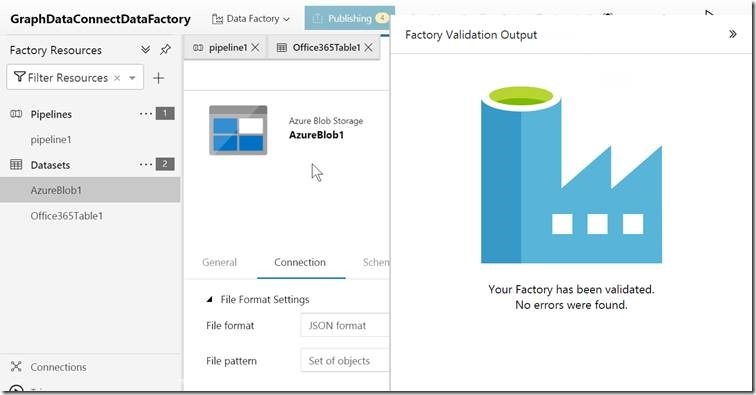
23. Now, Validate the ADF.
24. After the validation, click on the Publish.
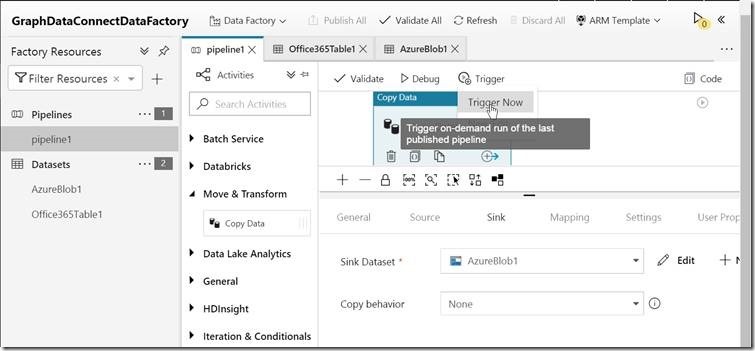
25. Once, it is published, then Trigger the pipeline.
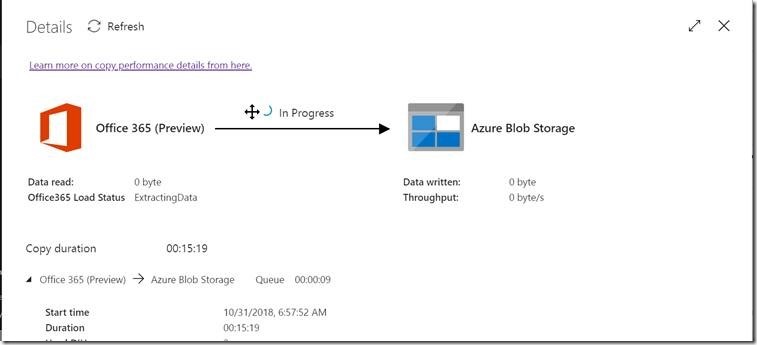
26. Now, the ADF started extracting the user related information from the Office 365 and trying to push it to Azure Blob Storage.
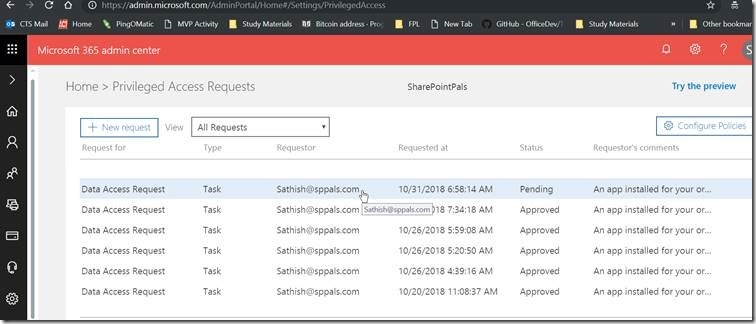
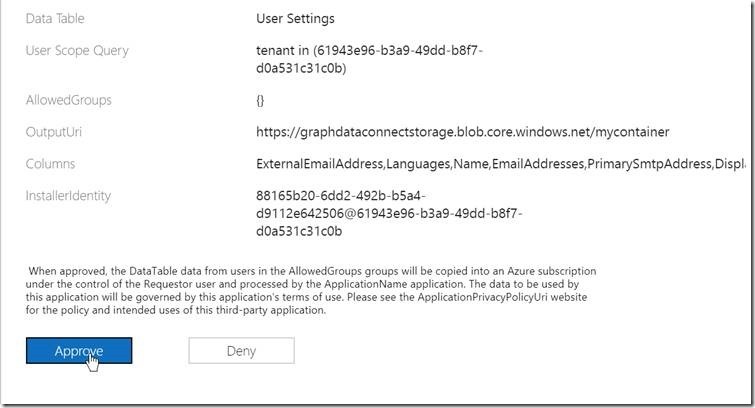
27. Before, that, we need to approve the task by going to the URL https://admin.microsoft.com/AdminPortal/Home#/Settings/PrivilegedAccess
28. Once, we triggered the job, we can monitor the job on the “Monitor” tab.
Happy Coding,
Sathish Nadarajan.



Leave a comment