Patterns and Practices – a very powerful tool to provision the site templates, Create Sites, Site Columns, Content Types etc., Now, in this example, let us start with how to create the Site Column and Content Type using PNP Provisioning Template.
Let me use a console application for this demo.
Create the console application and add the NuGet Packages as shown here.
Add a new folder called Template and Add an XML File inside the template and name the XML as ProvisioningTemplate.xml. We can have the name as anything. In this case, I have taken it as ProvisioningTemplate.xml
The Solution will look like below.
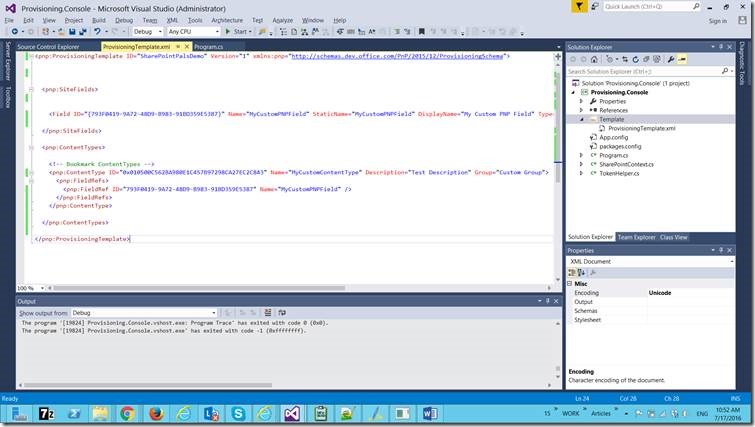
On the ProvisioningTemplate.xml, paste the content as below.
 <?xml version="1.0"?>
 <pnp:ProvisioningTemplate ID="SharePointPalsDemo" Version="1" xmlns:pnp="http://schemas.dev.office.com/PnP/2015/12/ProvisioningSchema">


   <pnp:SiteFields>


     <Field ID="{793F0419-9A72-48D9-B983-91BD359E5387}" Name="MyCustomPNPField" StaticName="MyCustomPNPField" DisplayName="My Custom PNP Field" Type="Note" Required="FALSE" RichText="FALSE" Group="My Custom PNP Fields" />

   </pnp:SiteFields>

   <pnp:ContentTypes>

     <!-- Bookmark ContentTypes -->
     <pnp:ContentType ID="0x010500C562BA980E1C457B97298CA27EC2C843" Name="MyCustomContentType" Description="Test Description" Group="Custom Group">
       <pnp:FieldRefs>
         <pnp:FieldRef ID="793F0419-9A72-48D9-B983-91BD359E5387" Name="MyCustomPNPField" />
       </pnp:FieldRefs>
     </pnp:ContentType>

   </pnp:ContentTypes>

 </pnp:ProvisioningTemplate>
Here, I am trying to Create a Site Column and a Content Type.
The below method will provision the site columns and content types mentioned in the XML.
 private static void ProvisioningDemo()
         {
             OfficeDevPnP.Core.AuthenticationManager authMgr = new OfficeDevPnP.Core.AuthenticationManager();
             string siteURL = "https://sppals.sharepoint.com/sites/VariationPublishingSite";
             string userName = "sathish@sppals.onmicrosoft.com";
             string password = "***********";
             string file = "ProvisioningTemplate.xml";

             string directory = "D:\PRACTICE SOURCE CODE\PNP\Provisioning.Console\Provisioning.Console\Template";
             var provisioningProvider = new XMLFileSystemTemplateProvider(directory, string.Empty);
             var provisioningTemplate = provisioningProvider.GetTemplate(file);
             provisioningTemplate.Connector.Parameters[FileConnectorBase.CONNECTIONSTRING] = directory;

             using (var ctx = authMgr.GetSharePointOnlineAuthenticatedContextTenant(siteURL, userName, password))
             {
                 ctx.Load(ctx.Web);
                 ctx.ExecuteQueryRetry();
                 ctx.Web.ApplyProvisioningTemplate(provisioningTemplate);
                 ctx.ExecuteQueryRetry();
             }

             System.Console.ReadLine();
         }
With the one line, the entire Site Columns can be provisioned to the Site specified. In the upcoming articles, let us have a look at how to create the entire components like provisioning master pages, site assets, etc., But one thing is sure like, by using PNP, we can provision the sites from the remove machine without even a single minute of down time.
Happy Coding,
Sathish Nadarajan.


Leave a comment