Azure Cognitive Search is a cloud-based search solution in Azure, and it provides advanced search capabilities to applications like natural language processing, Optical Character Recognition (OCR), text translation, machine learning-powered search results. In this article, we will explore how to use Azure Cognitive Search in SharePoint, to enrich the search experience in SharePoint. By the time I write this article, SharePoint indexer support is currently in public preview, and REST API Indexer in preview
First and foremost, we need to setup search indexer on SharePoint document library content. So, that Azure Cognitive Search can crawl on the data and metadata from the library.
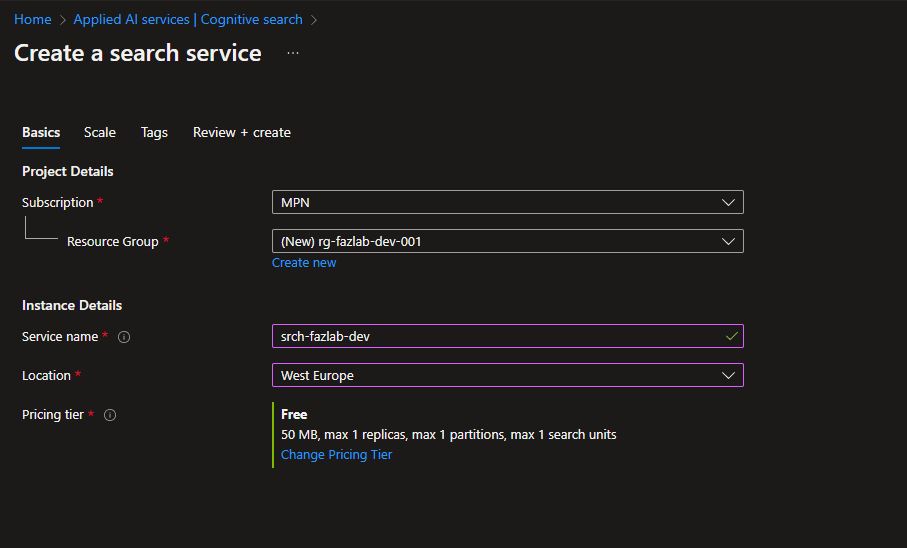
Step 1: Create an Azure Cognitive Search service from Azure Portal.
Step 2: Create an Azure AD App and provide necessary Graph API permission which will be used for SharePoint indexer. We need to provide API permission for the App, and it can either Application or Delegated permissions. In my case, I selected Applications permissions and added the following permissions,
Files.Read.All
Sites.Read.All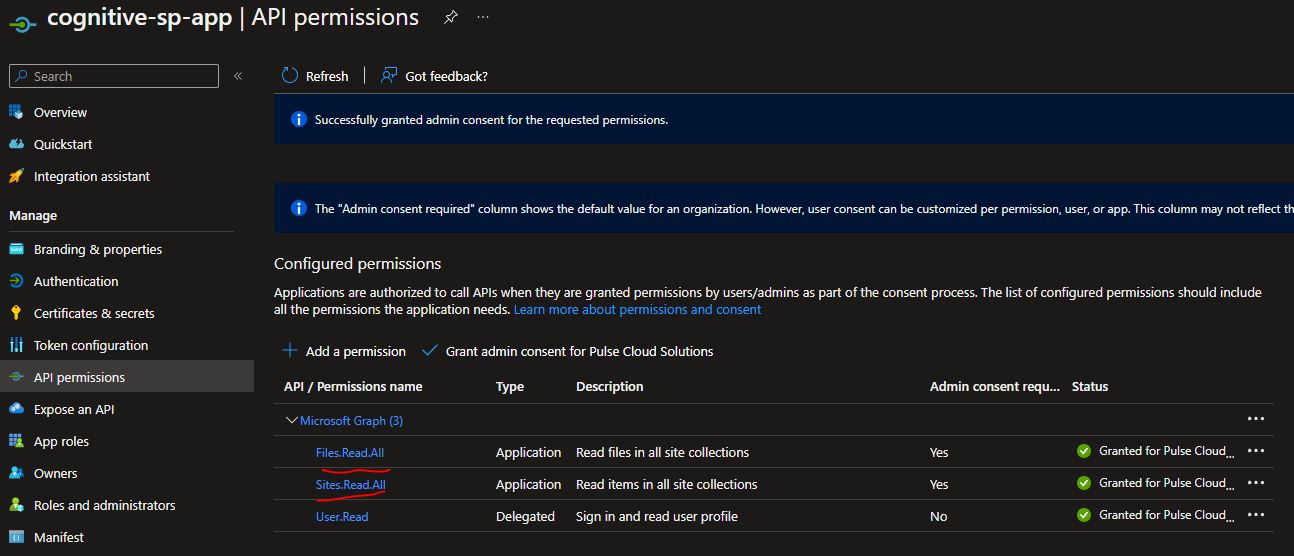
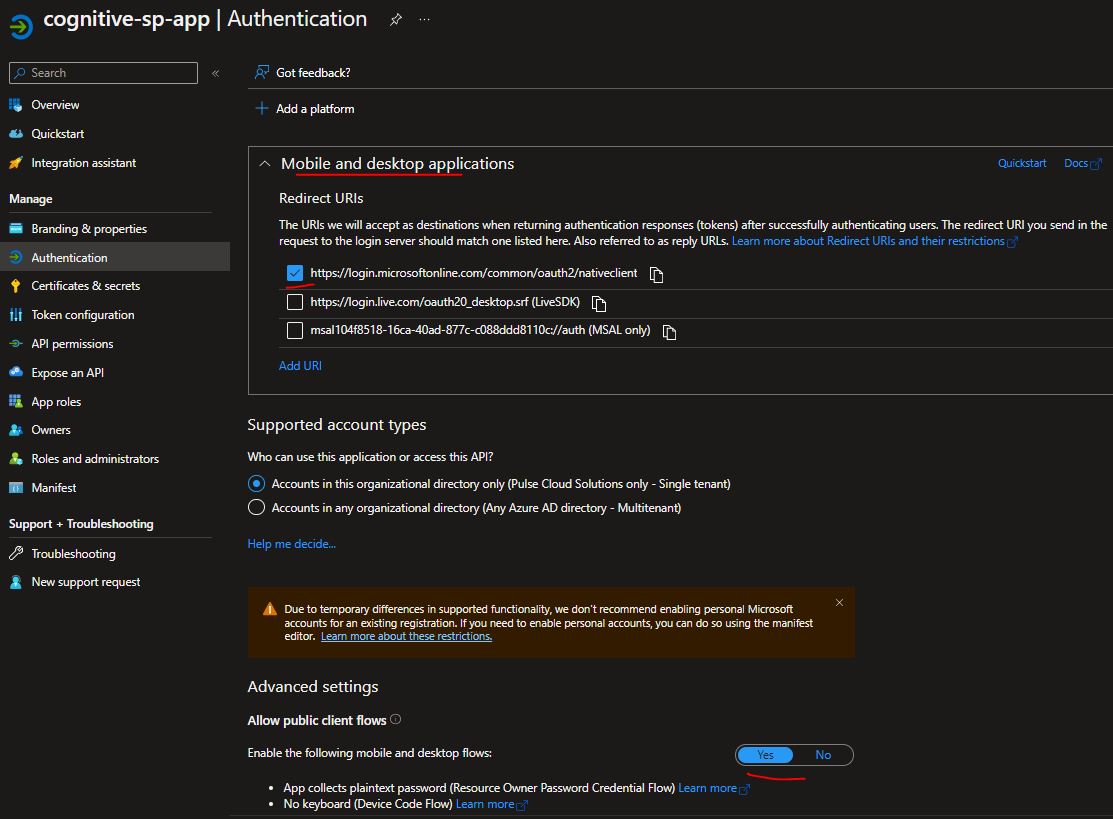
In Authentication section, enable “Allow public client flows” and click on Add a platform then choose “Mobile and desktop applications” and check “https://login.microsoftonline.com/common/oauth2/nativeclient”
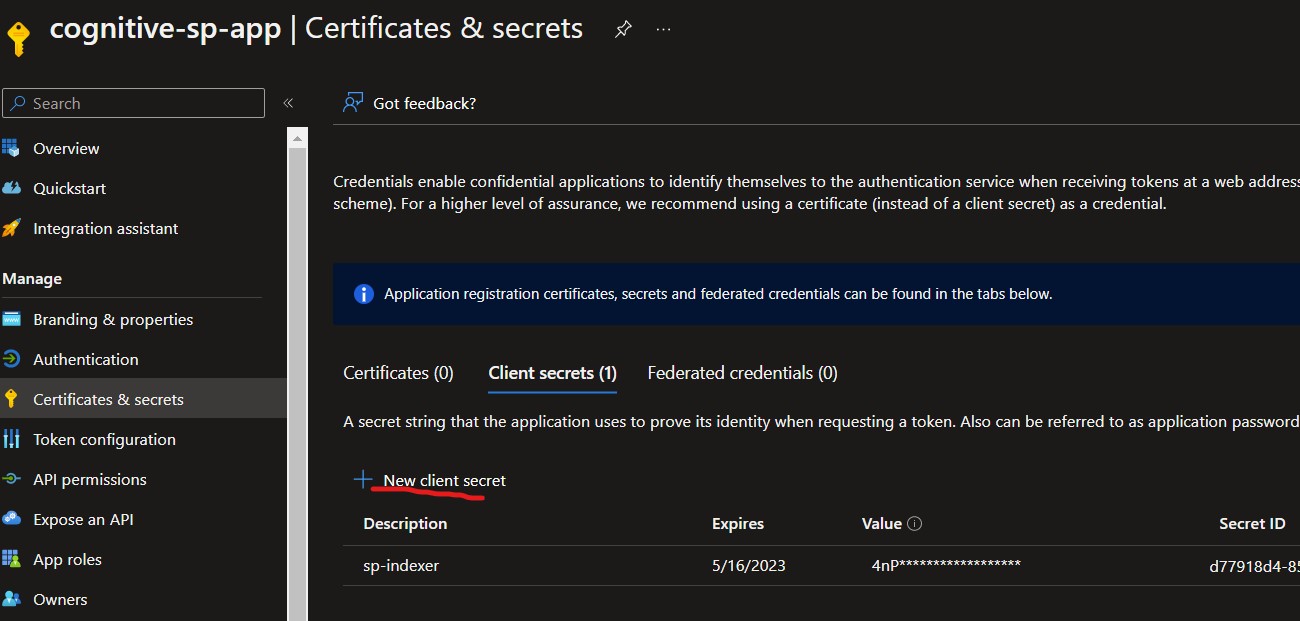
Since we are using Application API Permissions, we need secret to authenticate to Azure AD app and it can be created under Certificates & Secrets section
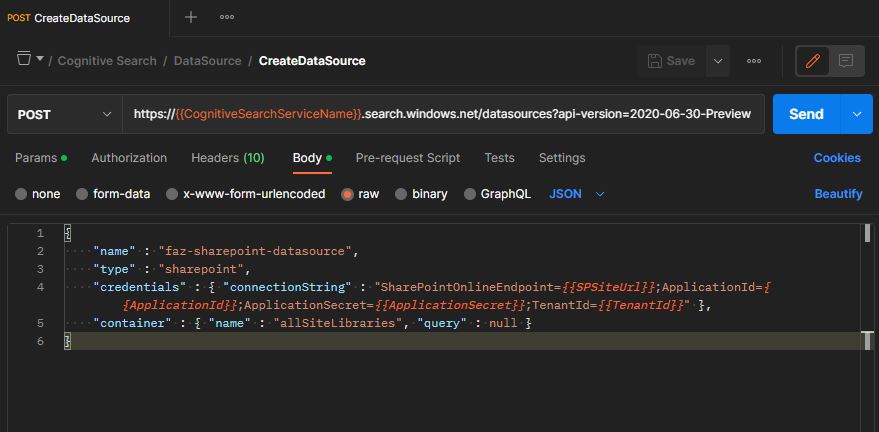
Step 3: Prepare data source for SharePoint indexing and it can be created using Azure Cognitive Search REST API,
Verb: POST
URL: https://[service name].search.windows.net/datasources?api-version=2020-06-30-Preview
Content-Type: application/json
api-key: [admin key]
body: {
    "name" : "faz-sharepoint-datasource",
    "type" : "sharepoint",
    "credentials" : { "connectionString" : "[connection-string]" },
    "container" : { "name" : "defaultSiteLibrary", "query" : null }
}
Since we are using Application API permissions, the connection string format is as follows,
SharePointOnlineEndpoint=[SharePoint-site-url];ApplicationId=[Azure-AD-App ID];ApplicationSecret=[Azure-AD-App-client-secret];TenantId=[SharePoint-site-tenant-id]
I have created an environmental variables in my Postman so that it will be easy for me to call the API from PostMan, In my last article we discussed on How to use REST API to manage Cognitive Search API using Postman
If we want to include custom column to index from document library then we need to updated the “container” property in the data source by using query,
Example:
"container" : {
"name" : "useQuery",
"query" : "includeLibrary=https://abc.sharepoint.com/mysite/MyDocumentLibrary;additionalColumns=MyCustomColumn,MyCustomColumn2"
}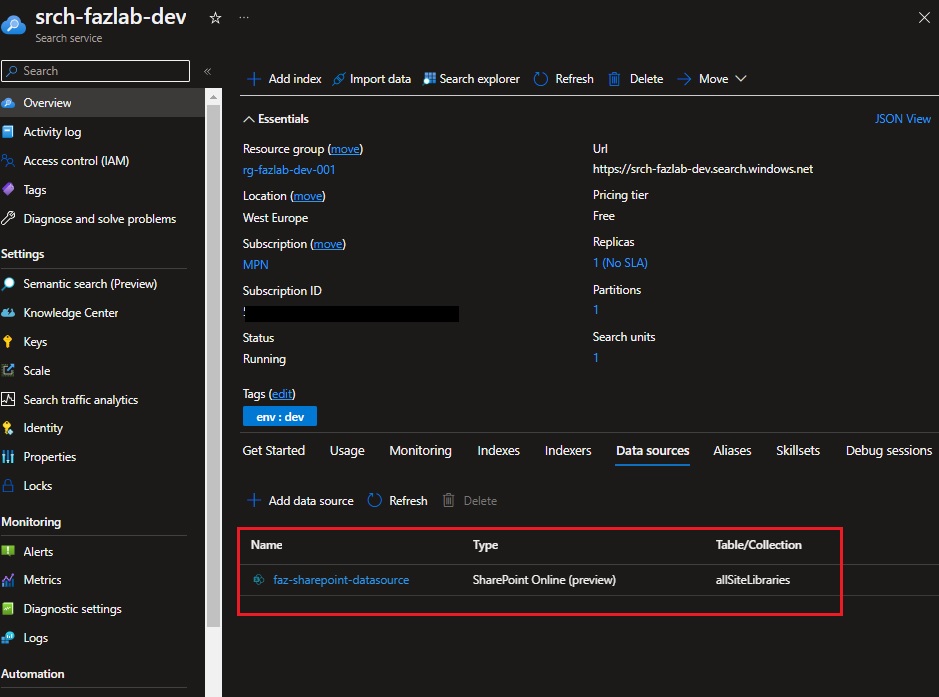
In the above screenshot, we can see that the data source for SharePoint has been created successfully. In the next article, we will see how to create an index and indexer to query the metadata of a SharePoint document library. Thank you for reading.
Happy Coding,
Fazil

Leave a comment