In Many cases, we may need a Console application to do some sort of maintenance or any patch work to be done on the SharePoint Environment.
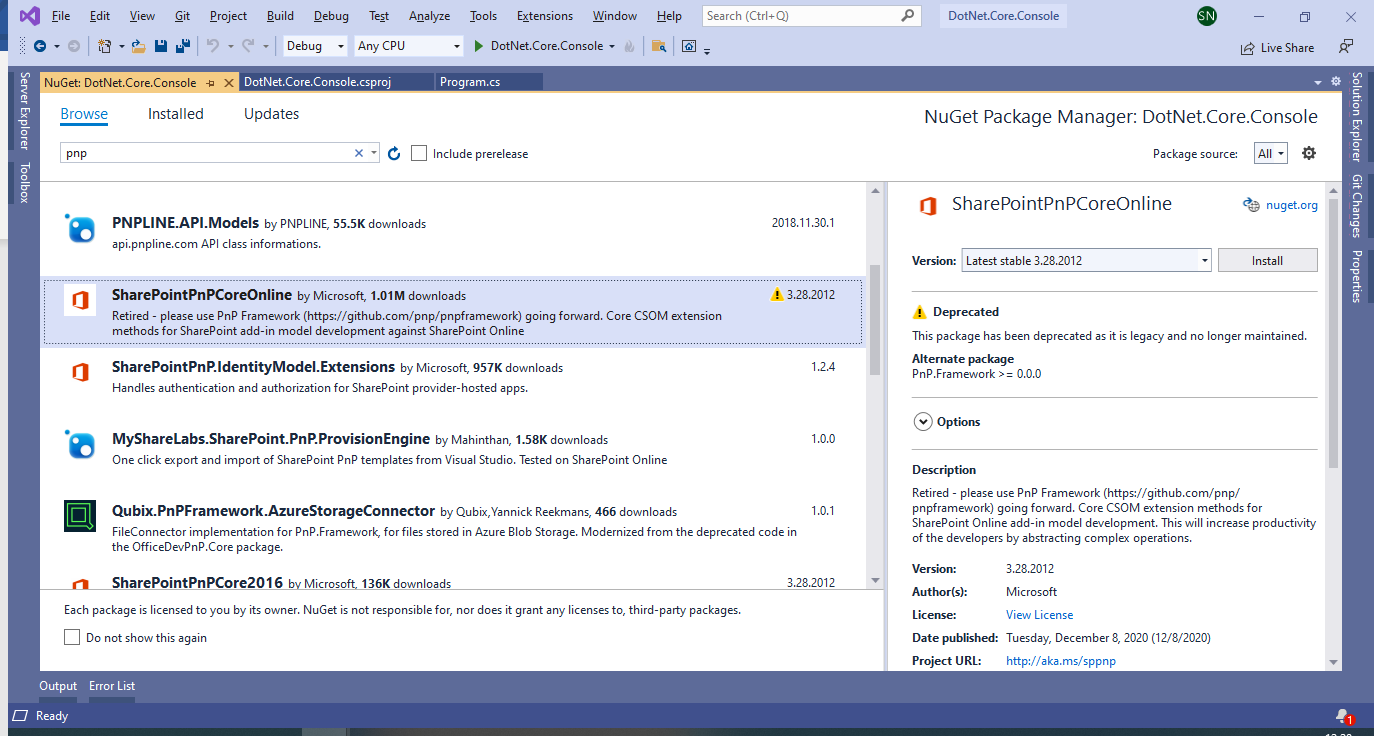
To connect with the SharePoint, we usually use the SharePointPNPCoreOnline Nuget package. But now, it is deprecated. Instead, we can use either PNP.Framework or PNP.Core.
PNP.Framework can be used from a .Net Framework application.
PNP.Core can be used from a .Net Core application.
In this application, let us see the steps to create the application step by step.
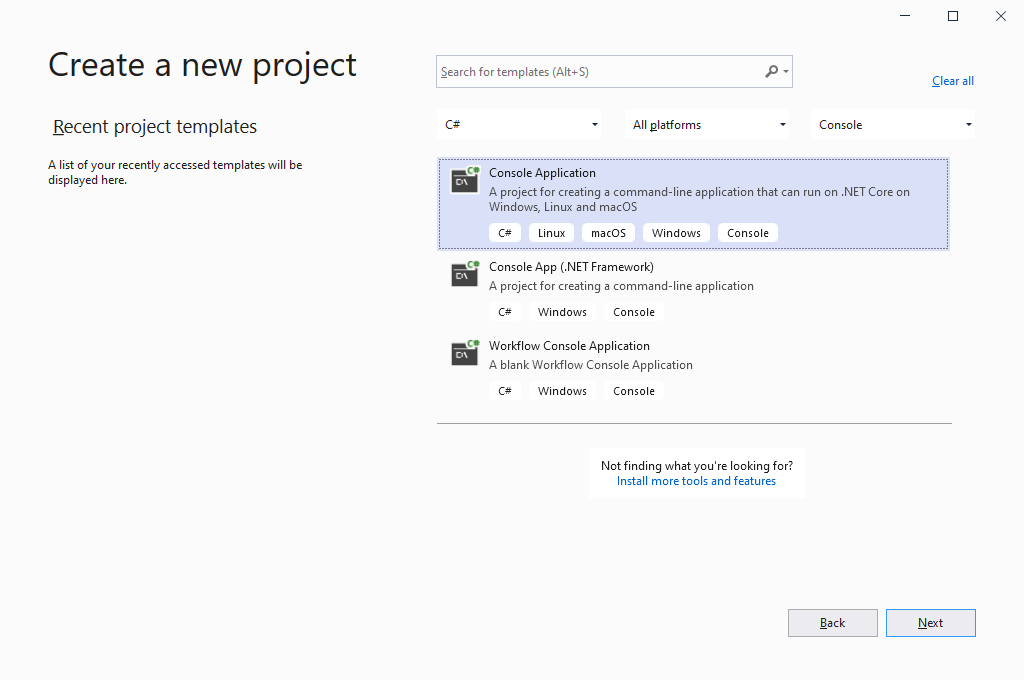
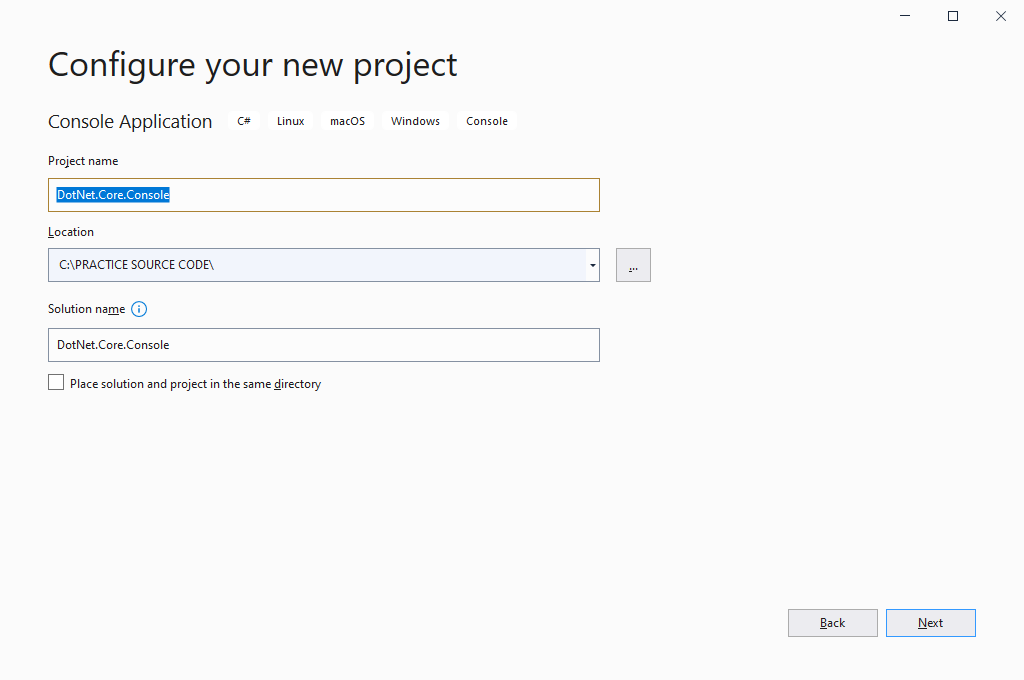
1. Open VS 2019 and create a new project.
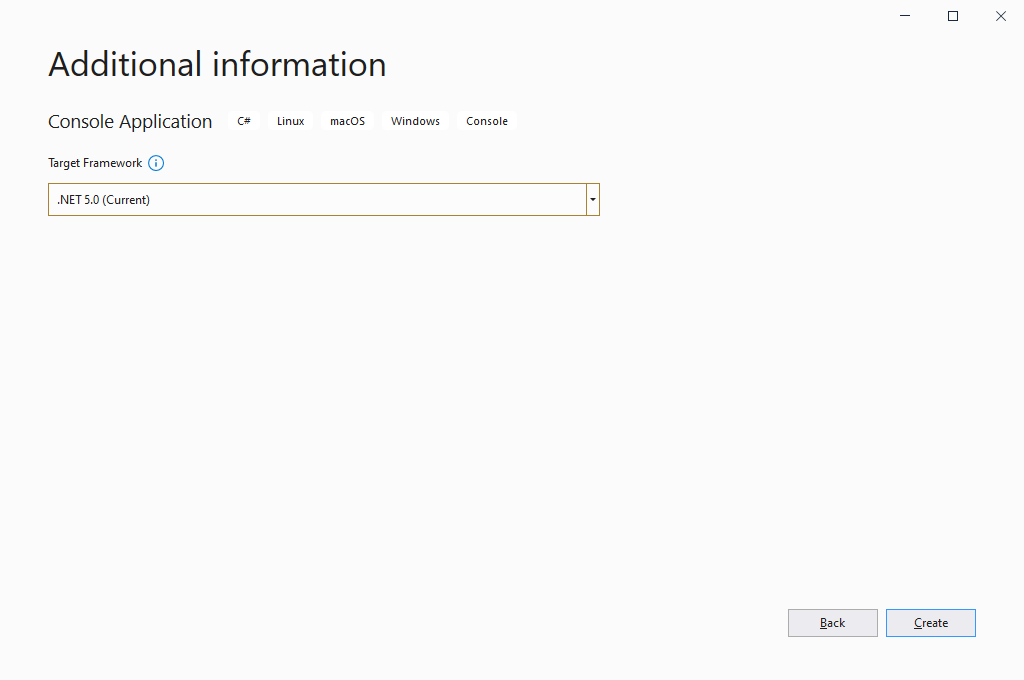
2. Select the Framework as .Net 5.0
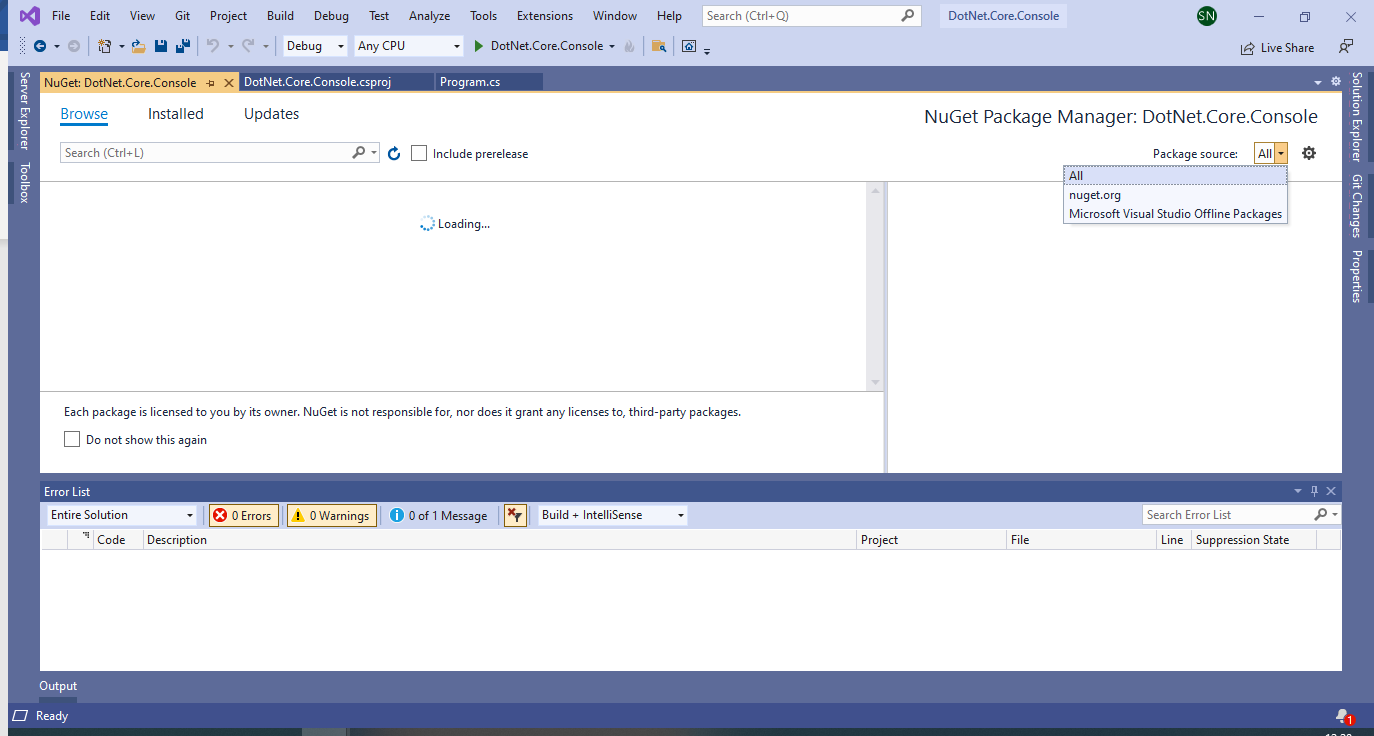
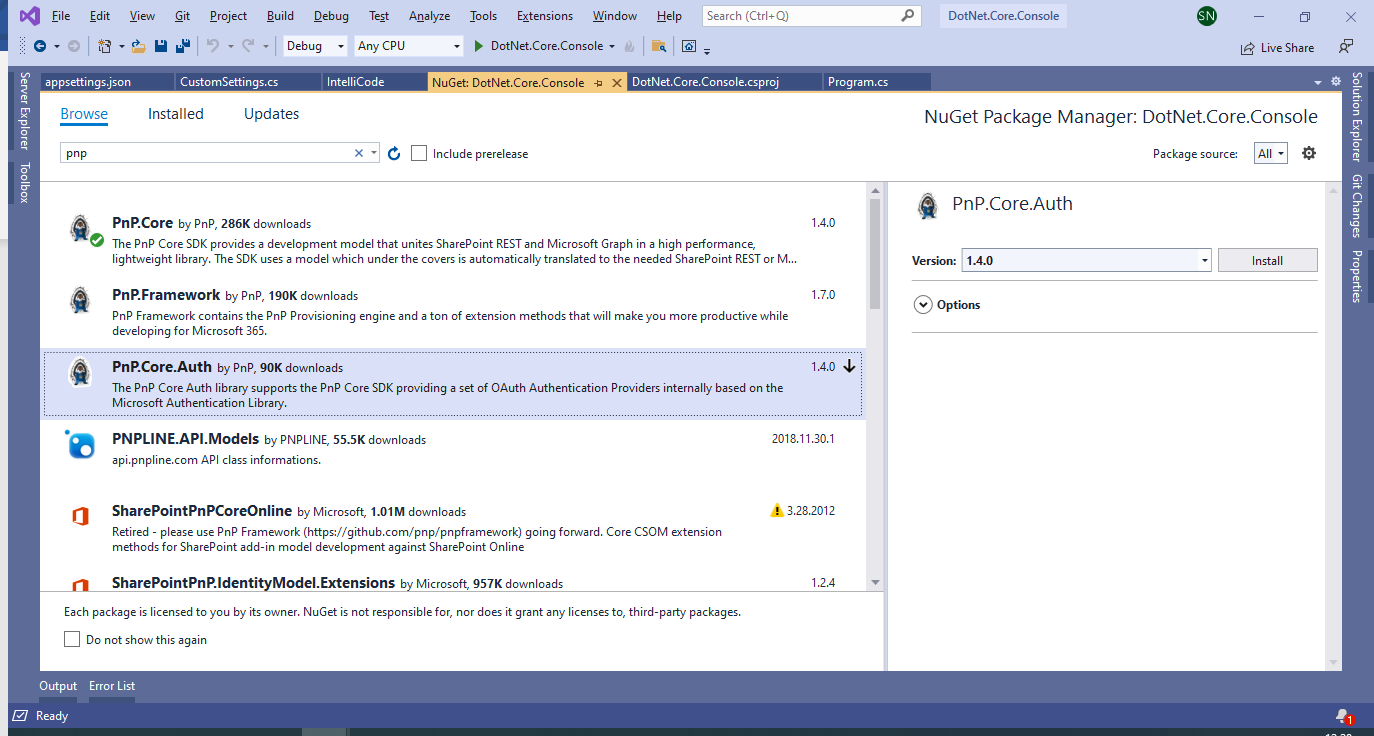
3. Open the NuGet Manager.

4. The below one is deprecated.
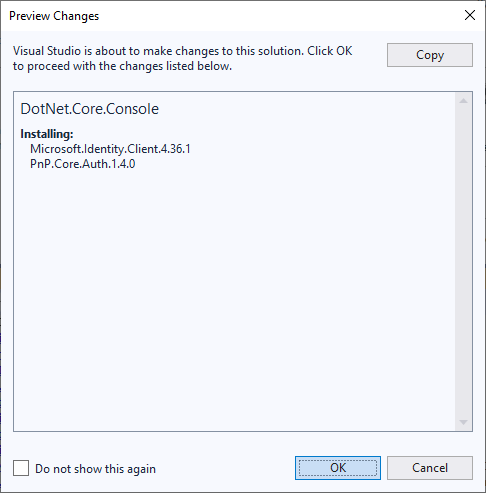
5. Install the PnP.Core
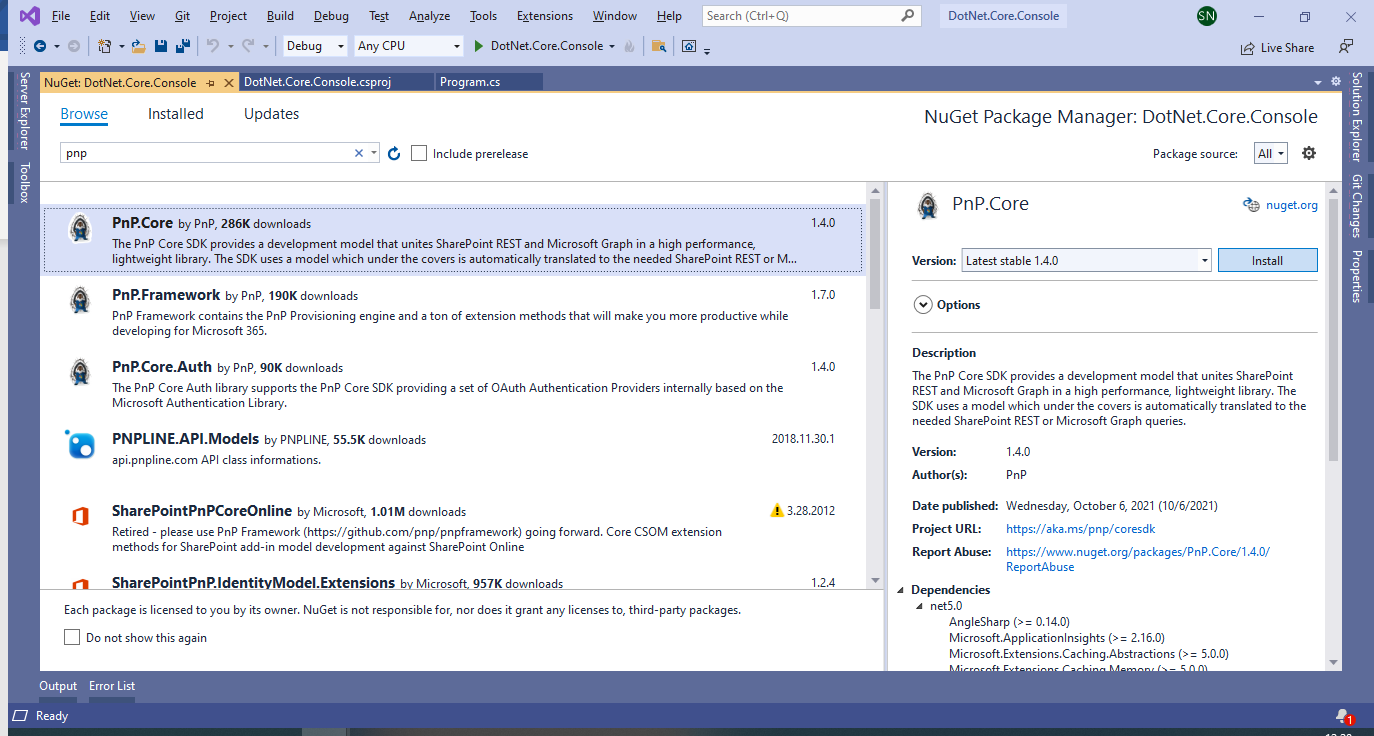
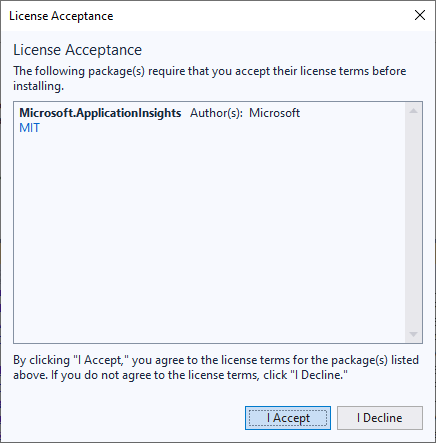
6. Install PnP.Core.Auth

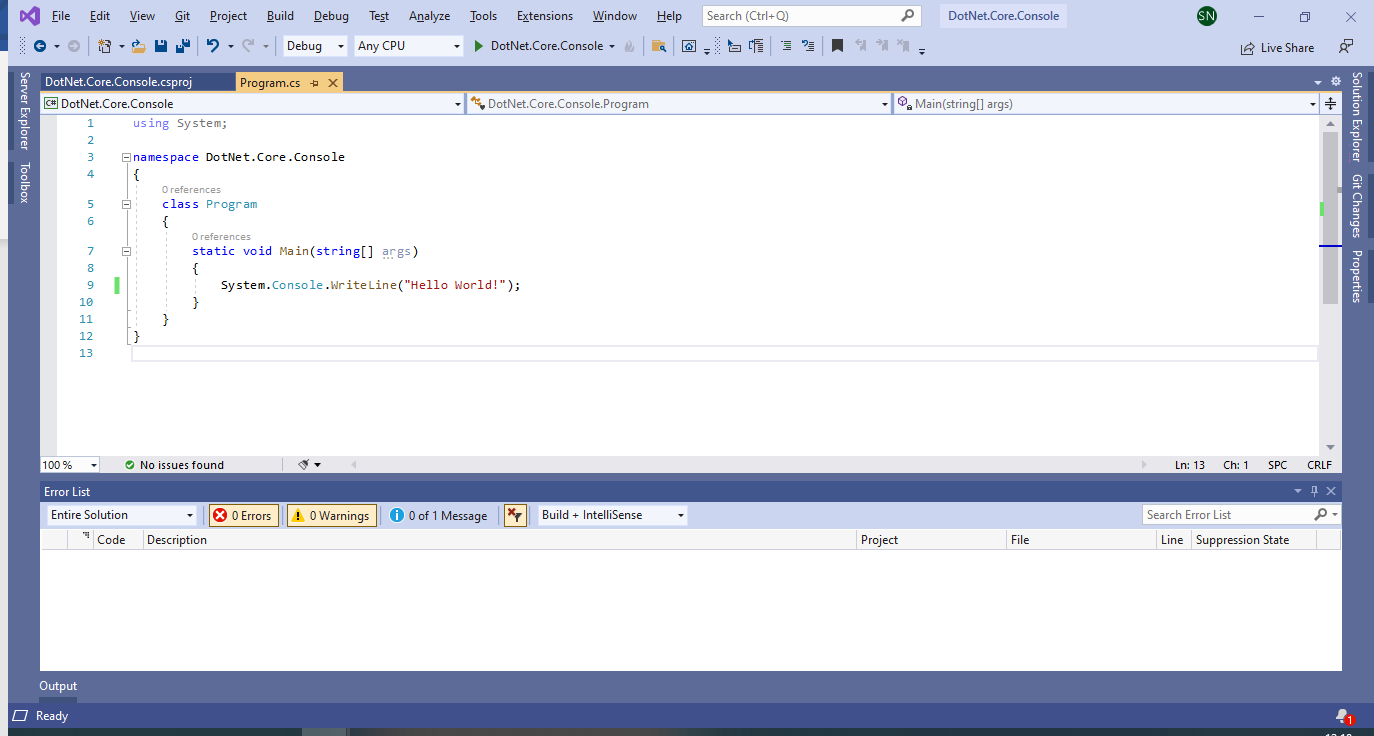
7. After installing, the Program.cs will looks as below.
using Microsoft.Extensions.Configuration;
using Microsoft.Extensions.DependencyInjection;
using Microsoft.Extensions.Hosting;
using Microsoft.Extensions.Logging;
using PnP.Core.Services;

using System;
using System.Linq;
using System.Threading.Tasks;

namespace DotNet.Core.Console
{
class Program
{
public static async Task Main(string[] args)
{
var host = Host.CreateDefaultBuilder()

.ConfigureLogging((hostingContext, logging) =>
{
logging.AddEventSourceLogger();
logging.AddConsole();
})
.ConfigureServices((hostingContext, services) =>
{
// Read the custom configuration from the appsettings..json file
var customSettings = new CustomSettings();
hostingContext.Configuration.Bind("CustomSettings", customSettings);

// Add the PnP Core SDK services
services.AddPnPCore(options => {

options.PnPContext.GraphFirst = true;

options.Sites.Add("DemoSite",
new PnP.Core.Services.Builder.Configuration.PnPCoreSiteOptions
{
SiteUrl = customSettings.DemoSiteUrl

});
});

services.AddPnPCoreAuthentication(
options =>
{
options.Credentials.Configurations.Add("interactive",
new PnP.Core.Auth.Services.Builder.Configuration.PnPCoreAuthenticationCredentialConfigurationOptions
{
ClientId = customSettings.ClientId,
TenantId = customSettings.TenantId,
Interactive = new PnP.Core.Auth.Services.Builder.Configuration.PnPCoreAuthenticationInteractiveOptions
{
RedirectUri = customSettings.RedirectUri
}
});

options.Credentials.Configurations.Add("credentials",
new PnP.Core.Auth.Services.Builder.Configuration.PnPCoreAuthenticationCredentialConfigurationOptions
{
ClientId = customSettings.ClientId,
TenantId = customSettings.TenantId,
Interactive = new PnP.Core.Auth.Services.Builder.Configuration.PnPCoreAuthenticationInteractiveOptions
{
RedirectUri = customSettings.RedirectUri
},
//},
//CredentialManager = new PnP.Core.Auth.Services.Builder.Configuration.PnPCoreAuthenticationCredentialManagerOptions
//{
// CredentialManagerName = customSettings.CredentialManager
//}

});

// Configure the default authentication provider
options.Credentials.DefaultConfiguration = "interactive";

// Map the site defined in AddPnPCore with the
// Authentication Provider configured in this action
options.Sites.Add("DemoSite",
new PnP.Core.Auth.Services.Builder.Configuration.PnPCoreAuthenticationSiteOptions
{
AuthenticationProviderName = "interactive"
});
});
})
// Let the builder know we're running in a console
.UseConsoleLifetime()
// Add services to the container
.Build();

await host.StartAsync();

using (var scope = host.Services.CreateScope())
{
var pnpContextFactory = scope.ServiceProvider.GetRequiredService();

using (var context = await pnpContextFactory.CreateAsync("DemoSite"))
{
//Use the context to do the operations.

}
}

host.Dispose();
}
}
}
8. Appsettings.json will be as below.
{
"key": "generic",
"CustomSettings": {
"ClientId": "2ab1db09-3a59-48bc-*******-******",
"TenantId": "61943e96-b3a9-49dd-*****-*****",
"DemoSiteUrl": "https://sppalsmvp.sharepoint.com/sites/MySiteCollection/",
"DemoSubSiteUrl": "https://sppalsmvp.sharepoint.com/sites/MySiteCollection/",
"CredentialManager": "sppalsmvp",
"RedirectUri": "http://localhost",
"UserPrincipalName": "sathish@sppals.com",
"Password": "*****"
},
"Logging": {
"LogLevel": {
"Default": "Information"
}
}
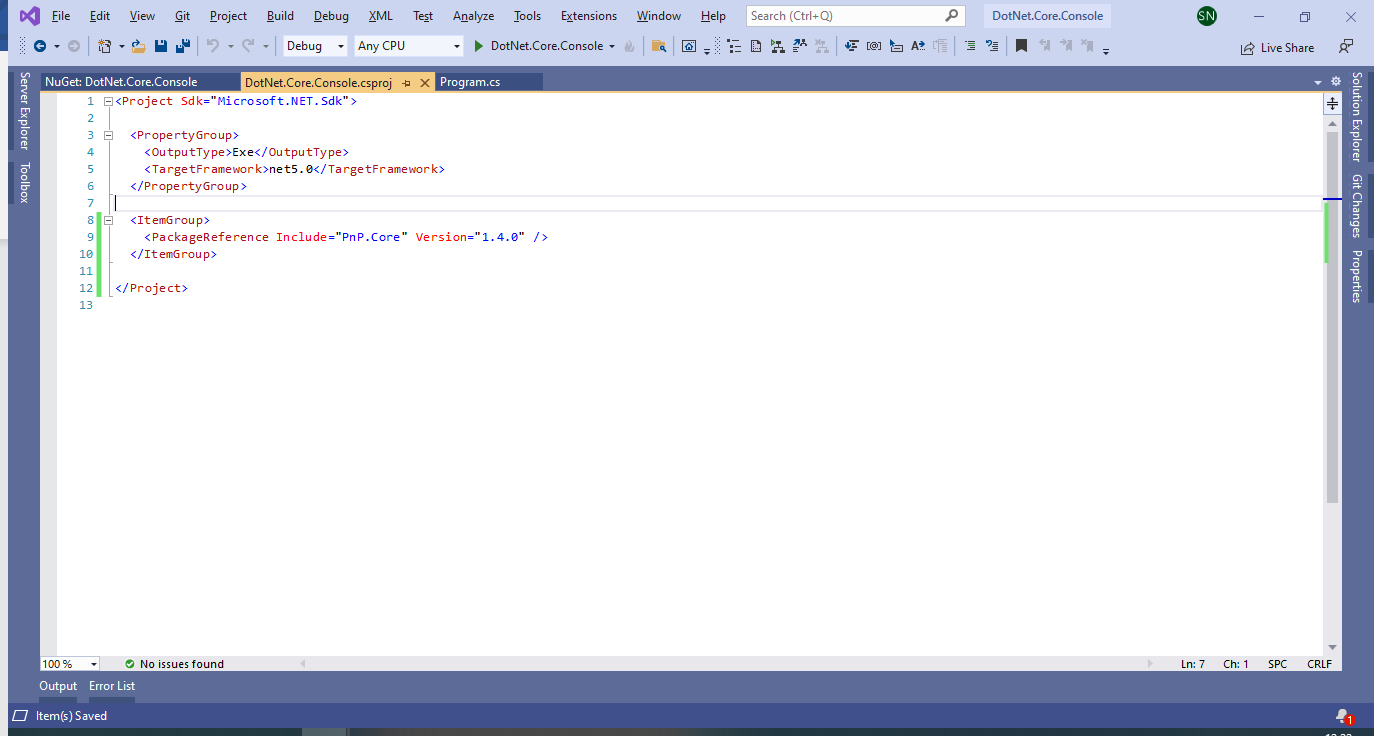
}9. Csproj as below
<Project Sdk="Microsoft.NET.Sdk">


<PropertyGroup>

<OutputType>Exe</OutputType>

<TargetFramework>net5.0</TargetFramework>


</PropertyGroup>


<ItemGroup>

<PackageReference Include="Microsoft.Extensions.Hosting" Version="5.0.0" />

<PackageReference Include="PnP.Core" Version="1.4.0" />

<PackageReference Include="PnP.Core.Auth" Version="1.4.0" />

</ItemGroup>


<ItemGroup>

<None Update="appsettings.json">

<CopyToOutputDirectory>Always</CopyToOutputDirectory>

</None>

</ItemGroup>


</Project>
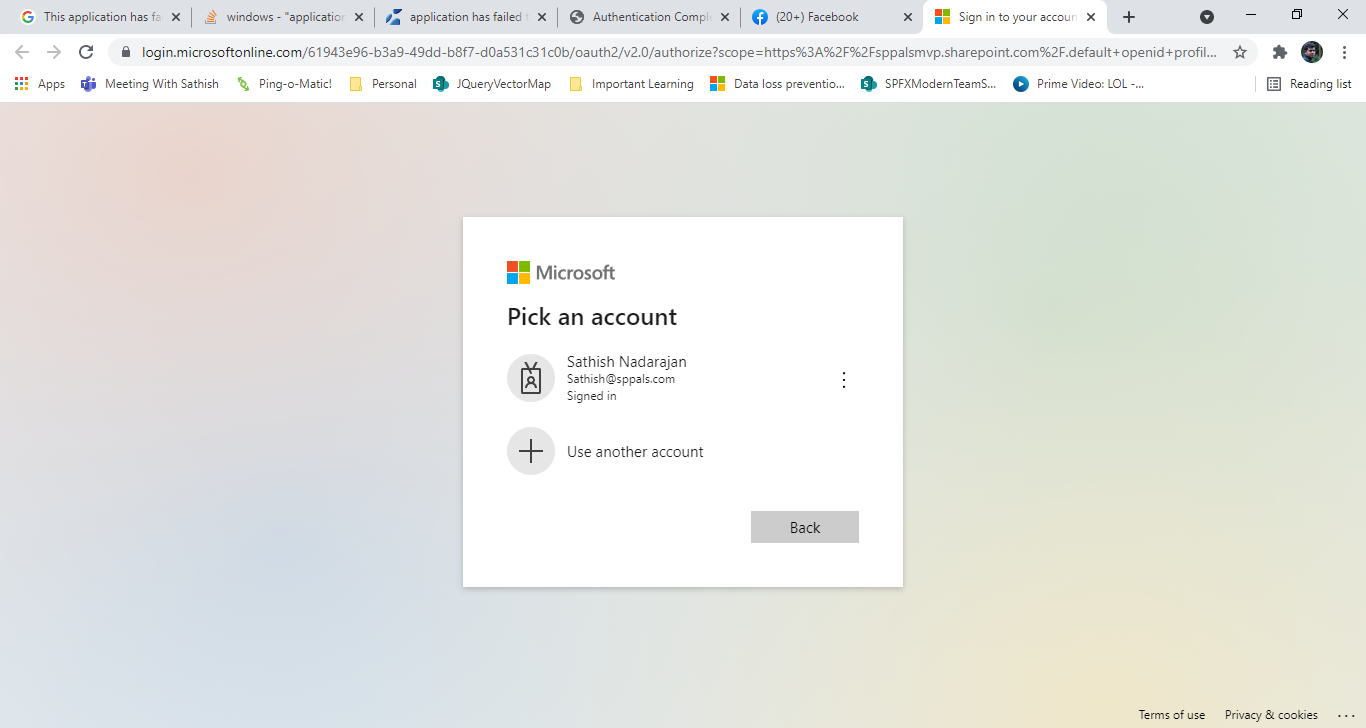
10. When we execute this, the interactive login will be popped up.
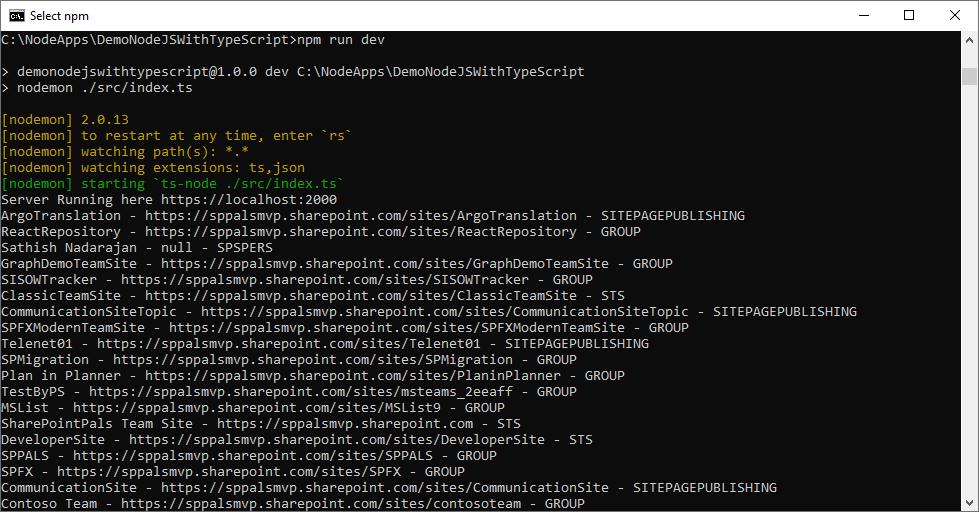
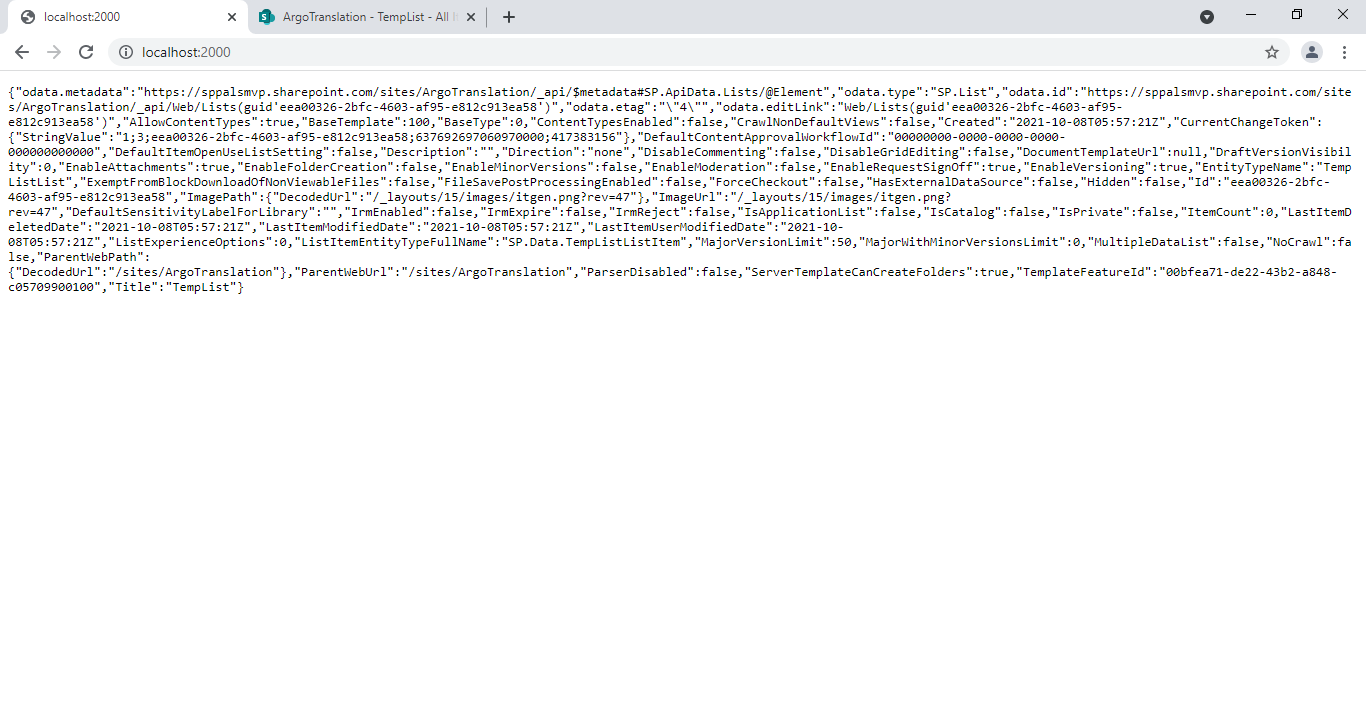
With this, the .Net Core Console application is ready to work with SharePoint tenant. We can do our activities with this PNPCoreContext object.
There are many other ways of authentication and getting the client context. In this article, I have demonstrated the Interactive Login and the Client Credentials method. In the upcoming articles, let us see how to get the context using user name and password, Azure Certificates etc.,
Happy Coding
Sathish Nadarajan


Leave a comment