In this article, let us see how to create the Virtual Machine in Azure Environment.
Let us have a look step by step.
1. Login to https://portal.azure.com
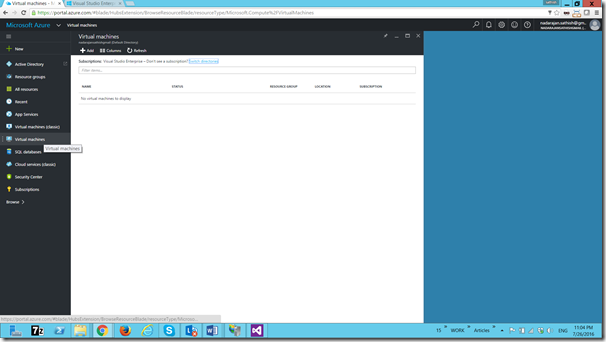
2. Click on the Virtual Machines
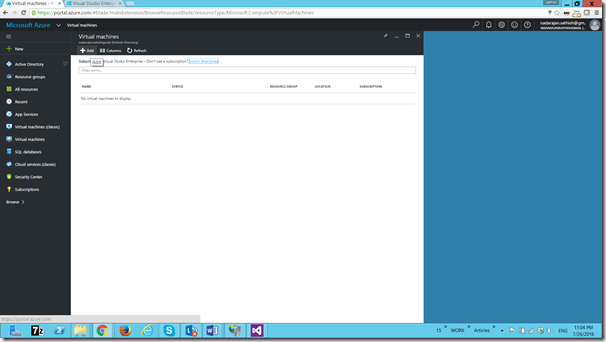
3. Click on ADD
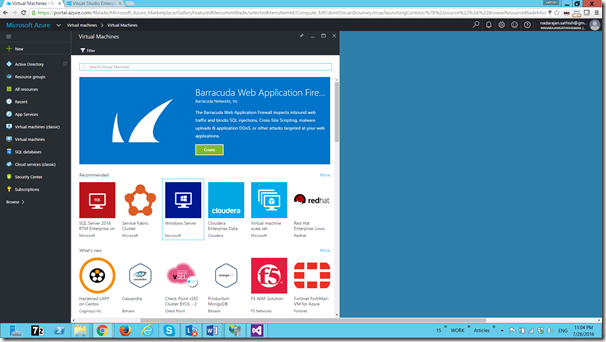
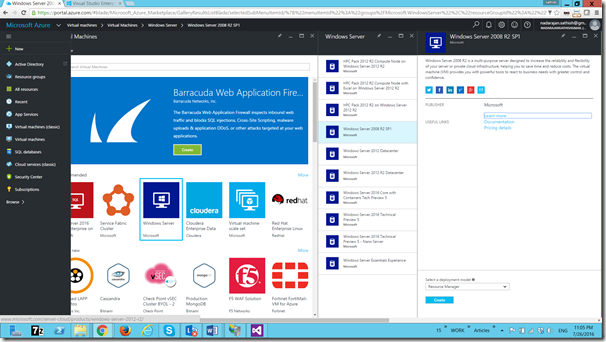
4. Click on Windows Server. As I am going to create a Windows Server 2012 R2 Server for my development purpose.
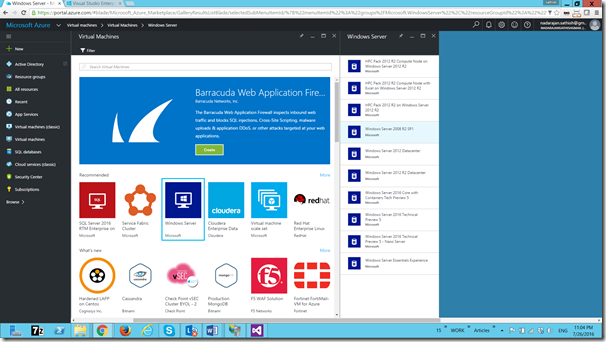
5. The List of available Windows Servers will be listed on the right hand side. On that Select the appropriate OS which you require.
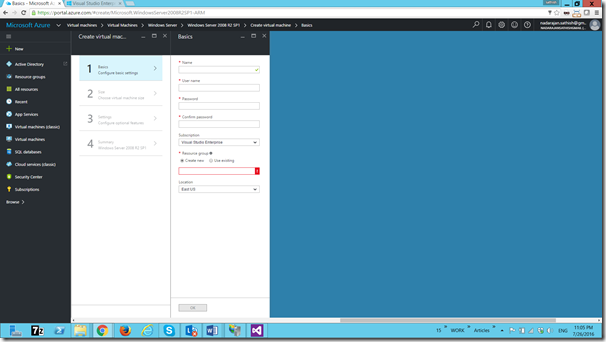
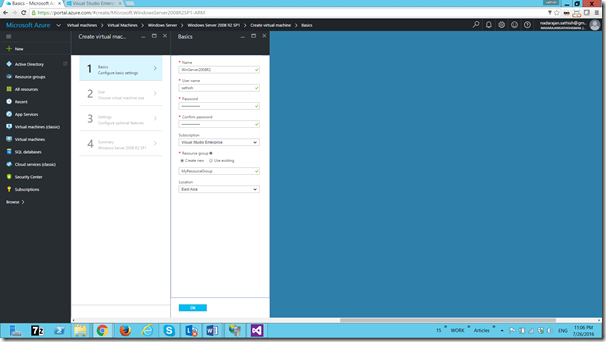
6. Enter the Name and the User Name, Password as shown below.
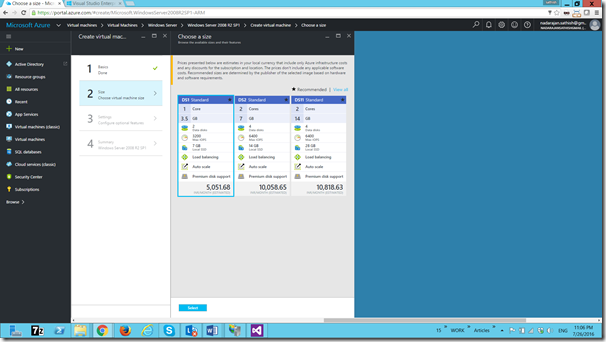
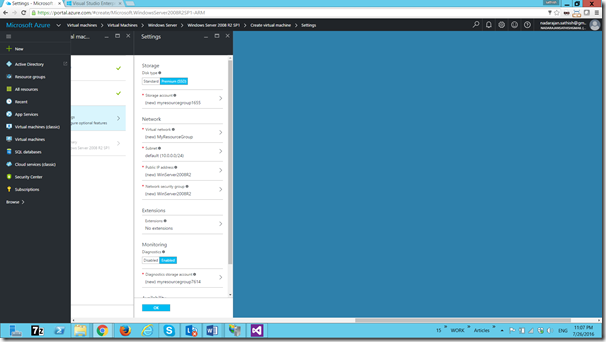
7. Select the CPU Details based on the pricing and requirement.
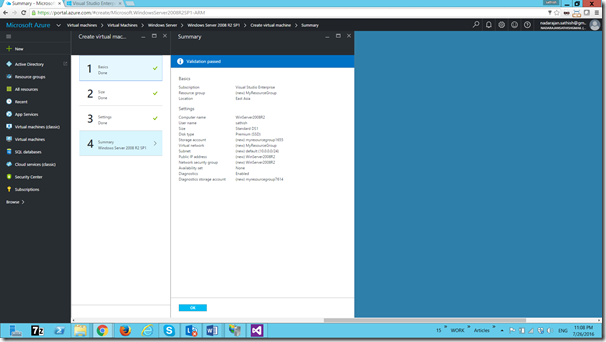
8. Confirm the selections.
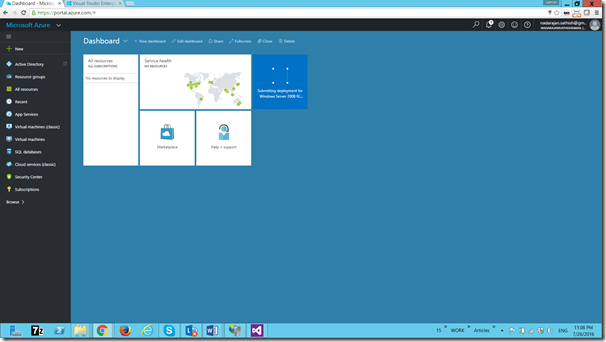
9. Click on OK. The Virtual Machine will get started creating.
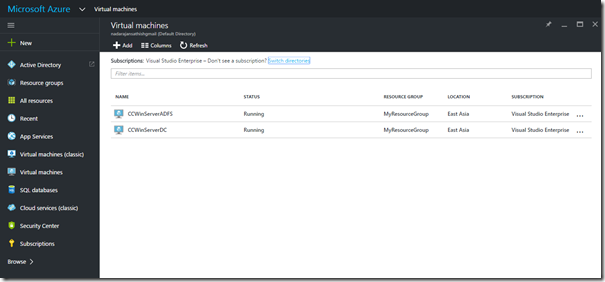
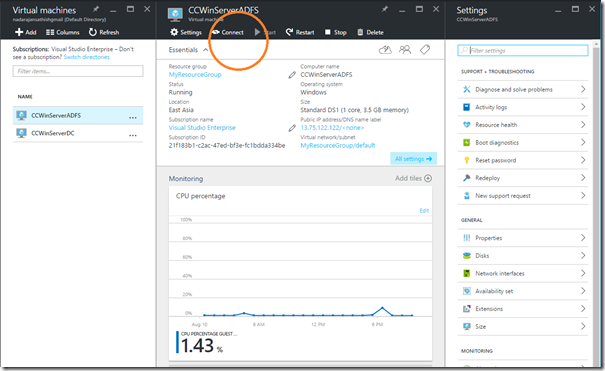
10. Once the VMs are created, they will be listed like below.
11. Click on VM.
12. We will see the above screen. From that, we can click on Connect to connect the Server.
13. Or else, we can go with the MSTSC and give the IP Address to login as Remote Desktop.
Happy Coding,
Sathish Nadarajan.

Leave a comment