In this article, let us see how to create a PageLayout using Design Manager. In the previous article, we saw about the creating a page layout using Visual Studio, SharePoint Designer. Here let us utilize a new feature in SharePoint 2013, which is not available on SharePoint 2010 – Design manager.
Design Manager is a new feature which is available only in SharePoint 2013 (not in the previous flavors of SP), that allows us to easily create the branding artifacts like MasterPages, CSS, PageLayouts Etc.,
Design Manager will be available only in Publishing template and not in the Developer Site Template. Hence, we need to create a Publishing Site for this demo.
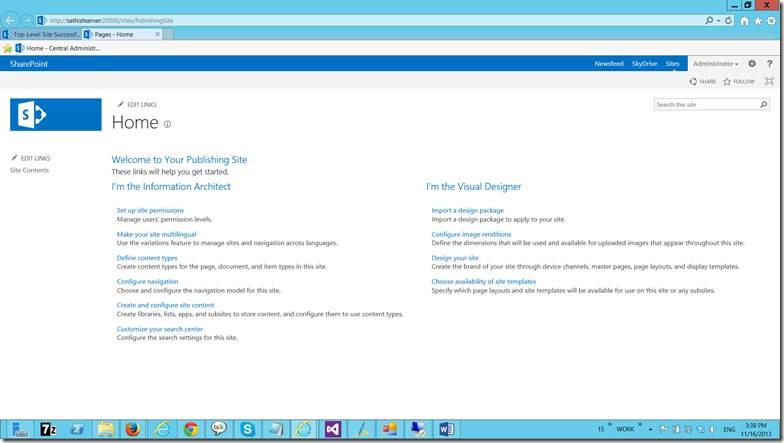
Let me create a publishing Site.
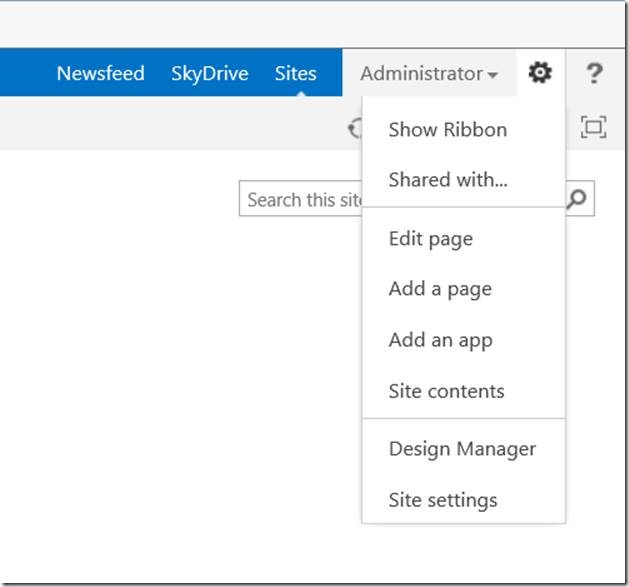
On the Settings Icon on the Right top corner, you can find a new link called Design Manager.
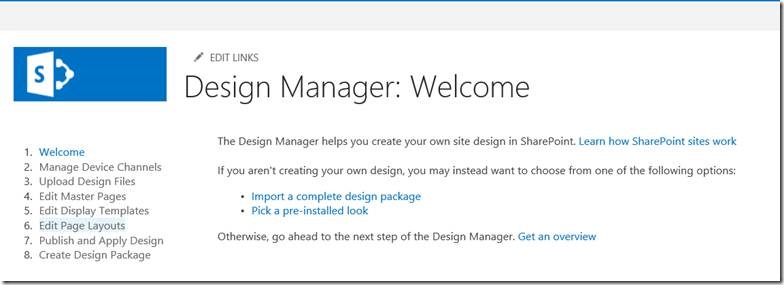
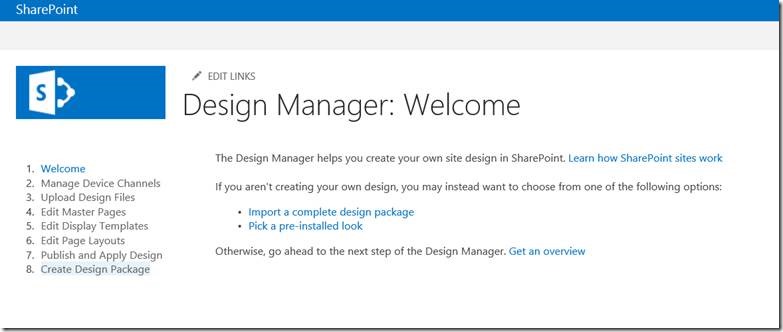
Design Manager will look like this.
Click on the Edit page Layouts link.
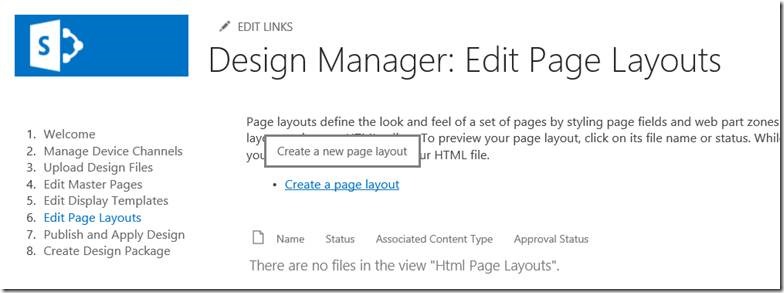
Click on the Create Page Layout.
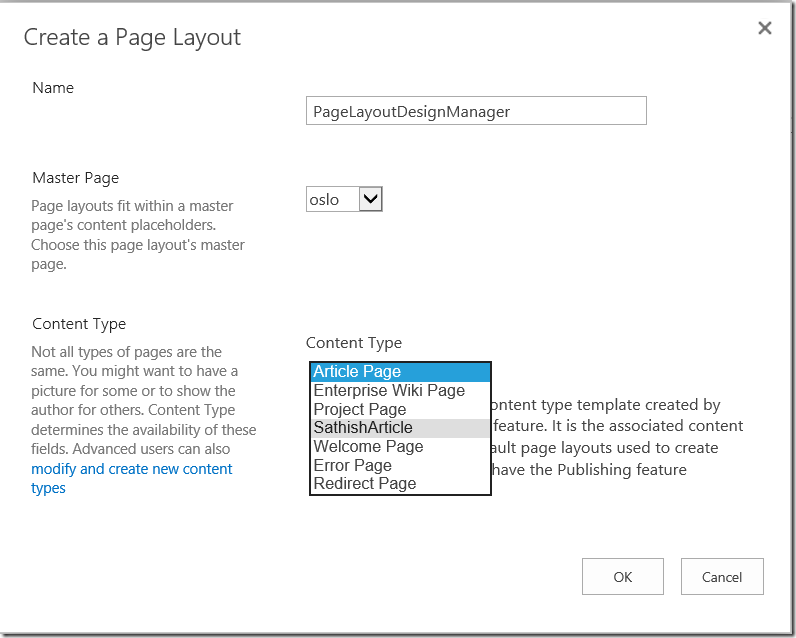
Enter the name for the pagelayout and select the Content Type which we created.
Keep the master page as it is as of now. Since, we are not focusing that.
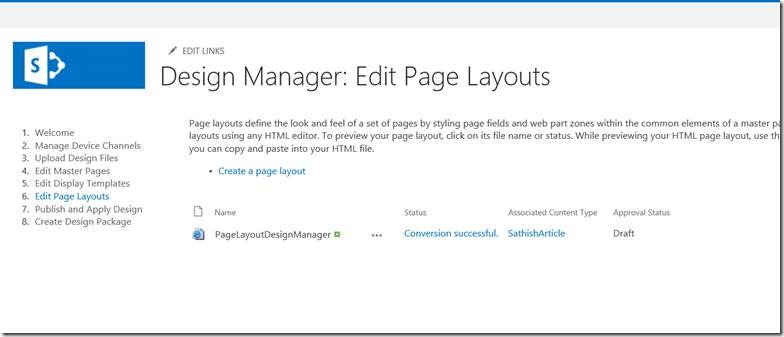
Now, we got the html file inside the pagelayouts folder.
Let us, publish this. Then the “Approval Status” will become “Approved”
Now, let us go to the Pages document library.
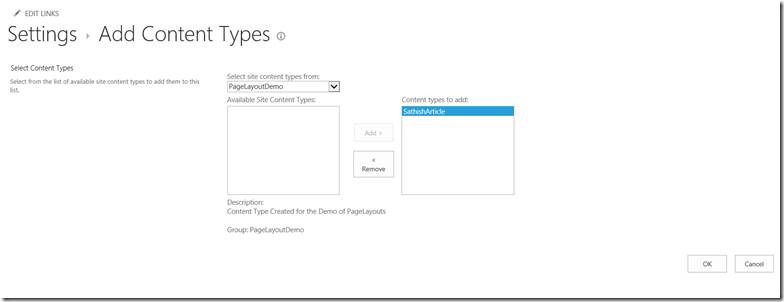
Associate this doc library into our Content Type which we created. To add our Content Type, follow the steps.
Go to Library Settings.
That’s it. Now we added our Content Type.
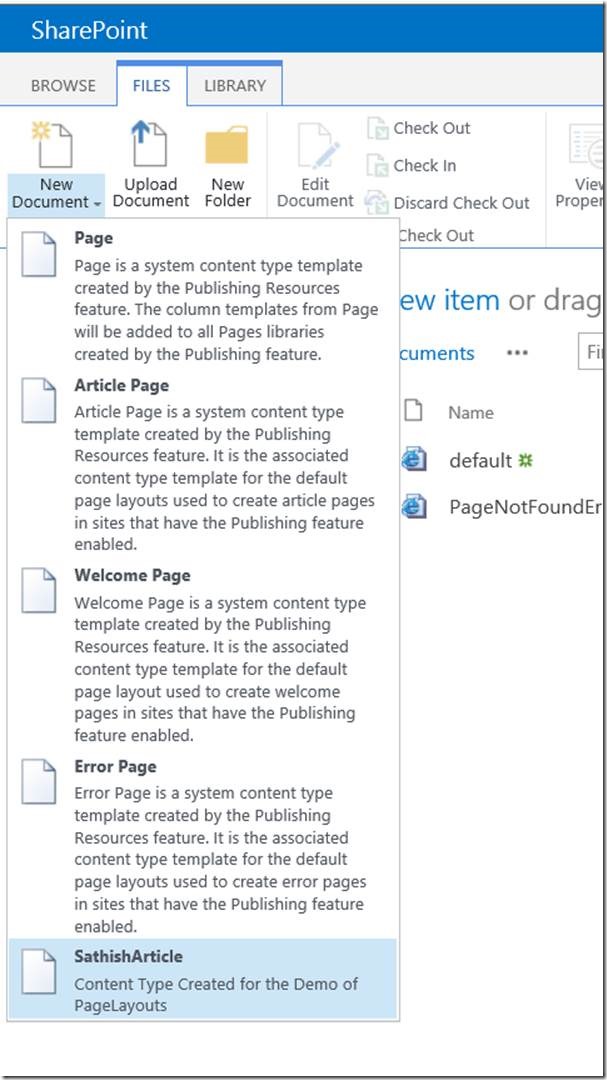
To confirm that, go to the Files-> New Document. Our newly added content type will be listed there.
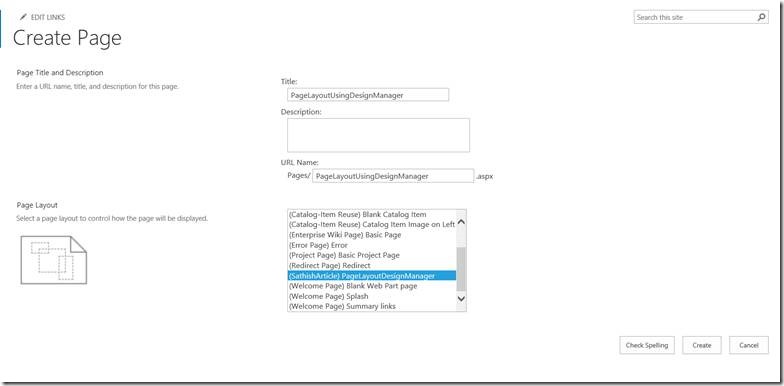
On the Create Page, you can find the Page Layout, which we created using the Design Manager.
Let me create a page based on the page layout we created.
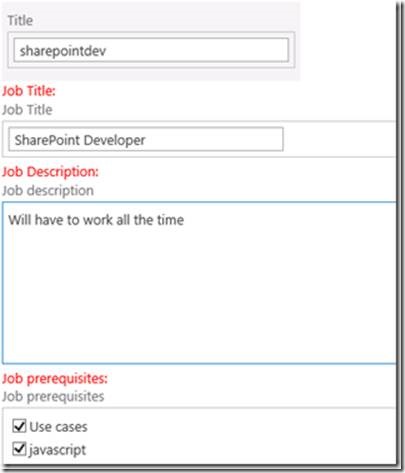
After giving the mandatory fields, our page will look like the below.
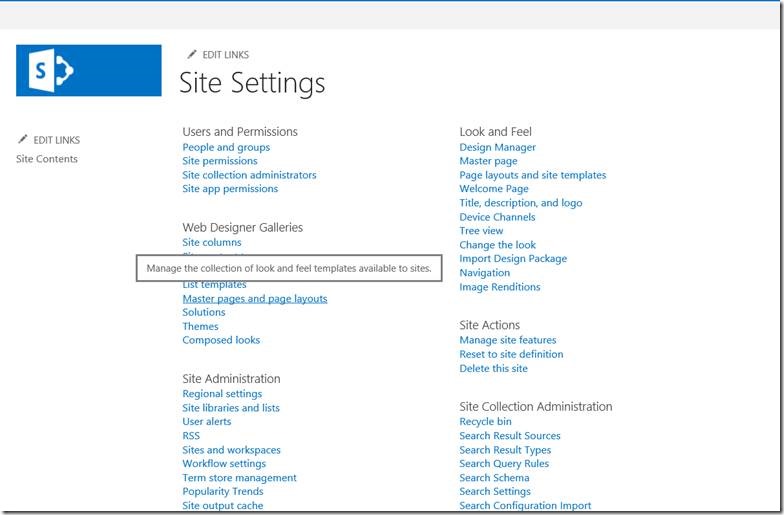
Now, let us see, how to modify the layout of the Page Layout which we created. To see that, go to Master Page Gallery.
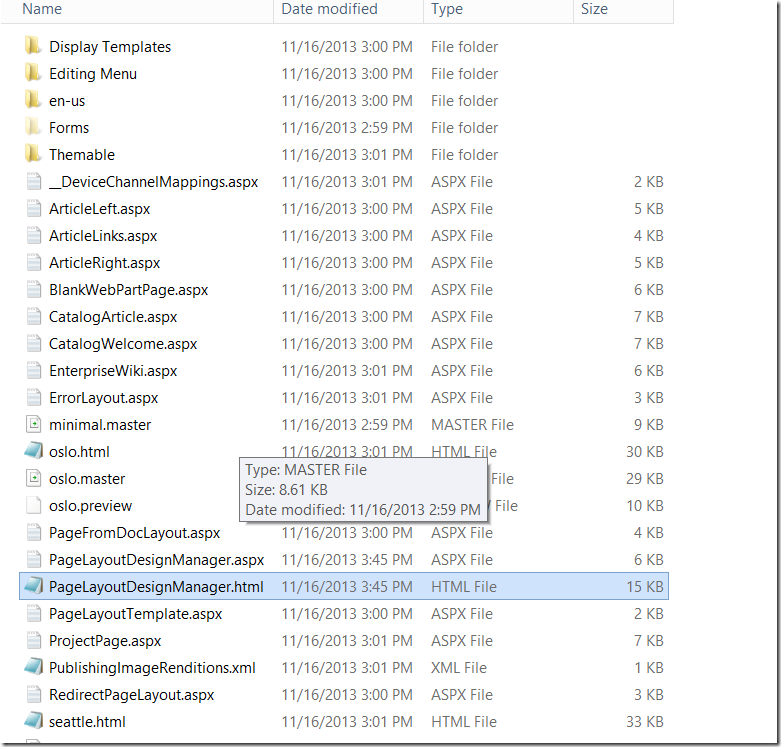
You can find the list of files, and the one which we created just now. For every PageLayout, created by the designer would be having 2 files. One aspx and one html. In our case, PageLayoutDesignmanager.aspx and PageLayoutDesignManager.html.
As far as concerning the Design manager approach, html file is very important. The aspx page will be overridden by html template when next time, sharepoint gets loaded. Hence, it is strongly recommended that not to modify the aspx. Modify only the html.
Being a developer/designer, we can use any tool to modify the html. To do that, we need to map the galleries into our local computer.
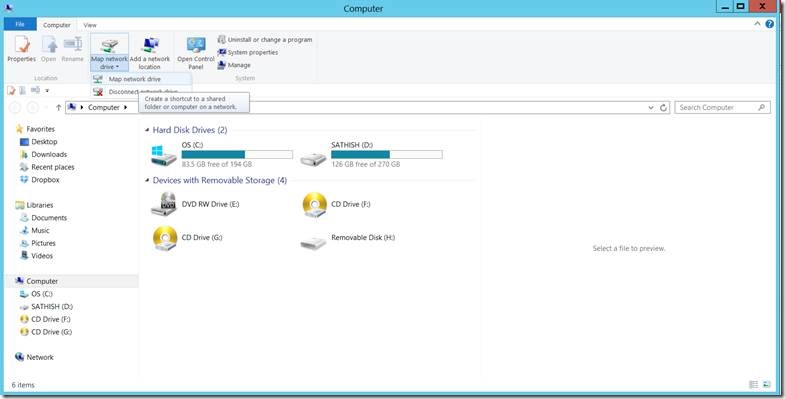
Open the Windows Explorer and Select Map Network Drive.
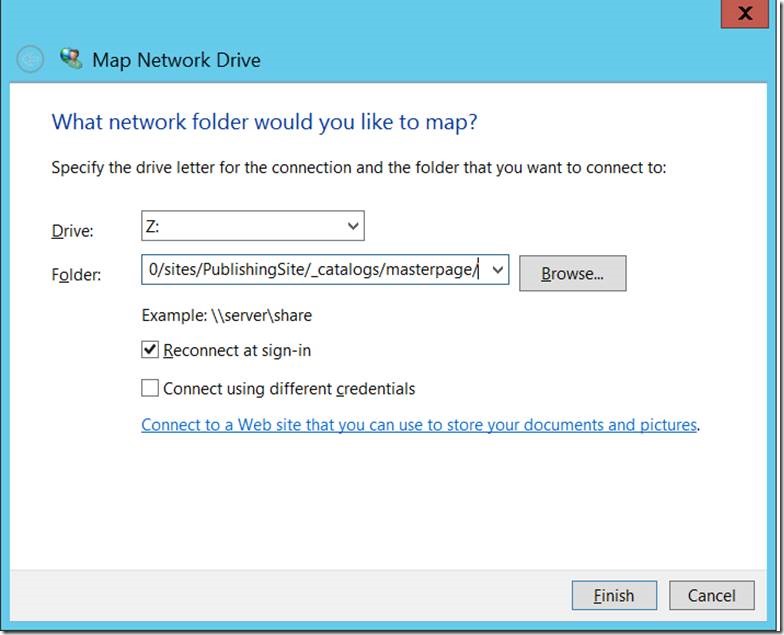
Enter the folder as the url of the masterpages gallery.
Now, the folder would be mapped to our local machine.
We can see the files, which we were talking about.
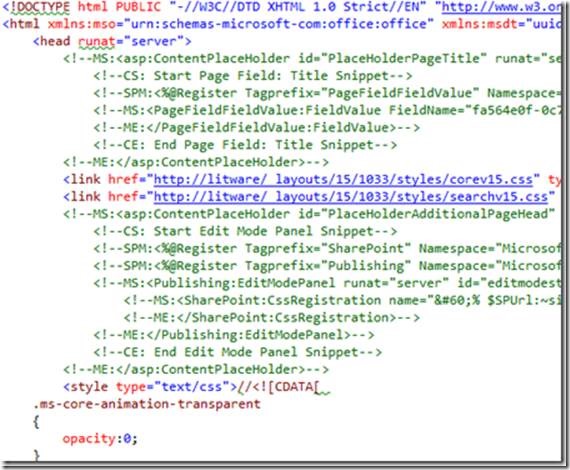
Now, open the html in your favourite editor and modify the layout. Let me open it using the visual studio itself.
The page is a mixture of pure html code and commented aspx
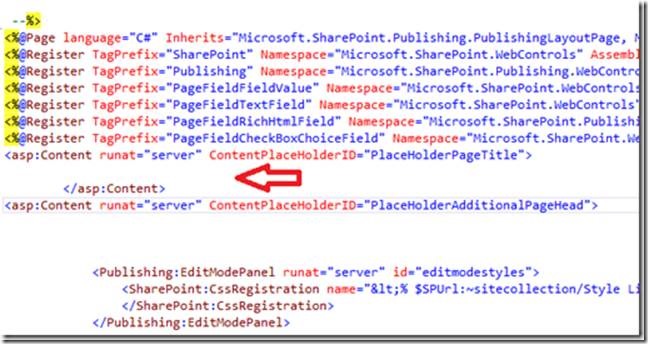
For instance in the html file, remove the following selection that displays the Title field in the Page Title:
As soon as you do it, the modification will be reflected in the associated aspx page:
Now, let’s create a new Page Content from our new JobPosting page and you will see that everything works as expected.
When saved, the page looks like this:
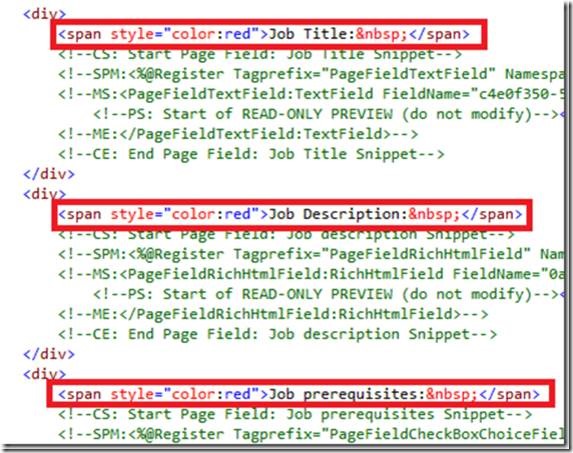
There are no fields labels.
So update the html file with the following spans :
When you make any modification to the html file, don’t forget to Publish a Major version of the file (in the Master Page and Page Layouts gallery).
Now, we are going to redeploy the package.
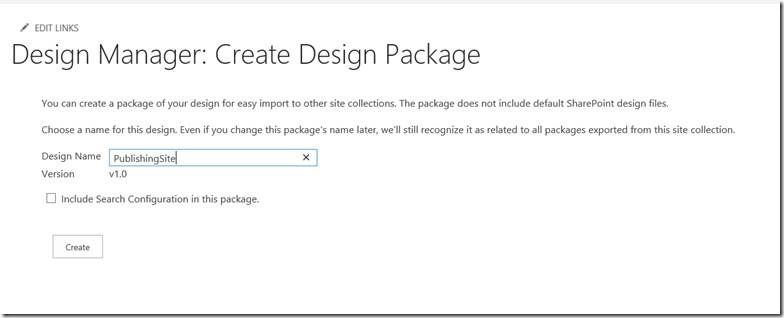
Go to Design manager and Select Create Design Package.
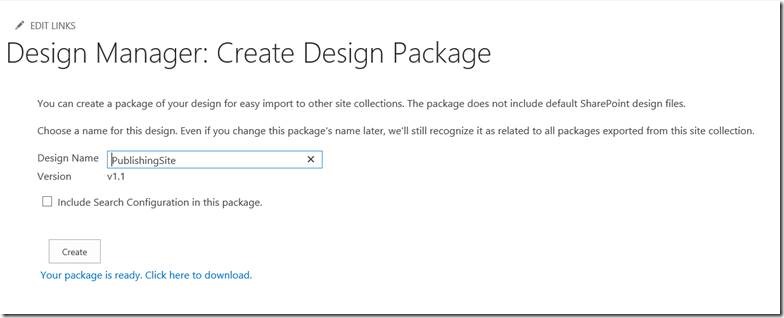
On clicking the Create,
By clicking the download, we can download our package.
The downloaded will be a WSP and we can open the WSP using visual studio and see, the artifacts. Then we need to copy those files and put in a separate visual studio solution to deliver the package alone.
Happy coding.
Sathish Nadarajan.







Leave a comment