In this article, let us see, how to enable Continuous crawl in SharePoint 2013 Search and modify the Crawl Interval of Continuous Crawl.
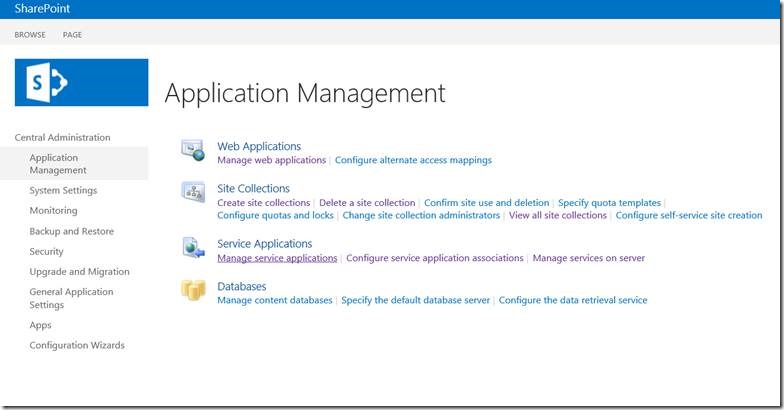
The steps are as follows. Go to Central Administration -> Application Management -> Manage Service Application.
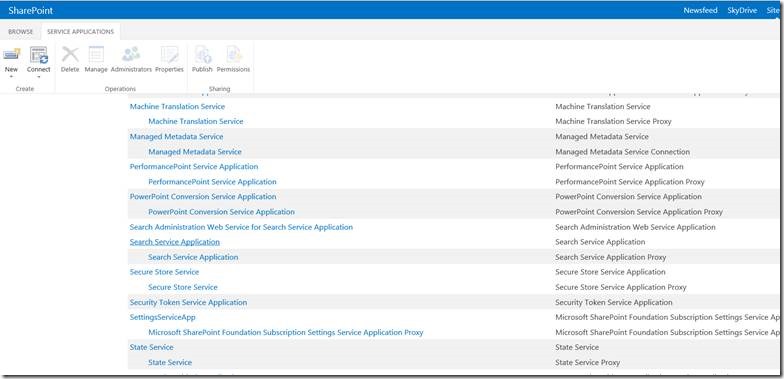
Open Search Service Application
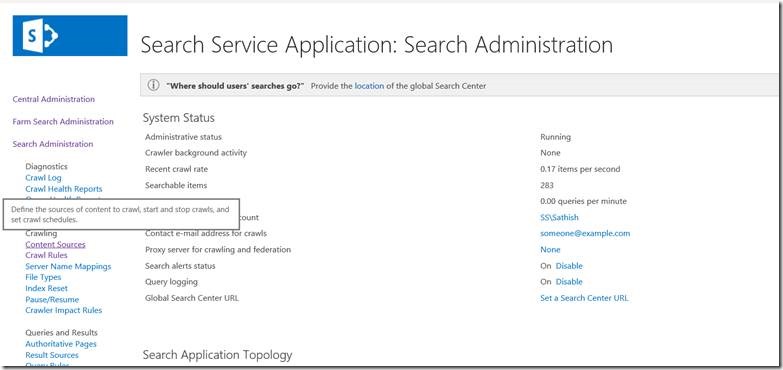
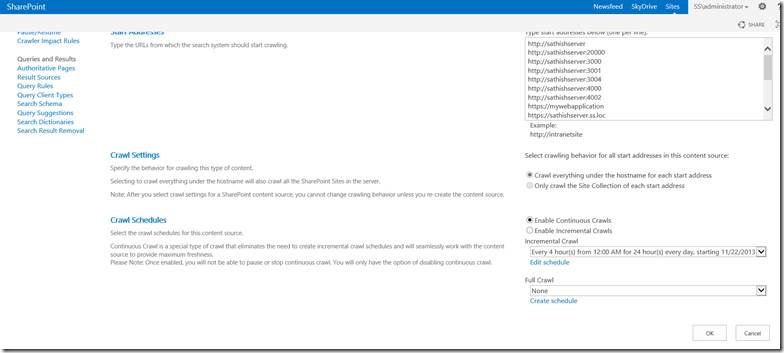
On the left Menu, click Content Source.
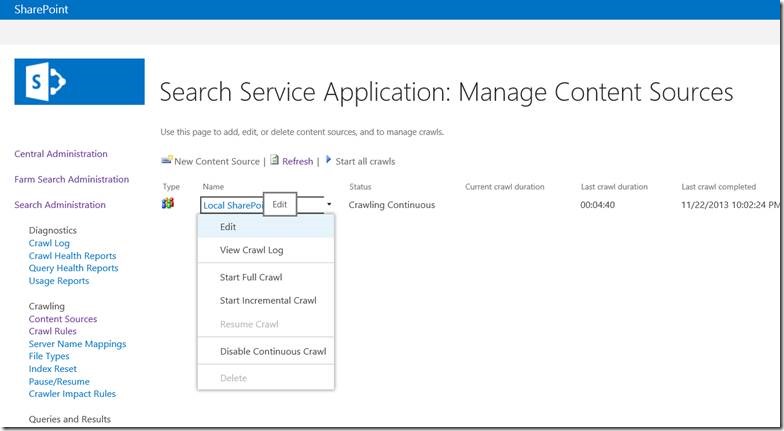
By Default, the Content Source will be available. Click on the Edit.
On the Crawl Settings section, select the Radio Button, Enable Continuous Crawl.
That’s it. Continuous Crawl has been enabled.
The default interval for the Continuous Crawl is 15 mins. There is no way you can modify it, either to decrease or increase the time. But by using the following power shell script, we can modify that.
 $ssa = Get-SPEnterpriseSearchServiceApplication
 $ssa.SetProperty("ContinuousCrawlInterval", 1)
By this, we can understand the power of powershell. Since in many scenario, even if the SharePoint doesn’t provide any UI interface to do something, there would be a way by PowerShell.
Happy Coding.
Sathish Nadarajan.

Leave a comment