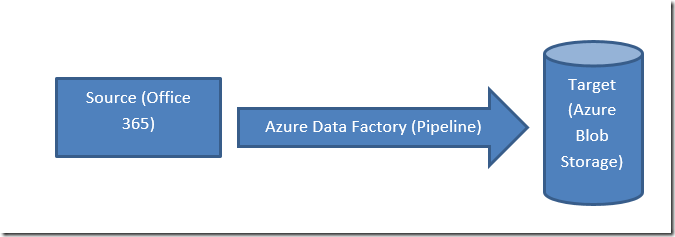
In the earlier article, we saw what is a graph data connect and how to configure our tenant. In this article, let us walk through the simple steps to extract the data from Office 365 and push to blob storage.
As usual, let us see the step by step procedures.
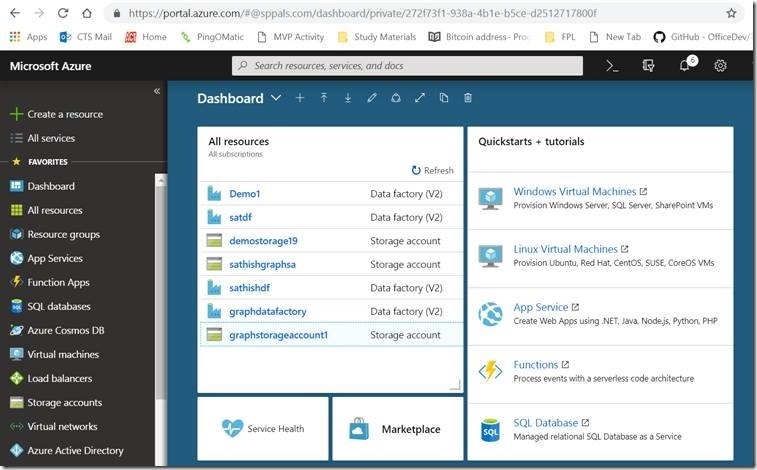
1. Login to the Azure Portal with your Office 365 account.
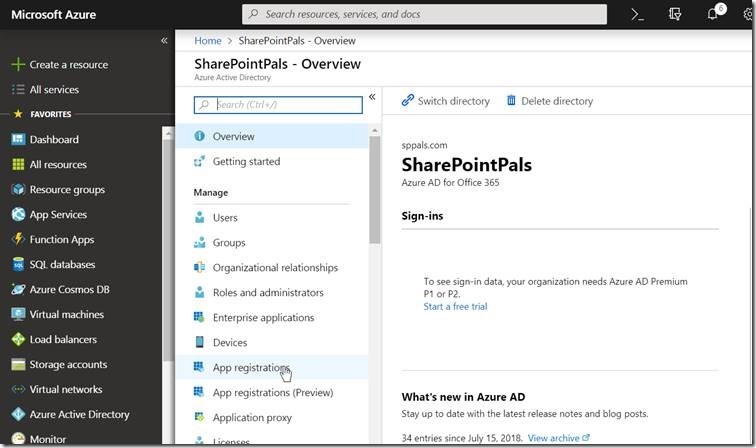
2. Click on “Azure Active Directory”
3. Select “App registrations”
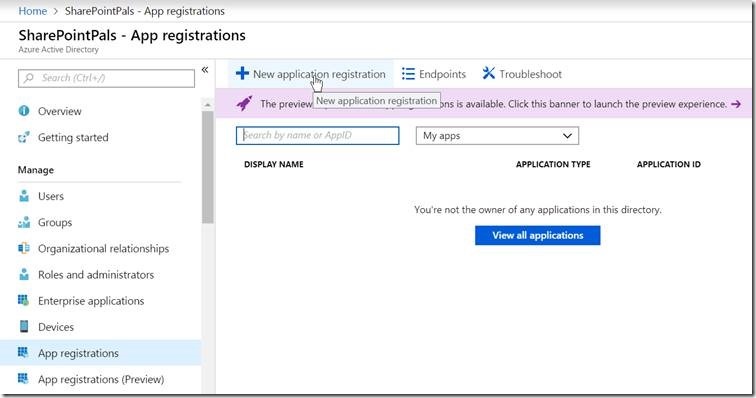
4. Click on “New App Registrations”
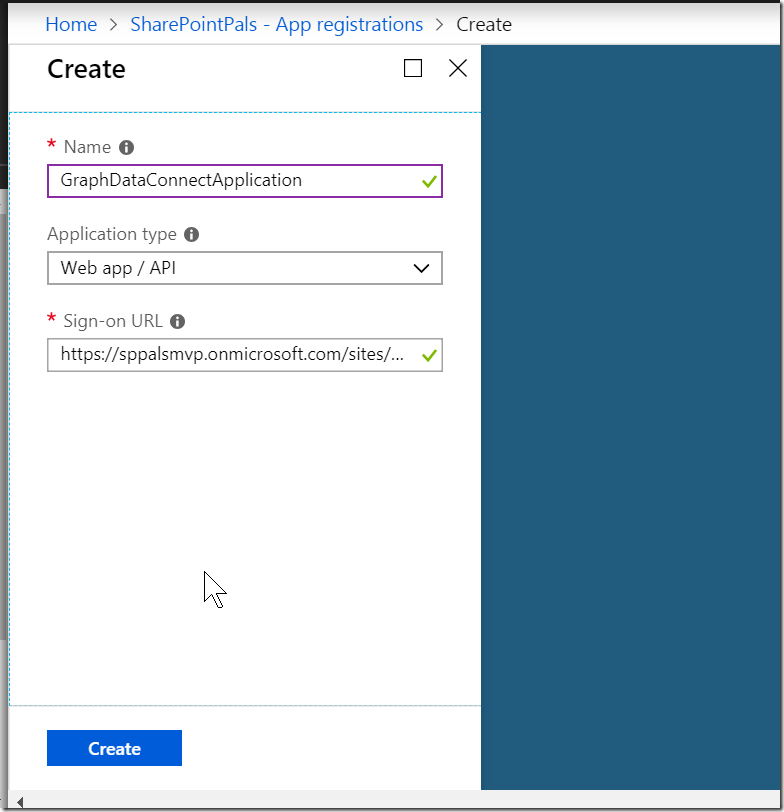
5. Enter the Values and Click on Create.
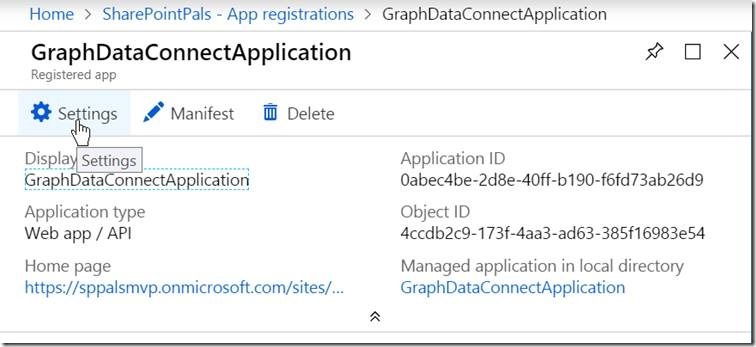
6. Once, got created, click on the “Settings”
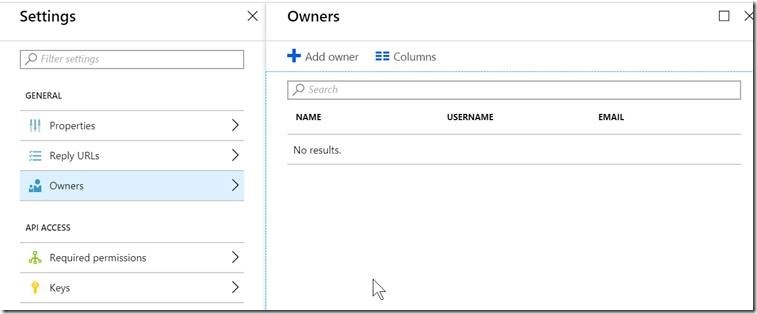
7. Click on Owners and add the User Group which we created on the Earlier article.
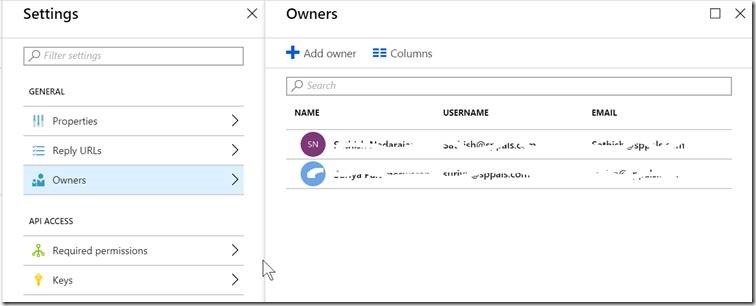
8. In my case, I have added two users who has tenant admin access.
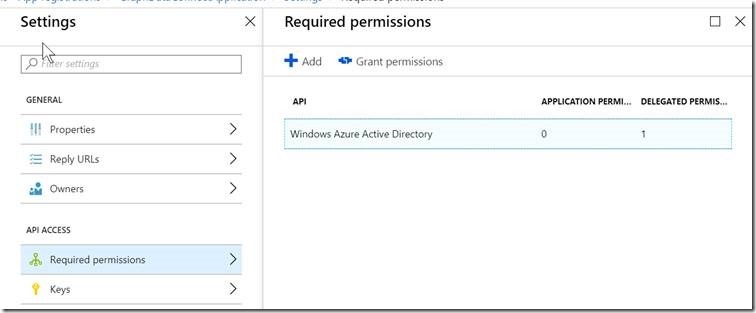
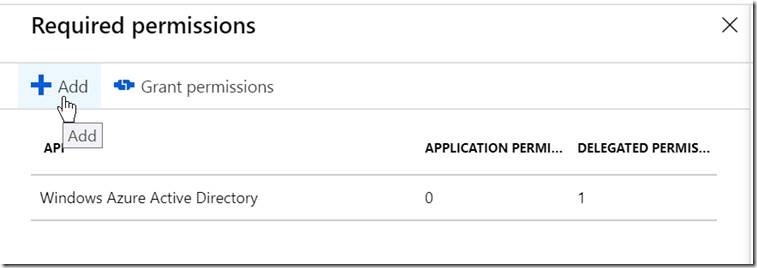
9. Go to Required Permissions Section.
10. Click on Add
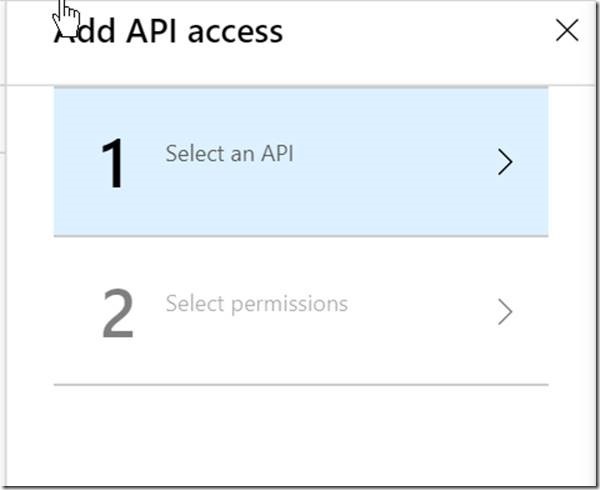
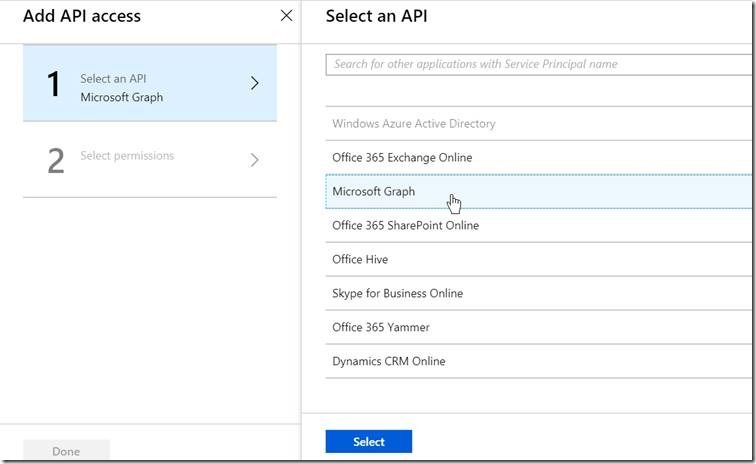
11. Click on “Select API”
12. Select Graph on the list.
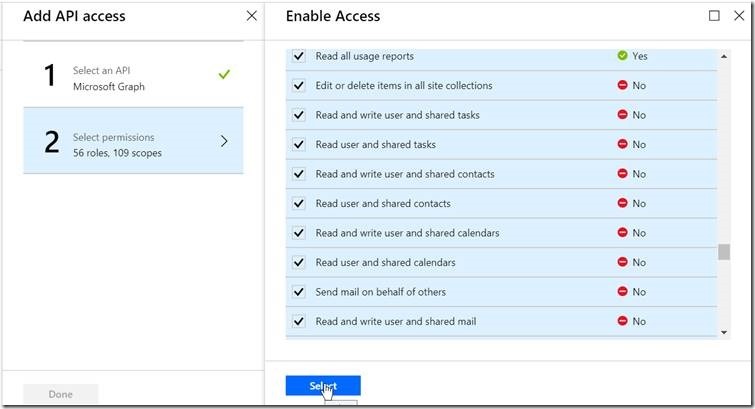
13. Select the appropriate permissions. In my case, I have selected all.
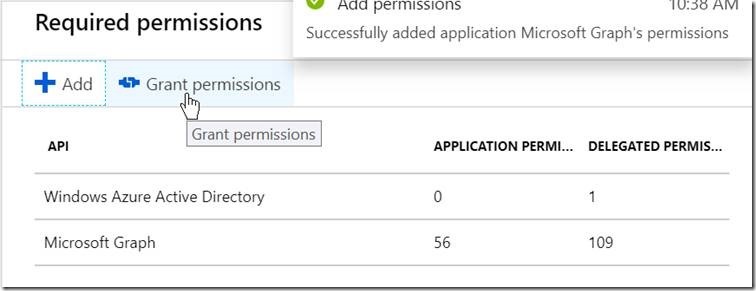
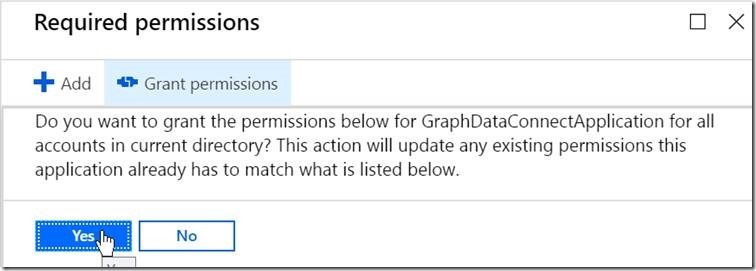
14. Now, the newly added permission will be listed. Now, click on the “Grant Permission”
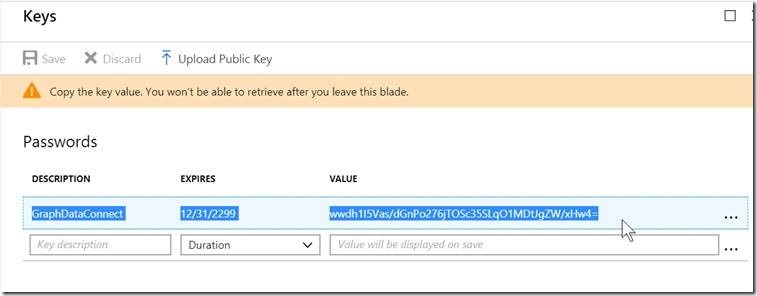
15. Now, click on the “Keys” – This is very important as we are going to use these keys through out this exercise.
16. Enter the Description and the Expiry period and choose Save.
17. Copy the Keys to a Notepad, as we may not be able to see this Key once, we navigate out of this page.
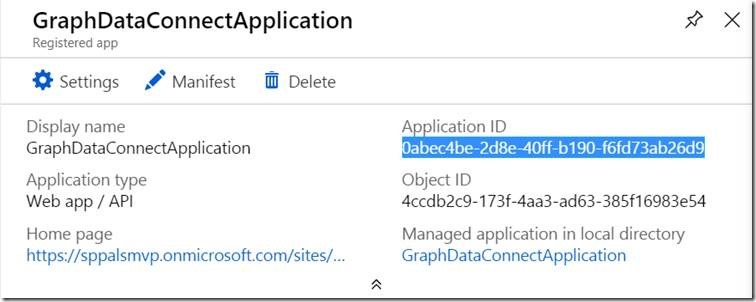
18. Make a note of the Application ID as well.
19. With this, we are done with the Azure Active Directory Application Creation.
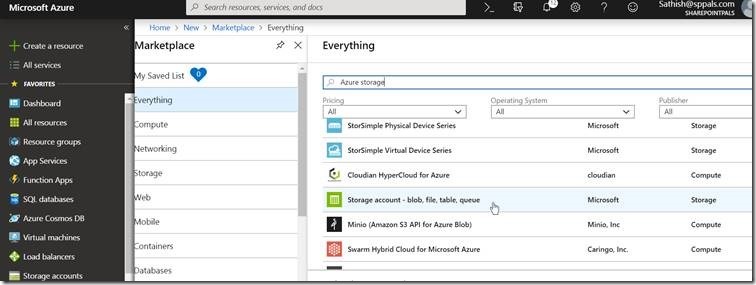
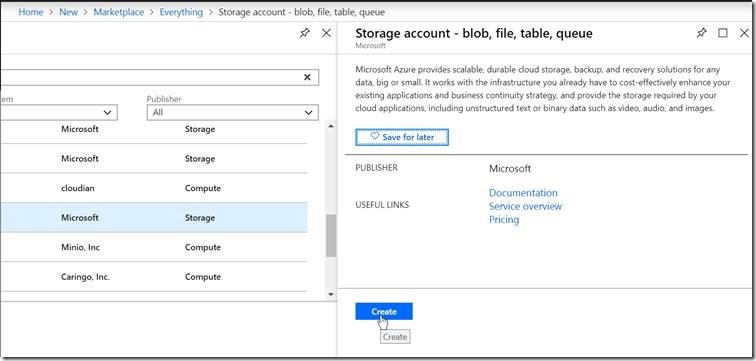
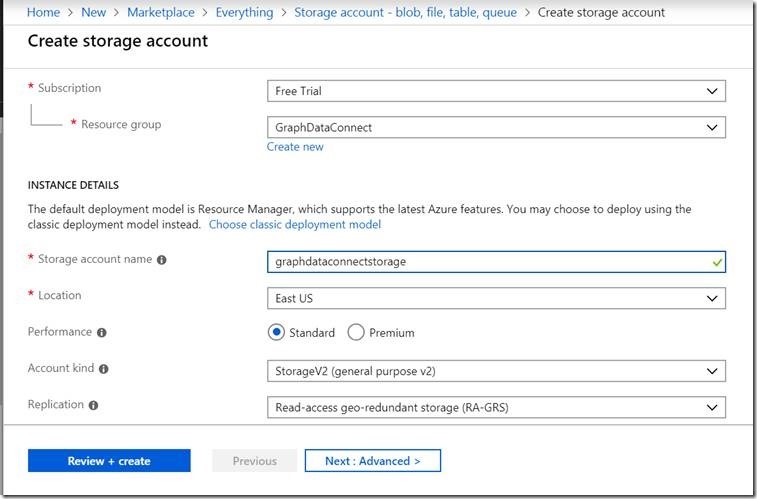
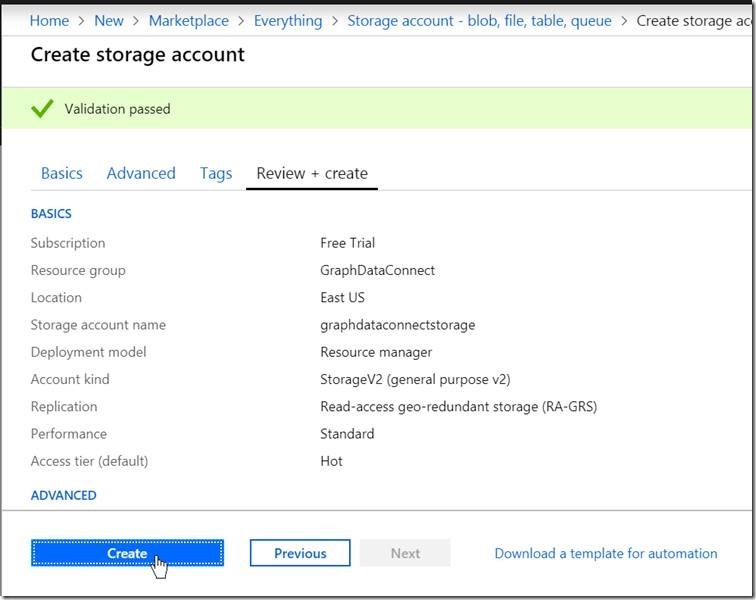
The first step is to create an Azure Active Directory Application which we have done just now. The next step is to create an Azure Blob Storage. Hope that does not require much explanation. The high-level steps are, create a Blob Storage and assign the Application which we created with required permissions. Hence, I am going with the screen shots.
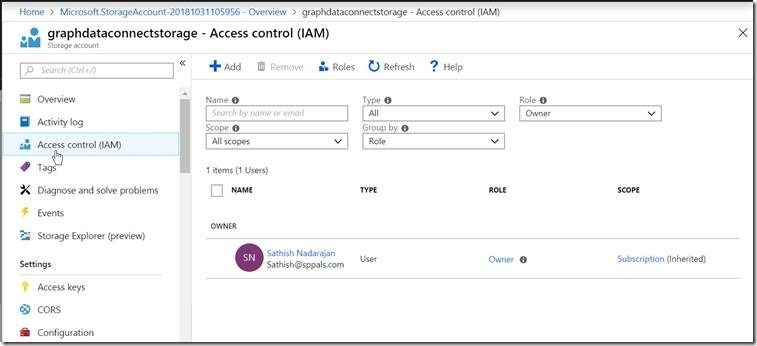
Once, got created, select the Access Control.
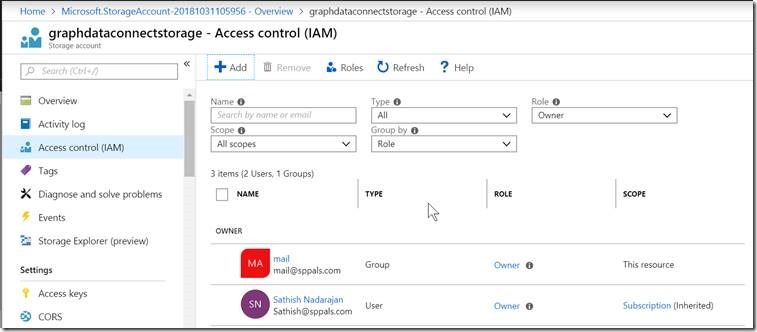
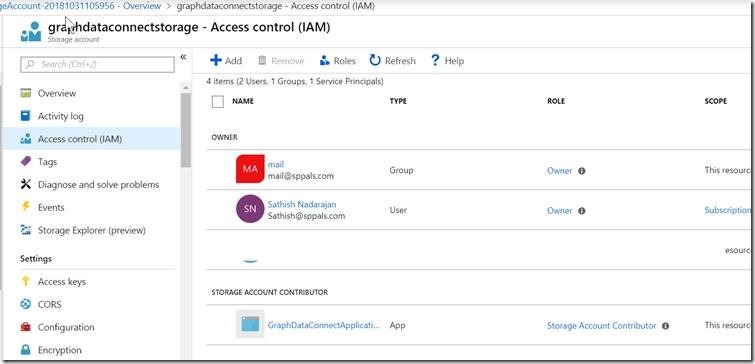
Add appropriate users on it And the app which we created earlier.
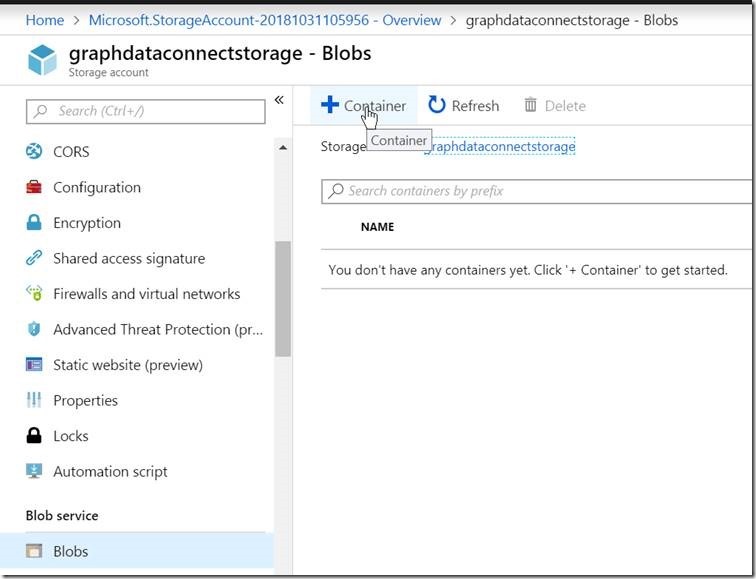
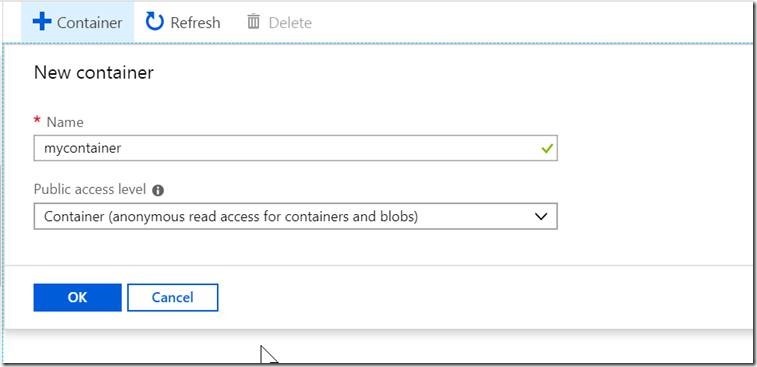
Click on the Blobs and Create a new container.
With this, we are done with the Target.
Now, we are going to create the Azure Data Factory, which is the core engine.
We will see the Azure Data Factory Creation in the upcoming article.
Happy Coding,
Sathish Nadarajan.


Leave a comment