Take advantage of MSAL to authenticate your users in nextjs application. Developers can effortlessly add authentication to their applications by providing libraries for handling the authentication flow and securely storing user credentials. Follow the below steps to authenticate users in a Nextjs application using MSAL. (Code to this sample is available in github and the link is provided at the end of this post.)
Step 1: Create nextjs application with npx command, (by the time I write this article, next.js 13 is the latest)
npx create-next-app@latest --typescript
Step 2: Add the following dependencies,
npm install @azure/msal-react @azure/msal-browser
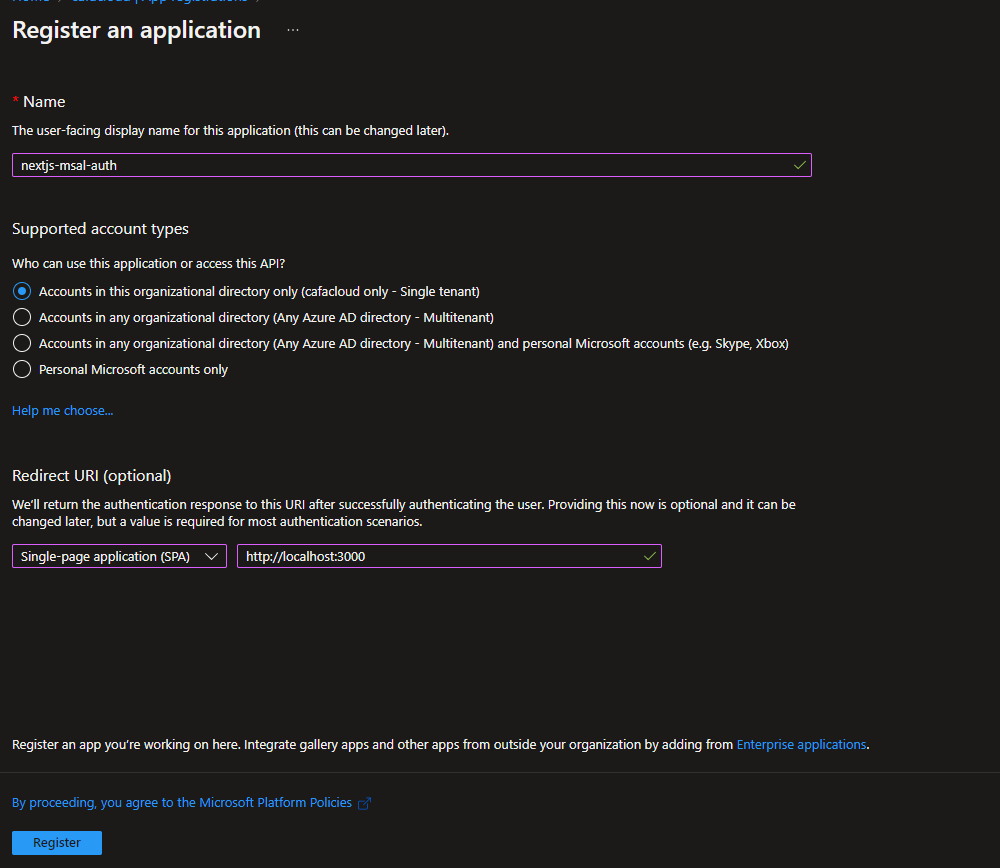
Step 3: Create and register azure application for your application. To do this, go to Azure portal and in Azure Active Directory select “App registrations”, then provide the name and account types (as show in the below screenshot), for this example I provided redirect URI as localhost:3000 and this can be later changed.
Step 4: Initialize PublicClientApplication with Application configuration options and it is important to have this instantiated outside the component so that we do not want to instantiate every time.
export const msalConfig = {
    auth: {
        clientId: "<application(client)-id>",
        authority: "https://login.microsoftonline.com/<tenant-id> ",
        redirectUri: "/",
        postLogoutRedirectUri: "/"
    }
};
Step 5: Wrap all the components and pages in msal provider so that it can access authentication state using the msal react context.
It is recommended to wrap most or all your components in the MsalProvider component and it’s best to render the MsalProvider as close to the root as possible.
In nextjs application _app is a special file, and it is a top-level component that is rendered on every page of the app. The _app component is used to initialize things that needs to be available on every page, such as global styles or data stores. It is also the place where we can add global event listeners, perform authentication checks, or modify the document head.
Step 6: Create simple login button and in the onclick event call loginRedirect with optional RedirectRequest (available in LogIn.tsx file in the github repo).
Step 7: Create msal js event and it gets triggered for various event types like LOGIN_SUCCESS, LOGOUT_FAILURE, LOGIN_SUCCESS and so on, the list can be found here. In our case, we need to set active user account when user successfully logged in in the public client application state.
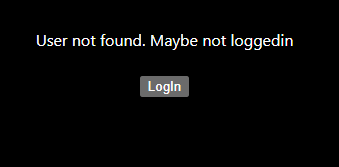
And the final output looks as below,

The whole code is available in the following github repo and please make sure to update client id (generated in step 3) & your tenant id in authConfig.ts file.
Happy Coding,
Fazil

Leave a comment