In the previous article, we saw how to add custom attributes to the Active Directory. In this article, let us see, how to use those attributes as Claims through ADFS. Adding claims to ADFS, already we saw as a part of Configuring ADFS as authentication provider here. Please refer that, if not read already.
To refresh, we added maritalStatus as an attribute on the previous article. On our sharepoint site, we want, this maritalStatus as a Claim after login into the Site.
Now, the steps are
1. Configure the new claims on the ADFS Server.
2. Delete the TrustedIdentityTokenIssuer.
3. Create the SPClaimTypeEncoding for the new claim value
4. Create a new TrustedIdentityTokenIssuer with the new Encoded Claim value
5. Map the SharePoint site to the newly created TrustedIdentityTokenIssuer.
Let us see them one by one.
1. Configure the new claims on the ADFS Server.
We need to Add the claim description. For that, login to the ADFS Server. Open the ADFS management console. By default, the claim description will looks like,
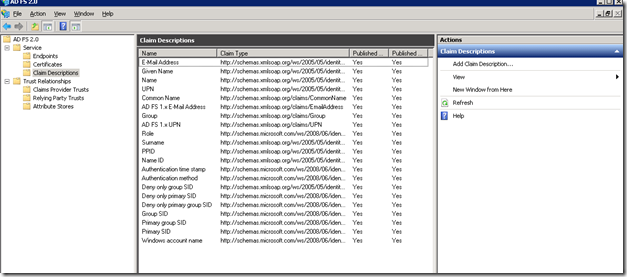
Now, we are going to Add our claim Description.
Right click on the Claim Description.
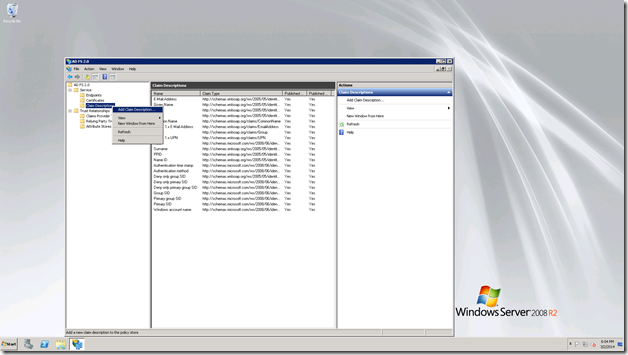
Click Add Claim Description.
Enter the values as below.
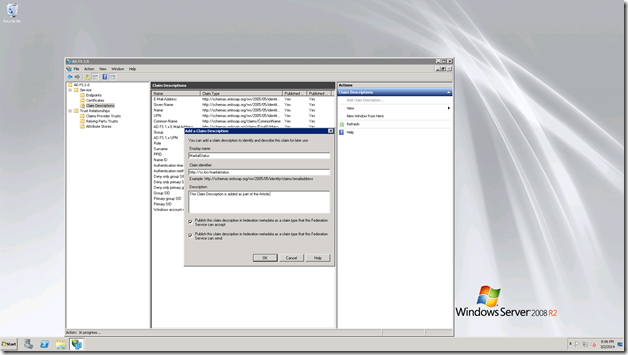
Click OK. The claim Description will get added.
Now, the screen will looks like,
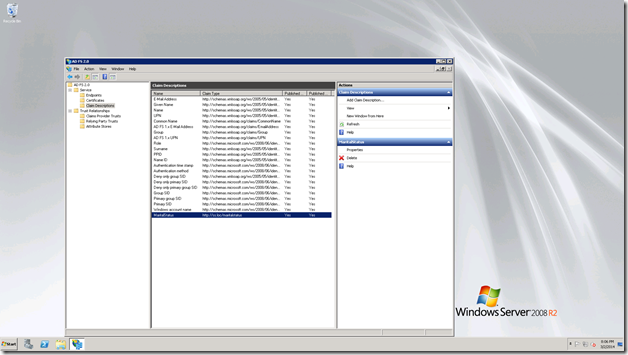
Now, we need to add the newly added claim in the Claims Rule of the web application. i.e., the Relying party trust.
Select the Relying Party Trust, Select the web application. Edit Claim rules.
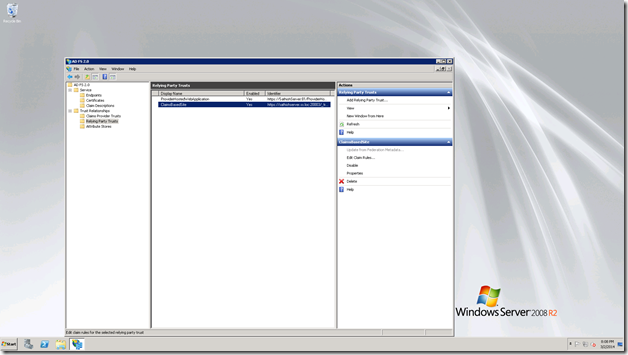
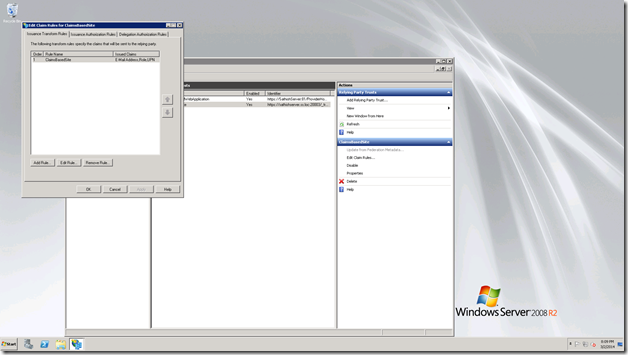
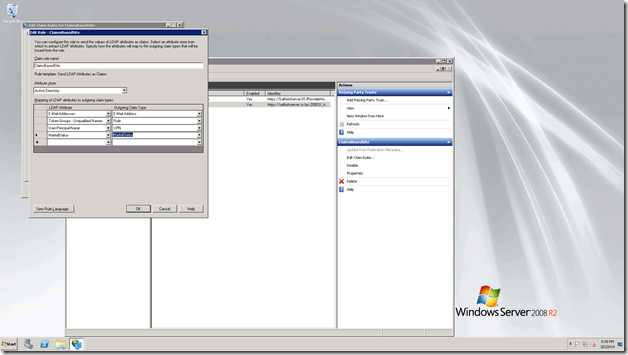
On the LDAP Attributes, we can type as MaritalStatus and on the Outgoing Claim Type, the drop down contains the Claim MaritalStatus, since we added it on the Active Directory. Hence, select that.
Click Ok, and close this screen.
That’s it. We are done with the ADFS Server. Now, move back to our SharePoint Server.
2. Remove the existing TrustedIdentityTokenIssuer.
Get-SPTrustedIdentityTokenIssuer | where {$_.Name -eq "win2008r2 claims provider"} | Remove-SPTrustedIdentityTokenIssuer
3. Remove the existing TrustedRootAuthority
Get-SPTrustedRootAuthority | where {$_.Identity -eq "Token Signing Cert ADFSAuthenticatedSite"} | Remove-SPTrustedIdentityTokenIssuer
4. Now, let us re-create everything with encoding.
 Add-PSSnapin "Microsoft.SharePoint.PowerShell"

 Get-SPTrustedIdentityTokenIssuer | where {$_.Name -eq "win2008r2 claims provider"} | Remove-SPTrustedIdentityTokenIssuer

 Get-SPTrustedRootAuthority -Identity "Token Signing Cert ADFSAuthenticatedSite" | Remove-SPTrustedIdentityTokenIssuer


 $a = [char]0x02bc #700 - for Marital Status
 #$b = [char]0x02bd #701 - Incase if we have 2 more Claims needs to be added
 #$c = [char]0x02be #702 - Incase if we have 2 more Claims needs to be added


 New-SPClaimTypeEncoding -EncodingCharacter $a -ClaimType "http://ss.loc/maritalstatus" -force
 #New-SPClaimTypeEncoding -EncodingCharacter $b -ClaimType "http://dc07.loc/v2/jobtitle" -force - Incase if we have 2 more Claims needs to be added
 #New-SPClaimTypeEncoding -EncodingCharacter $c -ClaimType "http://dc07.loc/v2/application" -force - Incase if we have 2 more Claims needs to be added


 $Cert = New-Object System.Security.Cryptography.X509Certificates.X509Certificate2("D:WORKCertificatesADFSCert.cer")

 New-SPTrustedRootAuthority -Name "Token Signing Cert ADFSAuthenticatedSite" -Certificate $cert

 $map = New-SPClaimTypeMapping -IncomingClaimType "http://schemas.xmlsoap.org/ws/2005/05/identity/claims/emailaddress" -IncomingClaimTypeDisplayName "EmailAddress" -SameAsIncoming

 $upnClaimMap = New-SPClaimTypeMapping -IncomingClaimType "http://schemas.xmlsoap.org/ws/2005/05/identity/claims/upn" -IncomingClaimTypeDisplayName "UPN" -SameAsIncoming

 $RoleClaimmap = New-SPClaimTypeMapping -IncomingClaimType "http://schemas.microsoft.com/ws/2008/06/identity/claims/role" -IncomingClaimTypeDisplayName "Role" –SameAsIncoming

 $maritalStatusClaimMap = New-SPClaimTypeMapping -IncomingClaimType "http://ss.loc/maritalstatus" -IncomingClaimTypeDisplayName "MaritalStatus" -SameAsIncoming

 $realm="urn:sharepoint:sathishserver.ss.loc:20003"

 $signInURL="https://Win2008R2/adfs/ls"

 $sts = New-SPTrustedIdentityTokenIssuer -Name “win2008r2 claims provider” -Description “My Claims Provider”-realm $realm -ImportTrustCertificate $cert -ClaimsMappings $map,$upnClaimMap,$RoleClaimmap,$maritalStatusClaimMap -SignInUrl $signInURL -IdentifierClaim $map.InputClaimType

 $sts
5. Now, map the created TrustedIdentityToken with the web application.
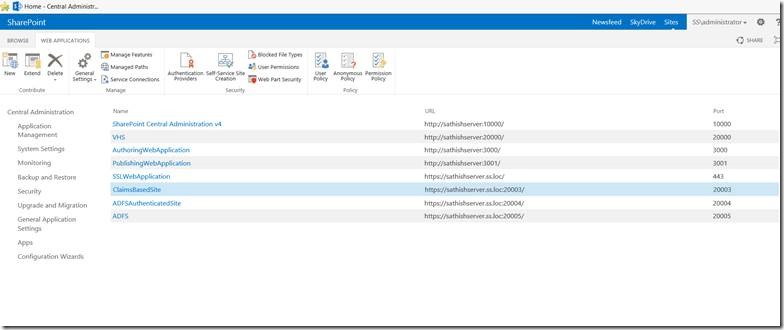
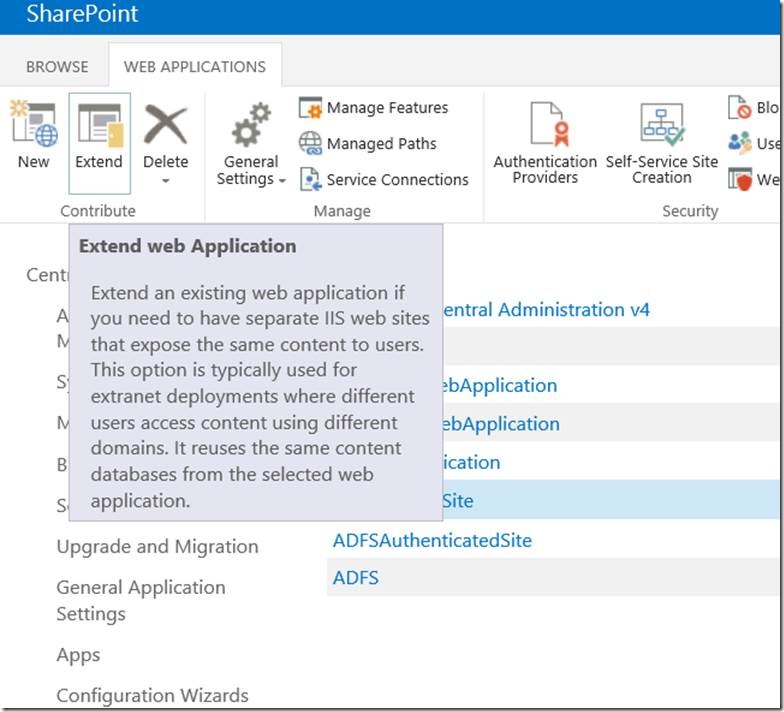
In Central Administration, go to Manage web application and select the web application.
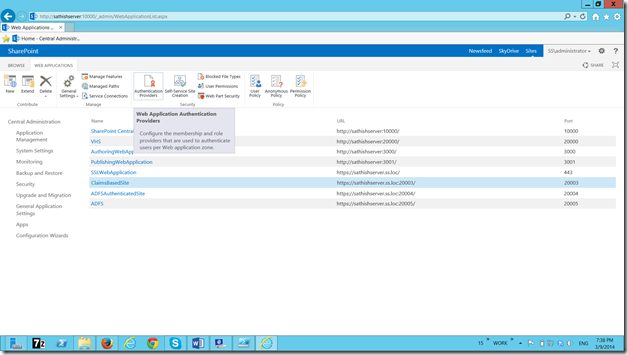
Select the Default.
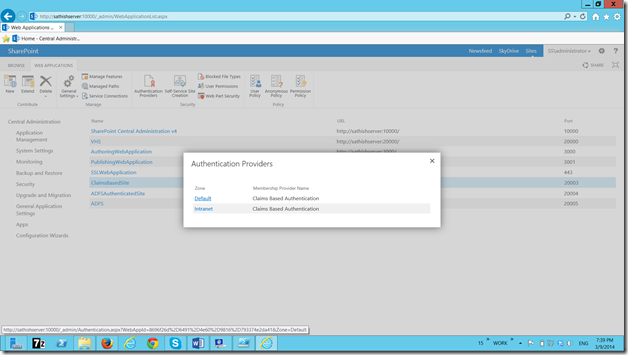
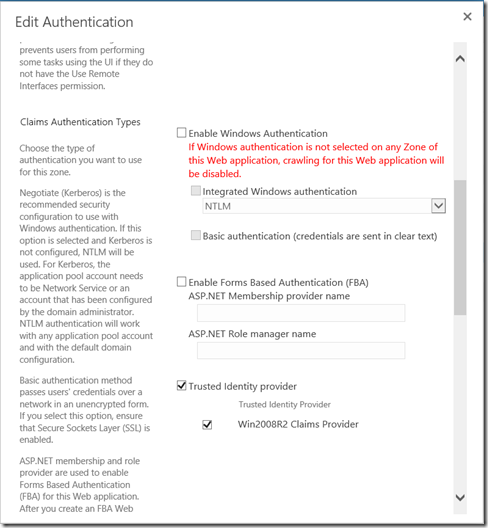
On the Edit Authenticaiton screen, we can see the newly created Identity Provider.
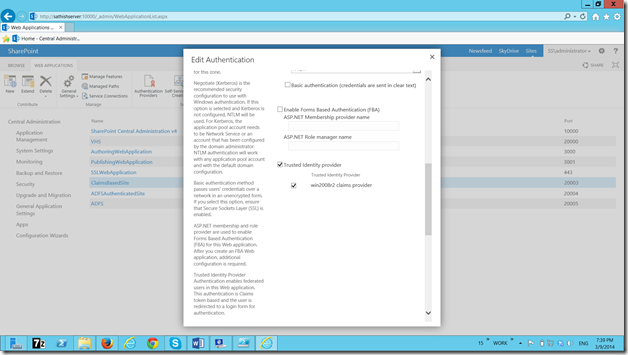
Select that and click save. On the screen nothing will happen. Let us close this popup and try login to the site collection. It will ask for the ADFS authentication.
That’s it. Now, let us go back to our claims viewer web part. Now, we will be seeing the newly added attribute will be listed as the claim on the screen.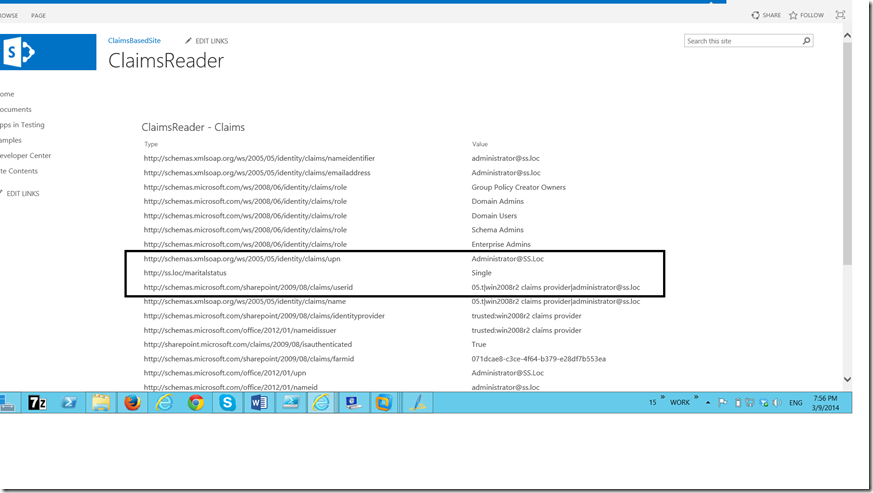
Now, the newly added webpart will show the newly added claim.
Happy Coding.
Sathish Nadarajan.


Leave a comment