In this article we can see how to create a new Visual Web Part for SharePoint 2013 with Visual Studio 2012.
Follow the bellow steps to create a new Visual Web Part
1. Create a new Empty SharePoint 2013 Project. Check this post if you are totally new to SharePoint
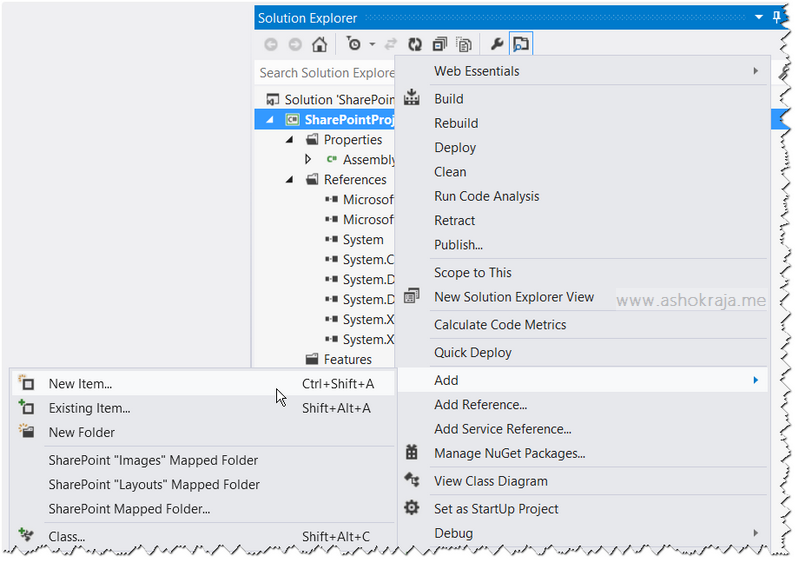
2. Right Click The Project , then Select “Add” and click the “New Item” link in the context menu
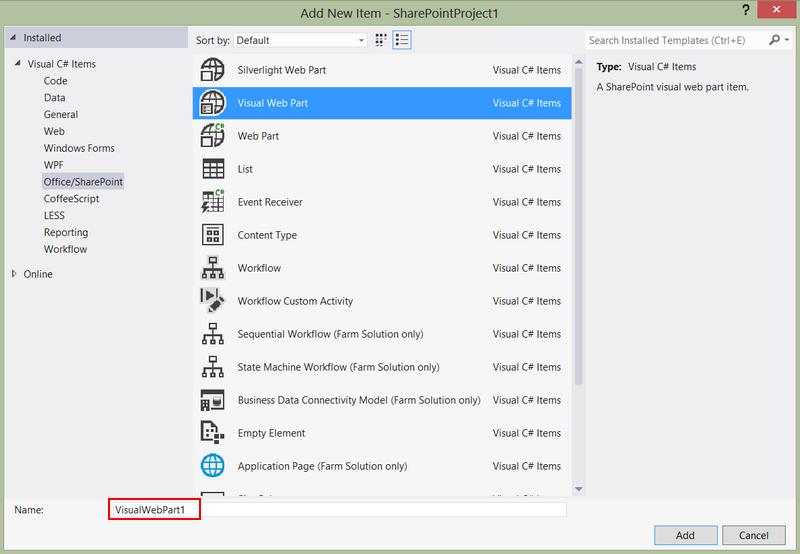
3. This invoke the “Add New Item” window. In the Installed Templates, select “Visual Web Part”
4. Provide a name for the Visual Web Part and click “Add” button to add it to the SharePoint Project
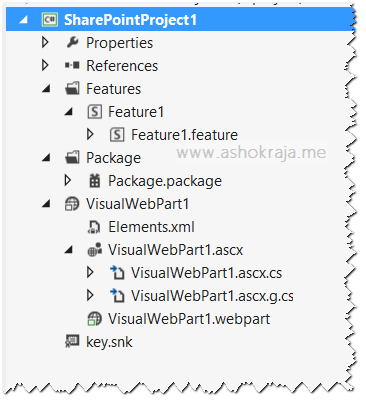
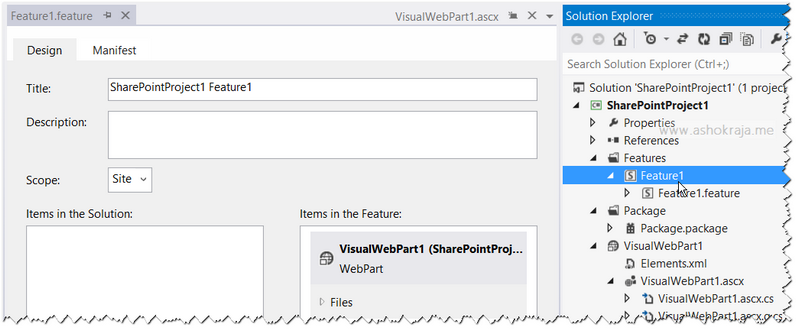
5. This will add a new Site Collection scoped Feature to the SharePoint project along with the newly added Visual Web Part. This Visual Web Part will be automatically added to the feature. This you can find out by double clicking the feature file.
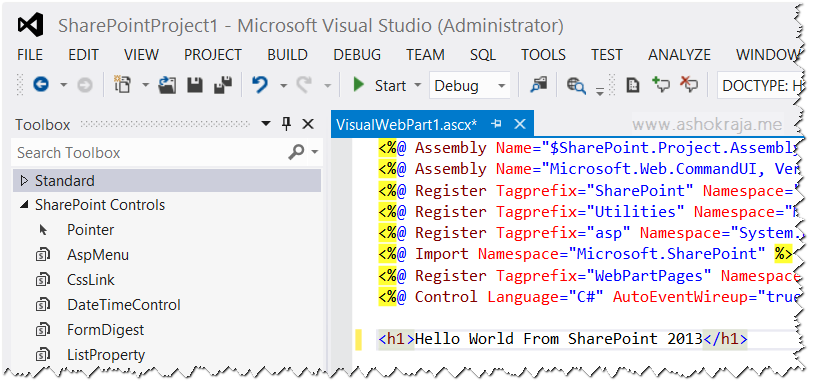
6. Double Click the .ascx file created in Step 4. Add controls that are required for Visual Web Part by expanding the Toolbox pane available in the left hand side of Visual Studio. If you are not able to locate this pane, go to “View” menu of Visual Studio and Select Tool Box (Short cut key for Tool Box Pane is Control Key +W+X). Visual Web Part supports all standard Asp.Net controls and SharePoint Controls.
7. Right click the Project and select “Deploy” from the context Menu. This will build the project and deploys it to the SharePoint site which we have been provided during the creation of this project. Behind the scene it will create a “WSP” file (which can be located at bin\Debug folder of the project) and deploys the WSP to the Central Admin and activates the feature in the site collection which was provided during creation of this project.
8. Open the deployed site URL in a browser and add a new page or edit an existing page
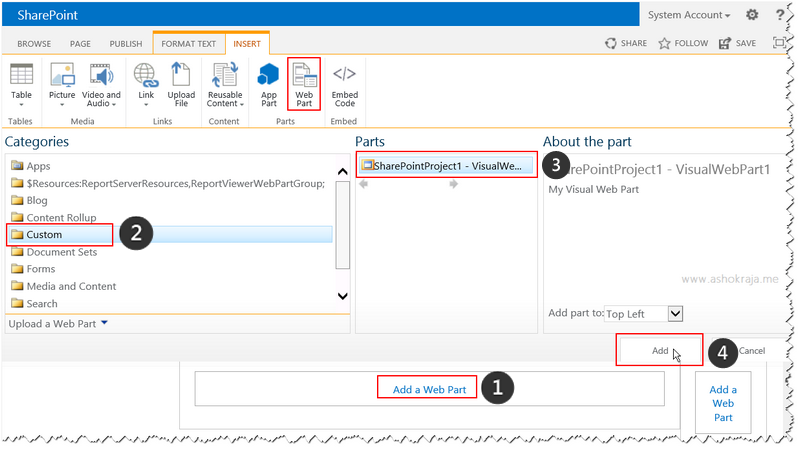
9. Click Add a Web Part link shown in the Web Part zones. This displays all the available Web Parts in the top of the page.
10. Under the “Categories” section select the “Custom” category, which will list out our newly deployed Web Part.
11. Select the Web Part and Click “Add” to add the Web Part to the selected Zone
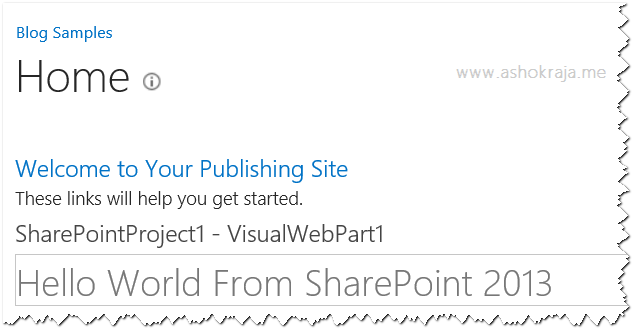
12. Save the Page, now you would be able to see your first Visual Web Part on SharePoint 2013
For Additional Reading, check out these links
1. Change or Add new Custom Properties to a Web Part
2. Add Style Sheet and JavaScript reference to a Visual Web Part

Leave a comment