All of us are familiar about the popularity and the power of Node JS. By default the NodeJS application will have the start page as a JS file and predominantly it is meant for the JavaScript. But, when I wanted to create a Node WebSite, which is going to interact with SharePoint Online using PNPJS, I was in a situation that, TypeScript is more friendlier than JS for any PNP and SharePoint Online coding.
Hence, wanted to explore, how to create or use Typescript within the Node JS application and make the DEV environment a bit faster and cleaner.
In this article, let us see the steps to create a NodeJS application and use typescript as a Programming Language on it.
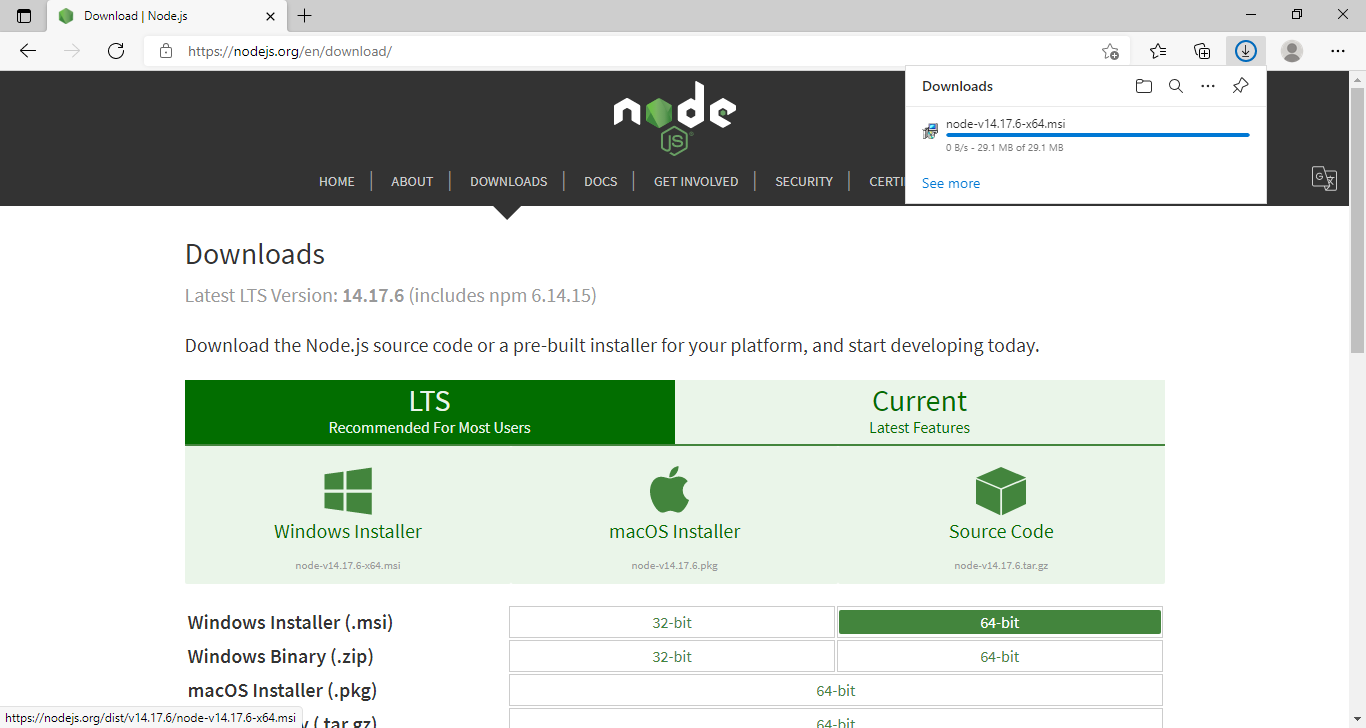
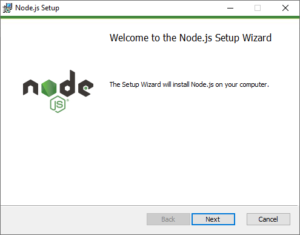
1. Install Node LTS from the below path.
https://nodejs.org/en/download/

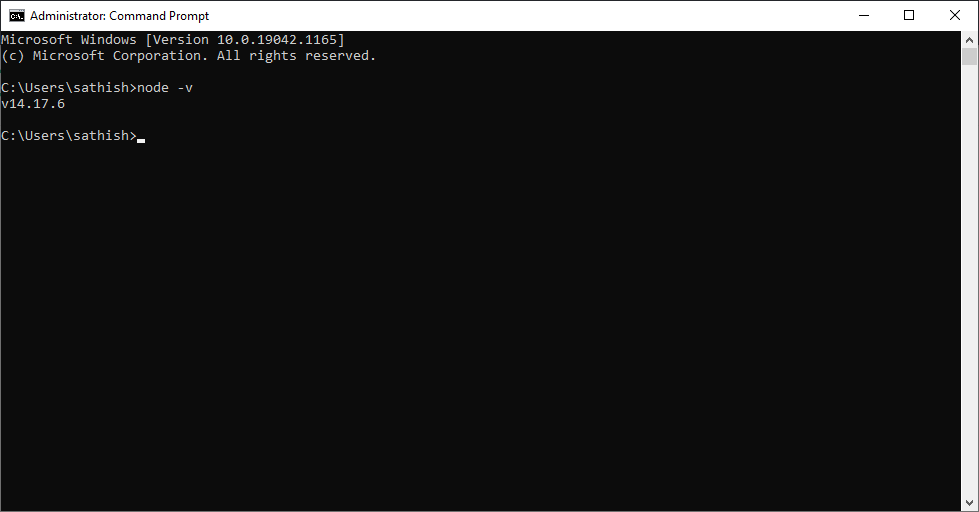
2. Ensure that the Node is installed properly by typing “node -v”. This will give the version of the node installed.
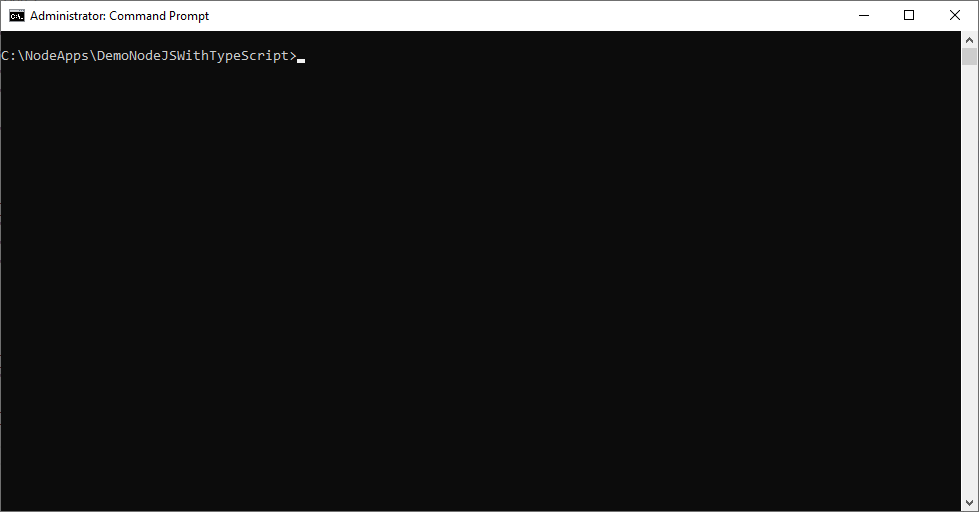
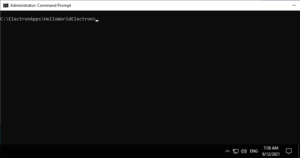
3. Create a folder with the app name – C:\NodeApps\DemoNodeJSWithTypeScript
4. Open the command prompt.
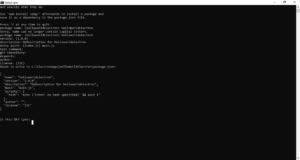
5. Create a solution using “npm init”.
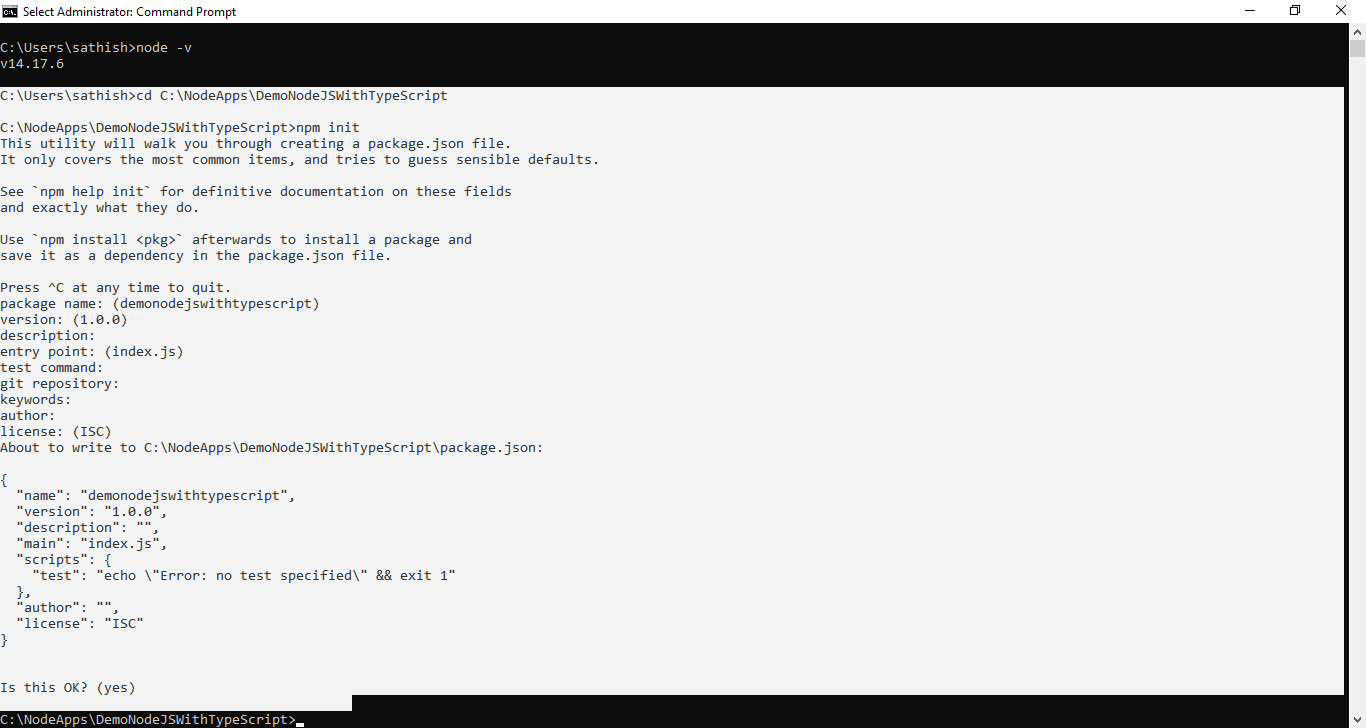
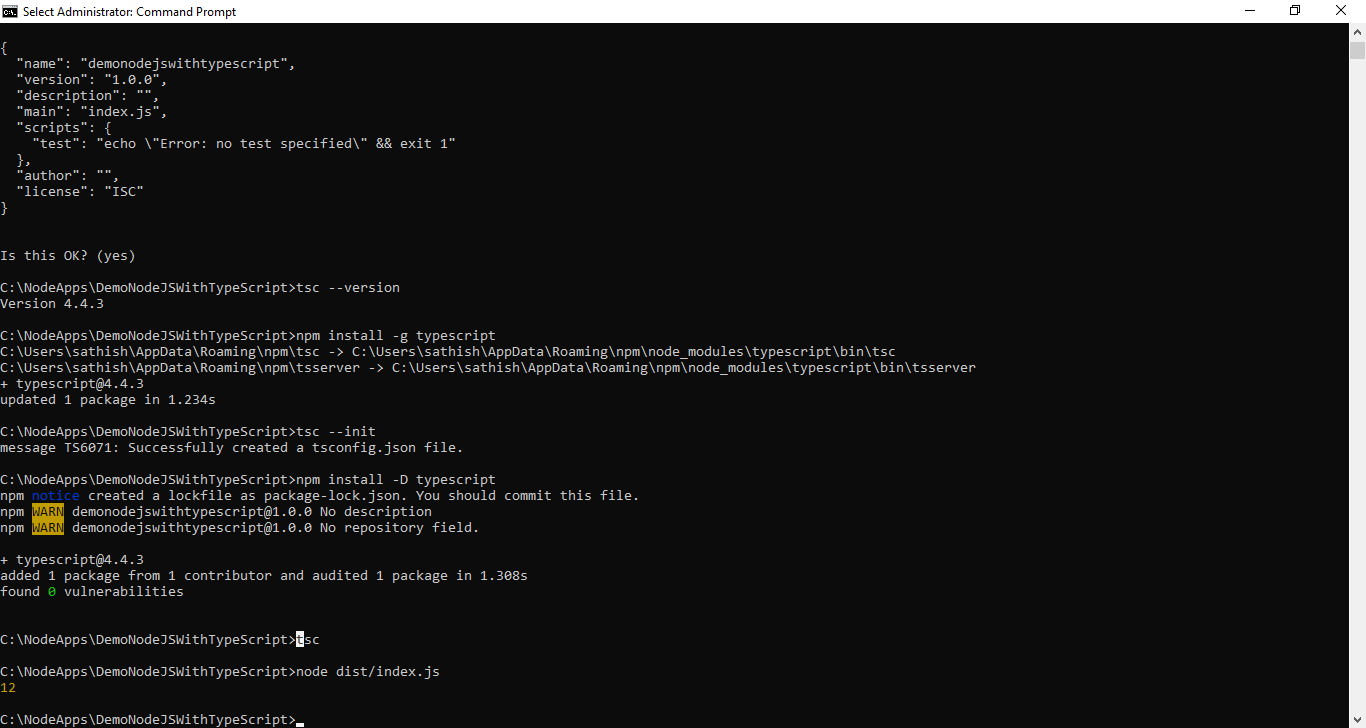
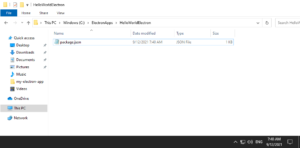
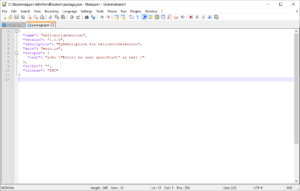
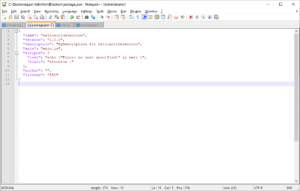
6. The command will create the package.json file.
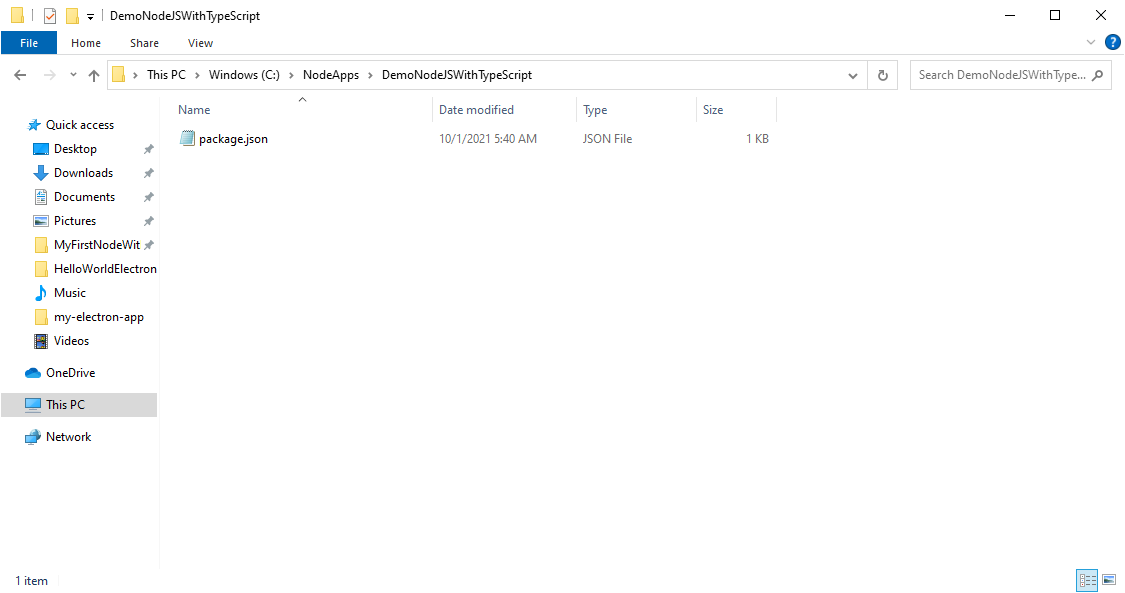
Package.json
{
"name": "demonodejswithtypescript",
"version": "1.0.0",
"description": "",
"main": "index.js",
"scripts": {
"test": "echo "Error: no test specified" && exit 1"
},
"author": "",
"license": "ISC"
}
7. Install TypeScript using the command npm install -g typescript
8. Ensure the version of typescript by tsc –version
9. We need to create the config file for the TypeScript. Tscofig.json.
a. We can create this by running the command “tsc –init”.
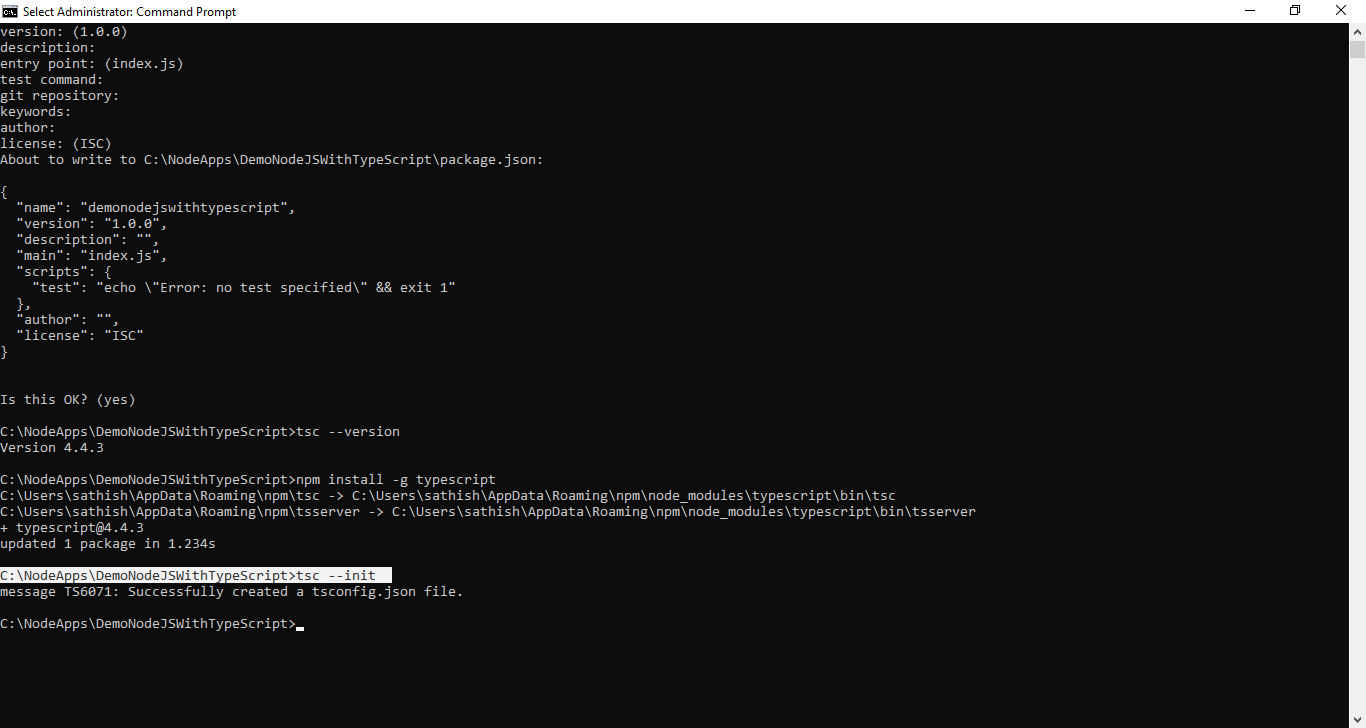
10. Now, the tsconfig.json has been created. Have a look on the site, for more information about the tsconfig.
11. Update the tsconfig as below.
{
"compilerOptions": {
/* Visit https://aka.ms/tsconfig.json to read more about this file */
"target": "es6", /* Set the JavaScript language version for emitted JavaScript and include compatible library declarations. */
"module": "commonjs", /* Specify what module code is generated. */
"rootDir": "./src", /* Specify the root folder within your source files. */
"moduleResolution": "node", /* Specify how TypeScript looks up a file from a given module specifier. */
"outDir": "./dist", /* Specify an output folder for all emitted files. */
"esModuleInterop": true, /* Emit additional JavaScript to ease support for importing CommonJS modules. This enables `allowSyntheticDefaultImports` for type compatibility. */
"forceConsistentCasingInFileNames": true, /* Ensure that casing is correct in imports. */
"strict": true, /* Enable all strict type-checking options. */
"skipLibCheck": true /* Skip type checking all .d.ts files. */
},
"exclude": [
"./node_modules"
]
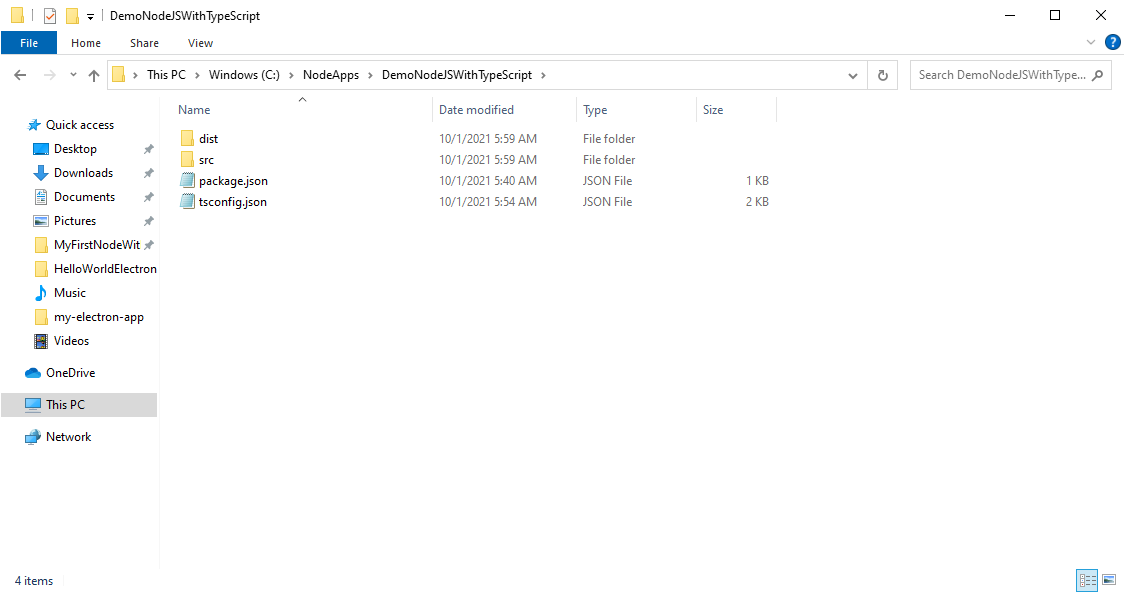
}12. Create the folders SRC and DIST as updated above on the tsconfig.json file. The folder structure will looks as below.
13. Create a file called index.ts inside the src folder.
14. Write some TS code here.
function sum (num1:number, num2:number){
return num1 + num2;
}
console.log(sum(8,4))
15. Now, install the typescript compiler npm install -D typescript
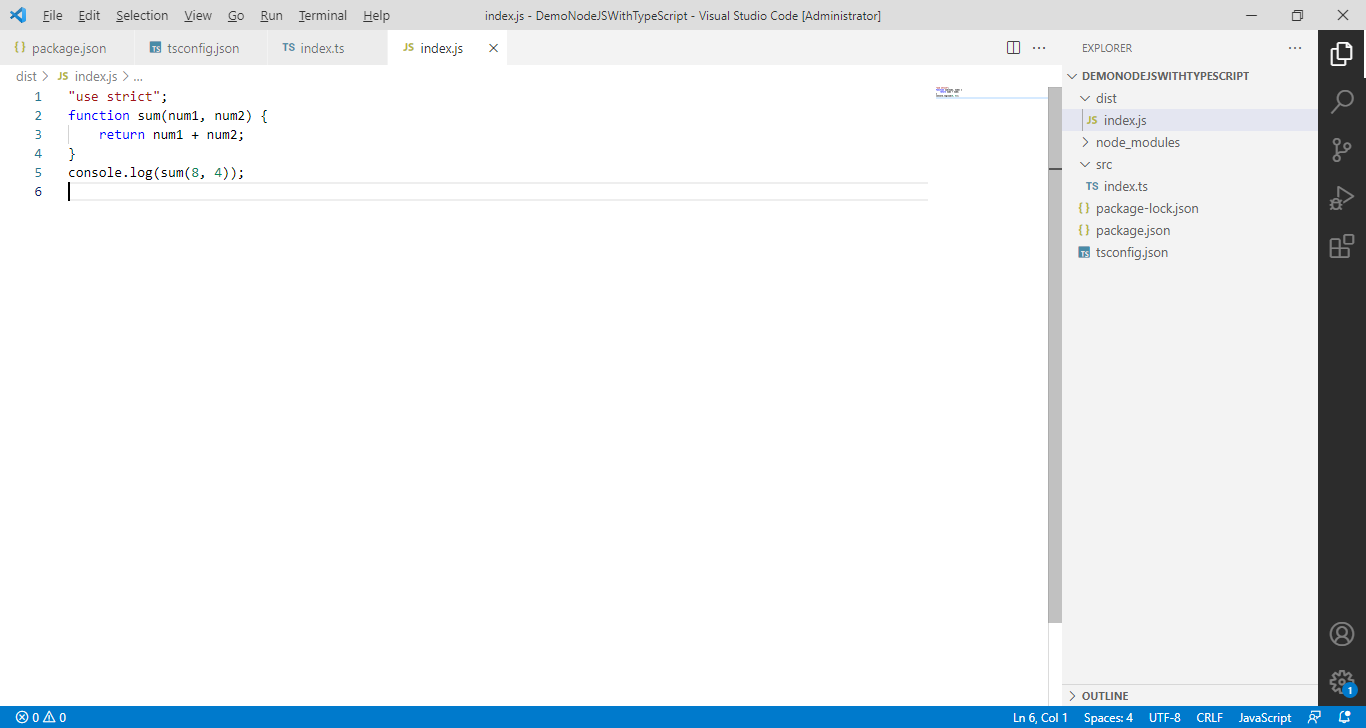
16. Now run tsc ;- this will create the corresponding index.js on the outdir dist folder.
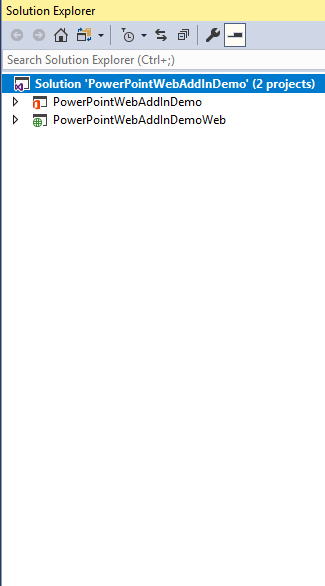
17. Now, the solution and the index.js will be shown as below.
18. Now execute “node dist/index.js” to run the application.
19. Install ts-node by “npm install -D ts-node”
a. Ts-node allows us to point to a Typescript file. It will run .ts, compile it and run it with Node.js for us.
20. Update the config file as below.
{
"name": "demonodejswithtypescript",
"version": "1.0.0",
"description": "",
"main": "index.js",
"scripts": {
"test": "echo "Error: no test specified" && exit 1",
"start": "ts-node ./src/index.ts"
},
"author": "",
"license": "ISC",
"devDependencies": {
"ts-node": "^10.2.1",
"typescript": "^4.4.3"
}
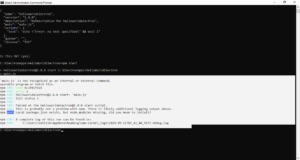
}21. Now we can execute by using “npm start” itself. This will automatically trigger the index.ts file.
22. Then install the below packages for various purposes.Npm install express
Npm install -D @types/node
Npm install -D @types/express
23. Update the index.ts as below.
import express, { Application, ErrorRequestHandler, Request, response, Response } from 'express';
const app: Application = express();
const PORT = process.env.PORT || 2000;
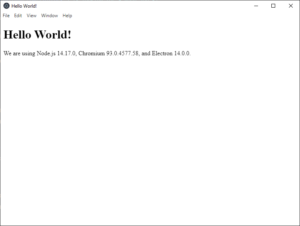
app.get("/", async (req: Request, res: Response): Promise => {
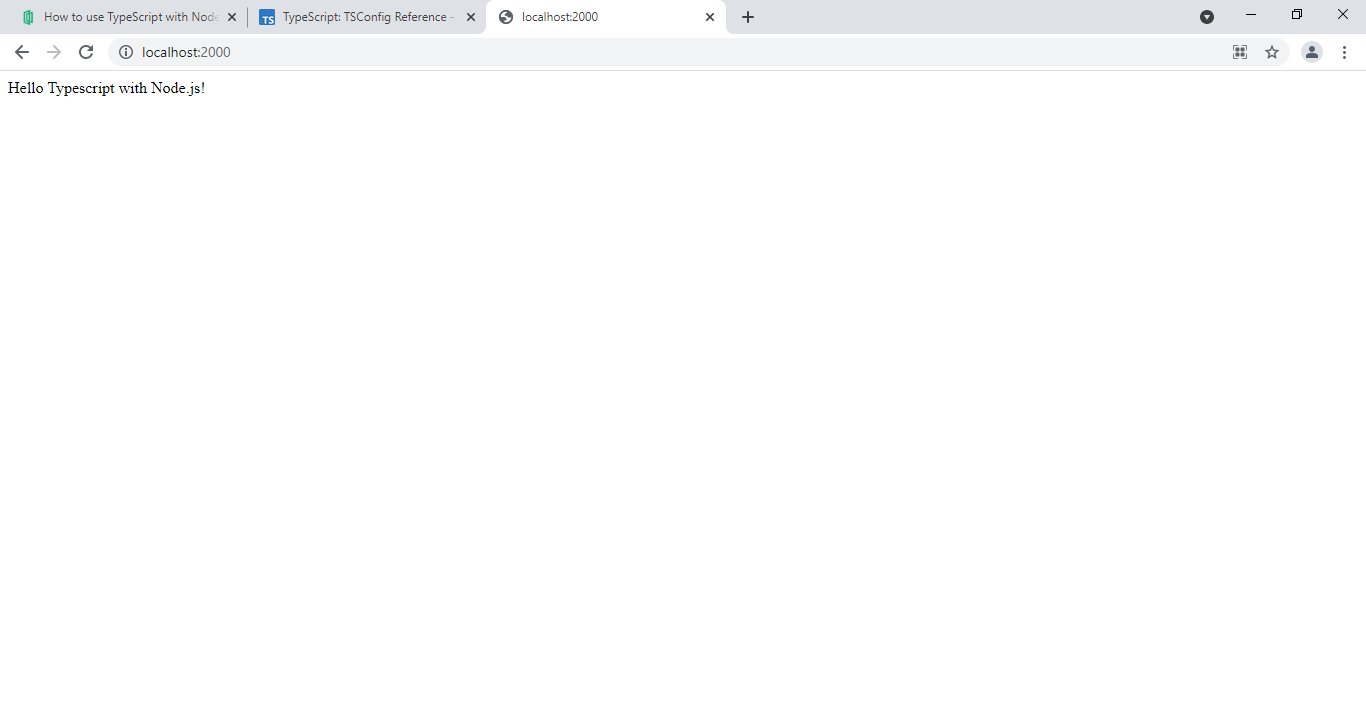
res.send("Hello Typescript with Node.js!")
});
app.use(function (err: any, req: Request, res: Response, next: ErrorCallback) {
res.status(err.status || 500);
res.send(err);
});
app.listen(PORT, (): void => {
console.log(`Server Running here https://localhost:${PORT}`);
});24. Now run “npm start”
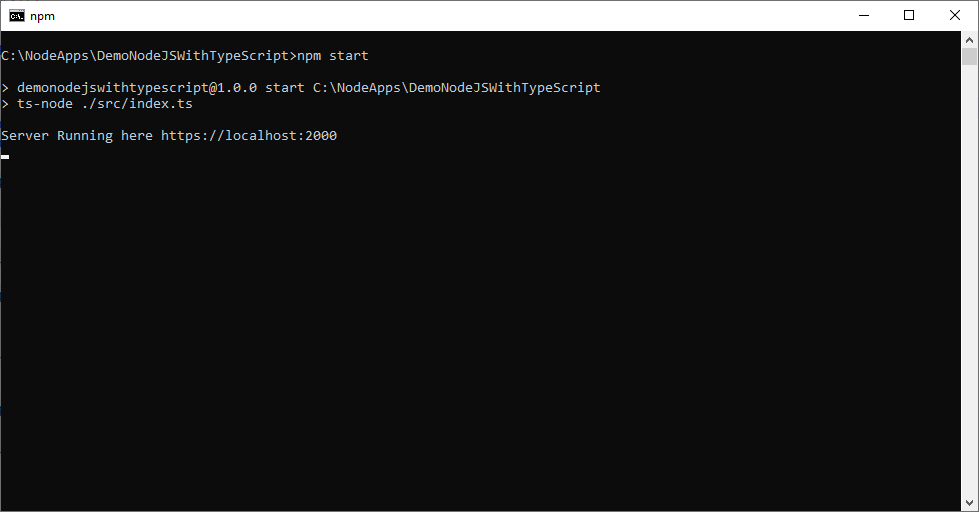
25. Browse the page http://localhost:2000
26. The next step is to continuously monitor the TS files changes, so that the npm server should automatically refresh. For that, I prefer to go with Nodemon.
27. Npm install -D nodemon
28. Update the package.json with the script parameter dev. The final package.json will looks like below.
{
"name": "demonodejswithtypescript",
"version": "1.0.0",
"description": "",
"main": "index.js",
"scripts": {
"test": "echo "Error: no test specified" && exit 1",
"start": "ts-node ./src/index.ts",
"dev": "nodemon ./src/index.ts"
},
"author": "",
"license": "ISC",
"devDependencies": {
"@types/express": "^4.17.13",
"@types/node": "^16.10.2",
"ts-node": "^10.2.1",
"typescript": "^4.4.3"
},
"dependencies": {
"express": "^4.17.1"
}
}
29. Now we can use the command “npm run dev”
Though it’s a bit lengthy, this will be useful for someone who wants to develop a Node application with TypeScript. Especially the stand alone application for the SharePoint Online. Yes, this is a start and the objective is to use this application with PNPJS to interact with SharePoint Online sites in the upcoming articles. Stay Tuned!!!
Download the Source HERE
Happy Coding
Sathish Nadarajan


Leave a comment